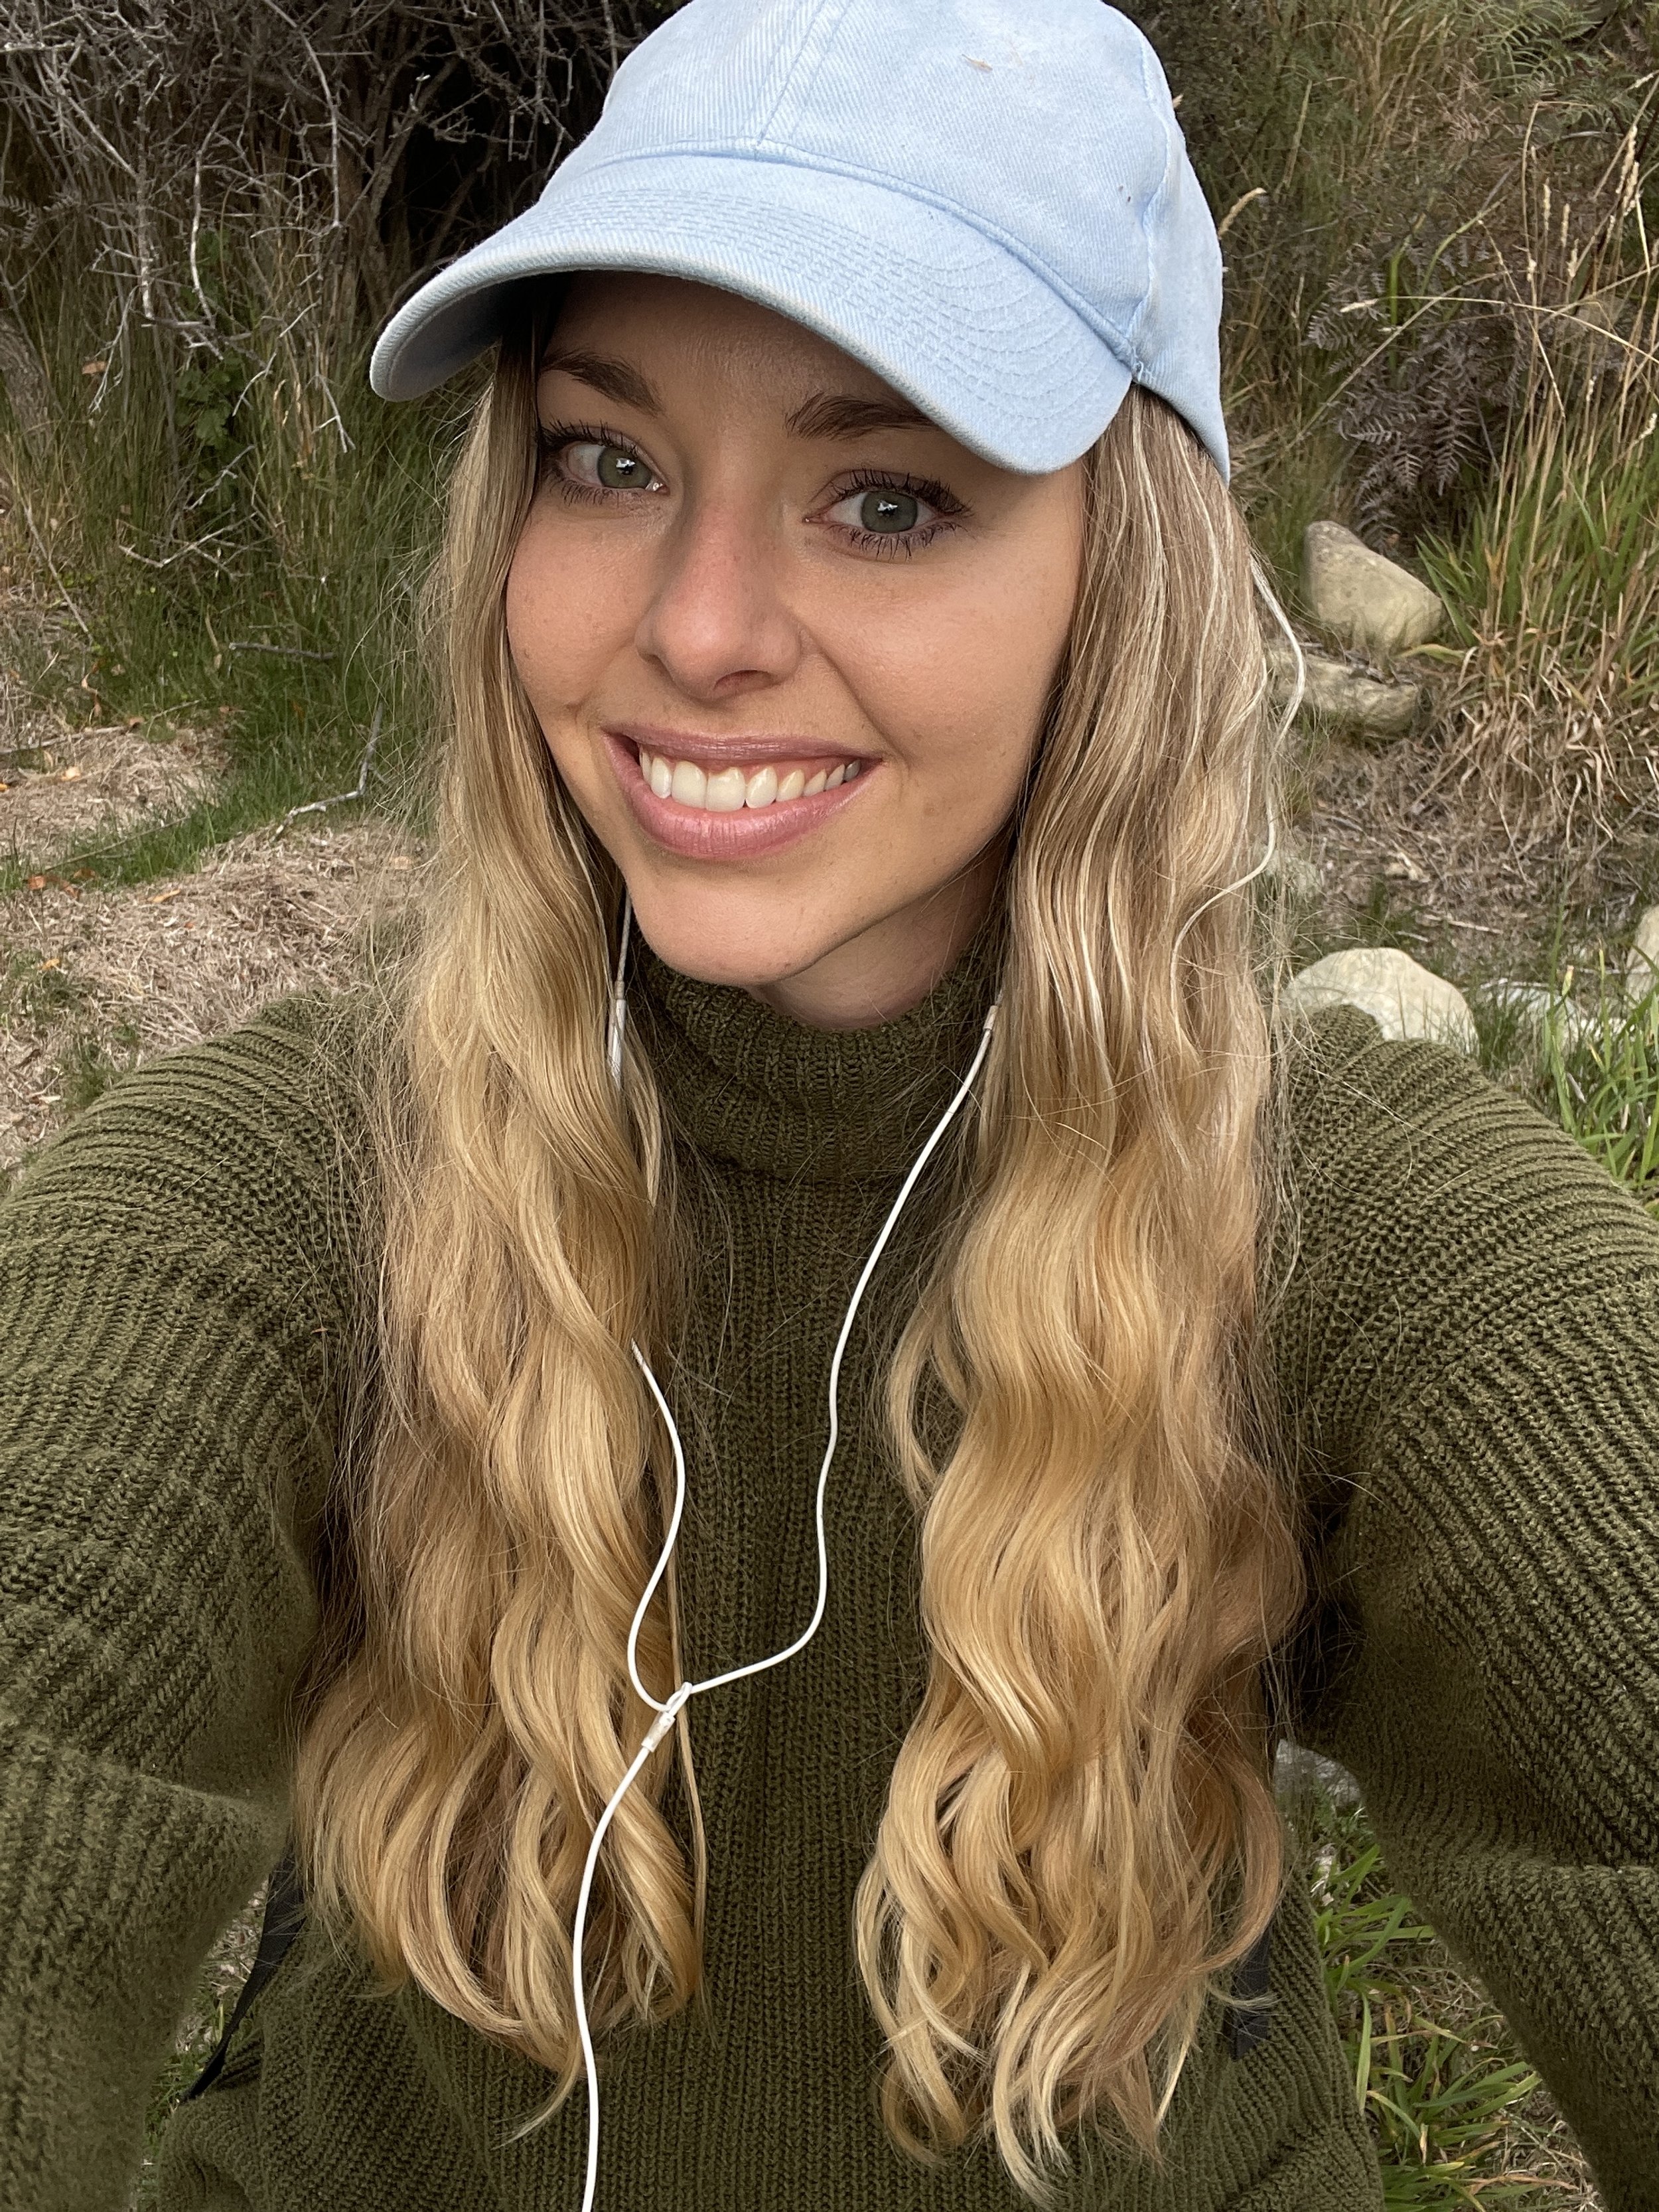
If you’d love to start embracing your natural hair texture and bring your curls back to life, I hope this blog gives you the nudge!
Firstly, I just want to say that I’m not an expert on this. But over the last few years, I’ve put in the time and effort to figure out what my hair likes and dislikes and how to look after and rejuvenate my curls (YouTube has been a huge help). It’s a learning curve, especially if you were like me and had no clue where to start.
Before I share my tips, I’d like to point out that the health of your hair can be a good indication of the general health of your body. It's important to address health issues and support your body as a whole to improve your hair health for the long term.
That said, this blog isn’t focusing on dietary or supplement tips or lifestyle tips like managing stress levels. Today, I’m sharing the most helpful things I have learnt through my own journey of bringing my curls back to life and caring for them with low-tox hair care products.
Okay, so let’s start with the things that made the biggest difference for my curls.
CHOOSE A HAIRDRESSER WHO SPECIALISES IN CURLY HAIR
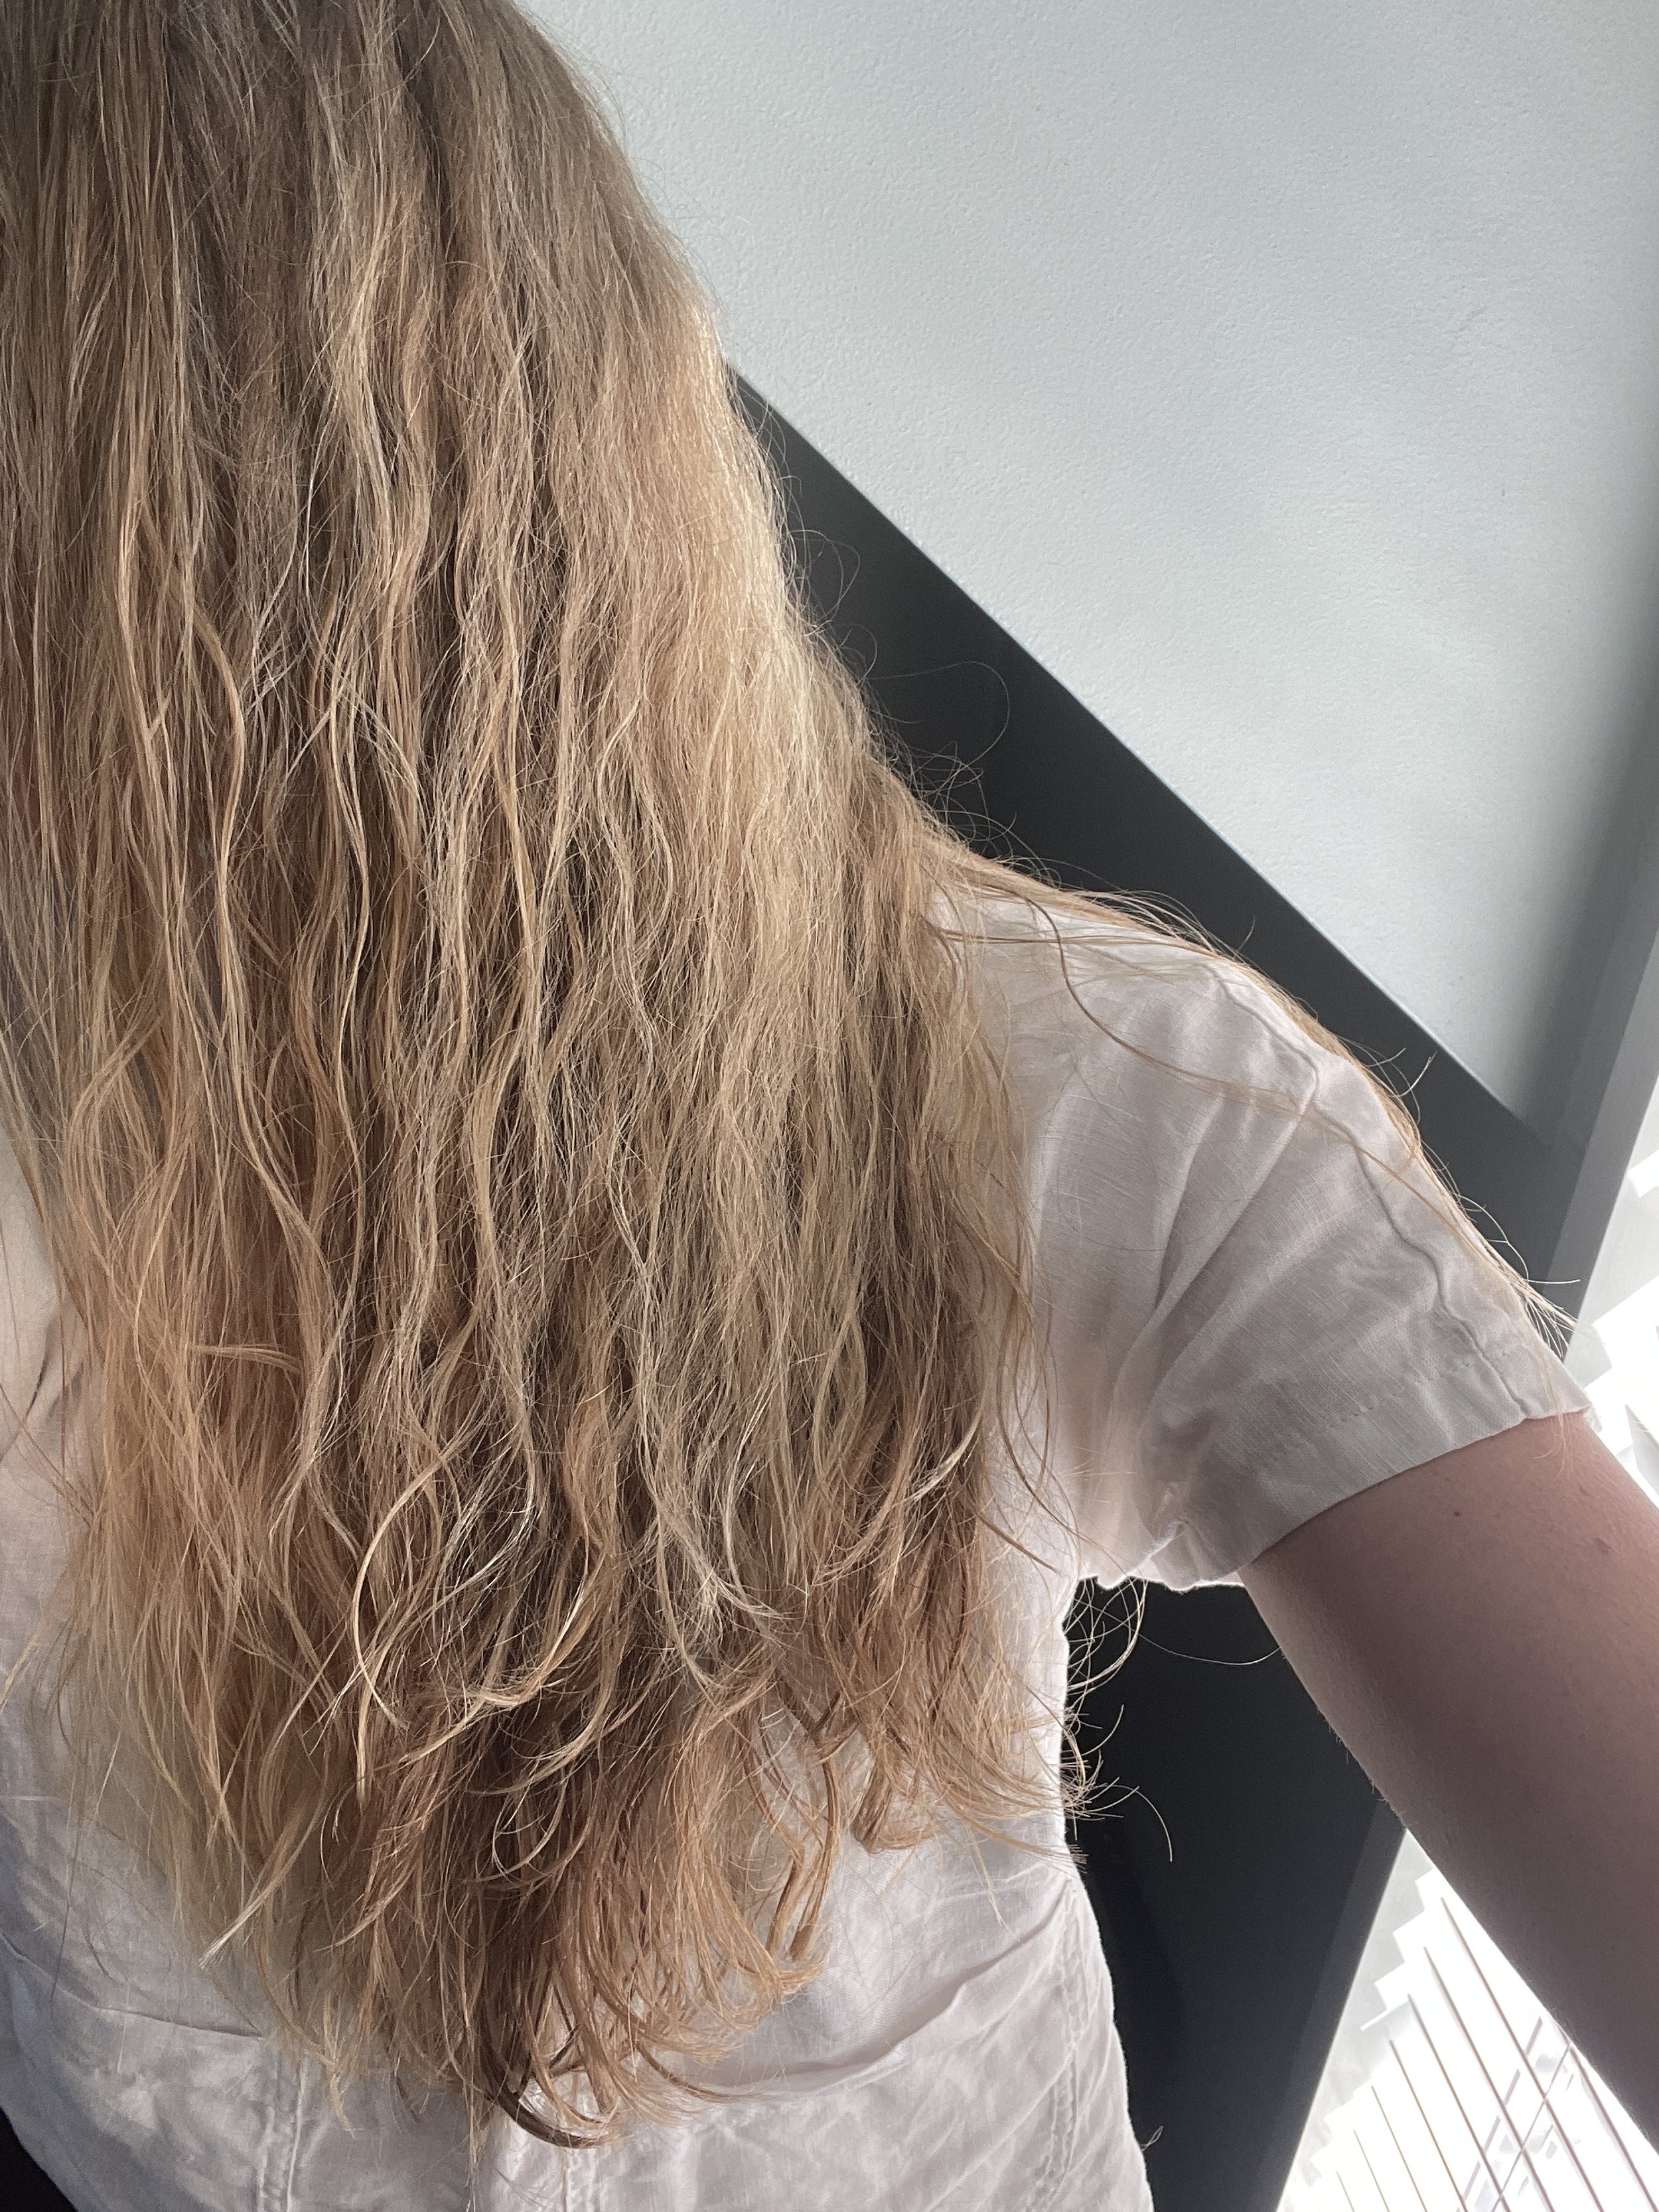
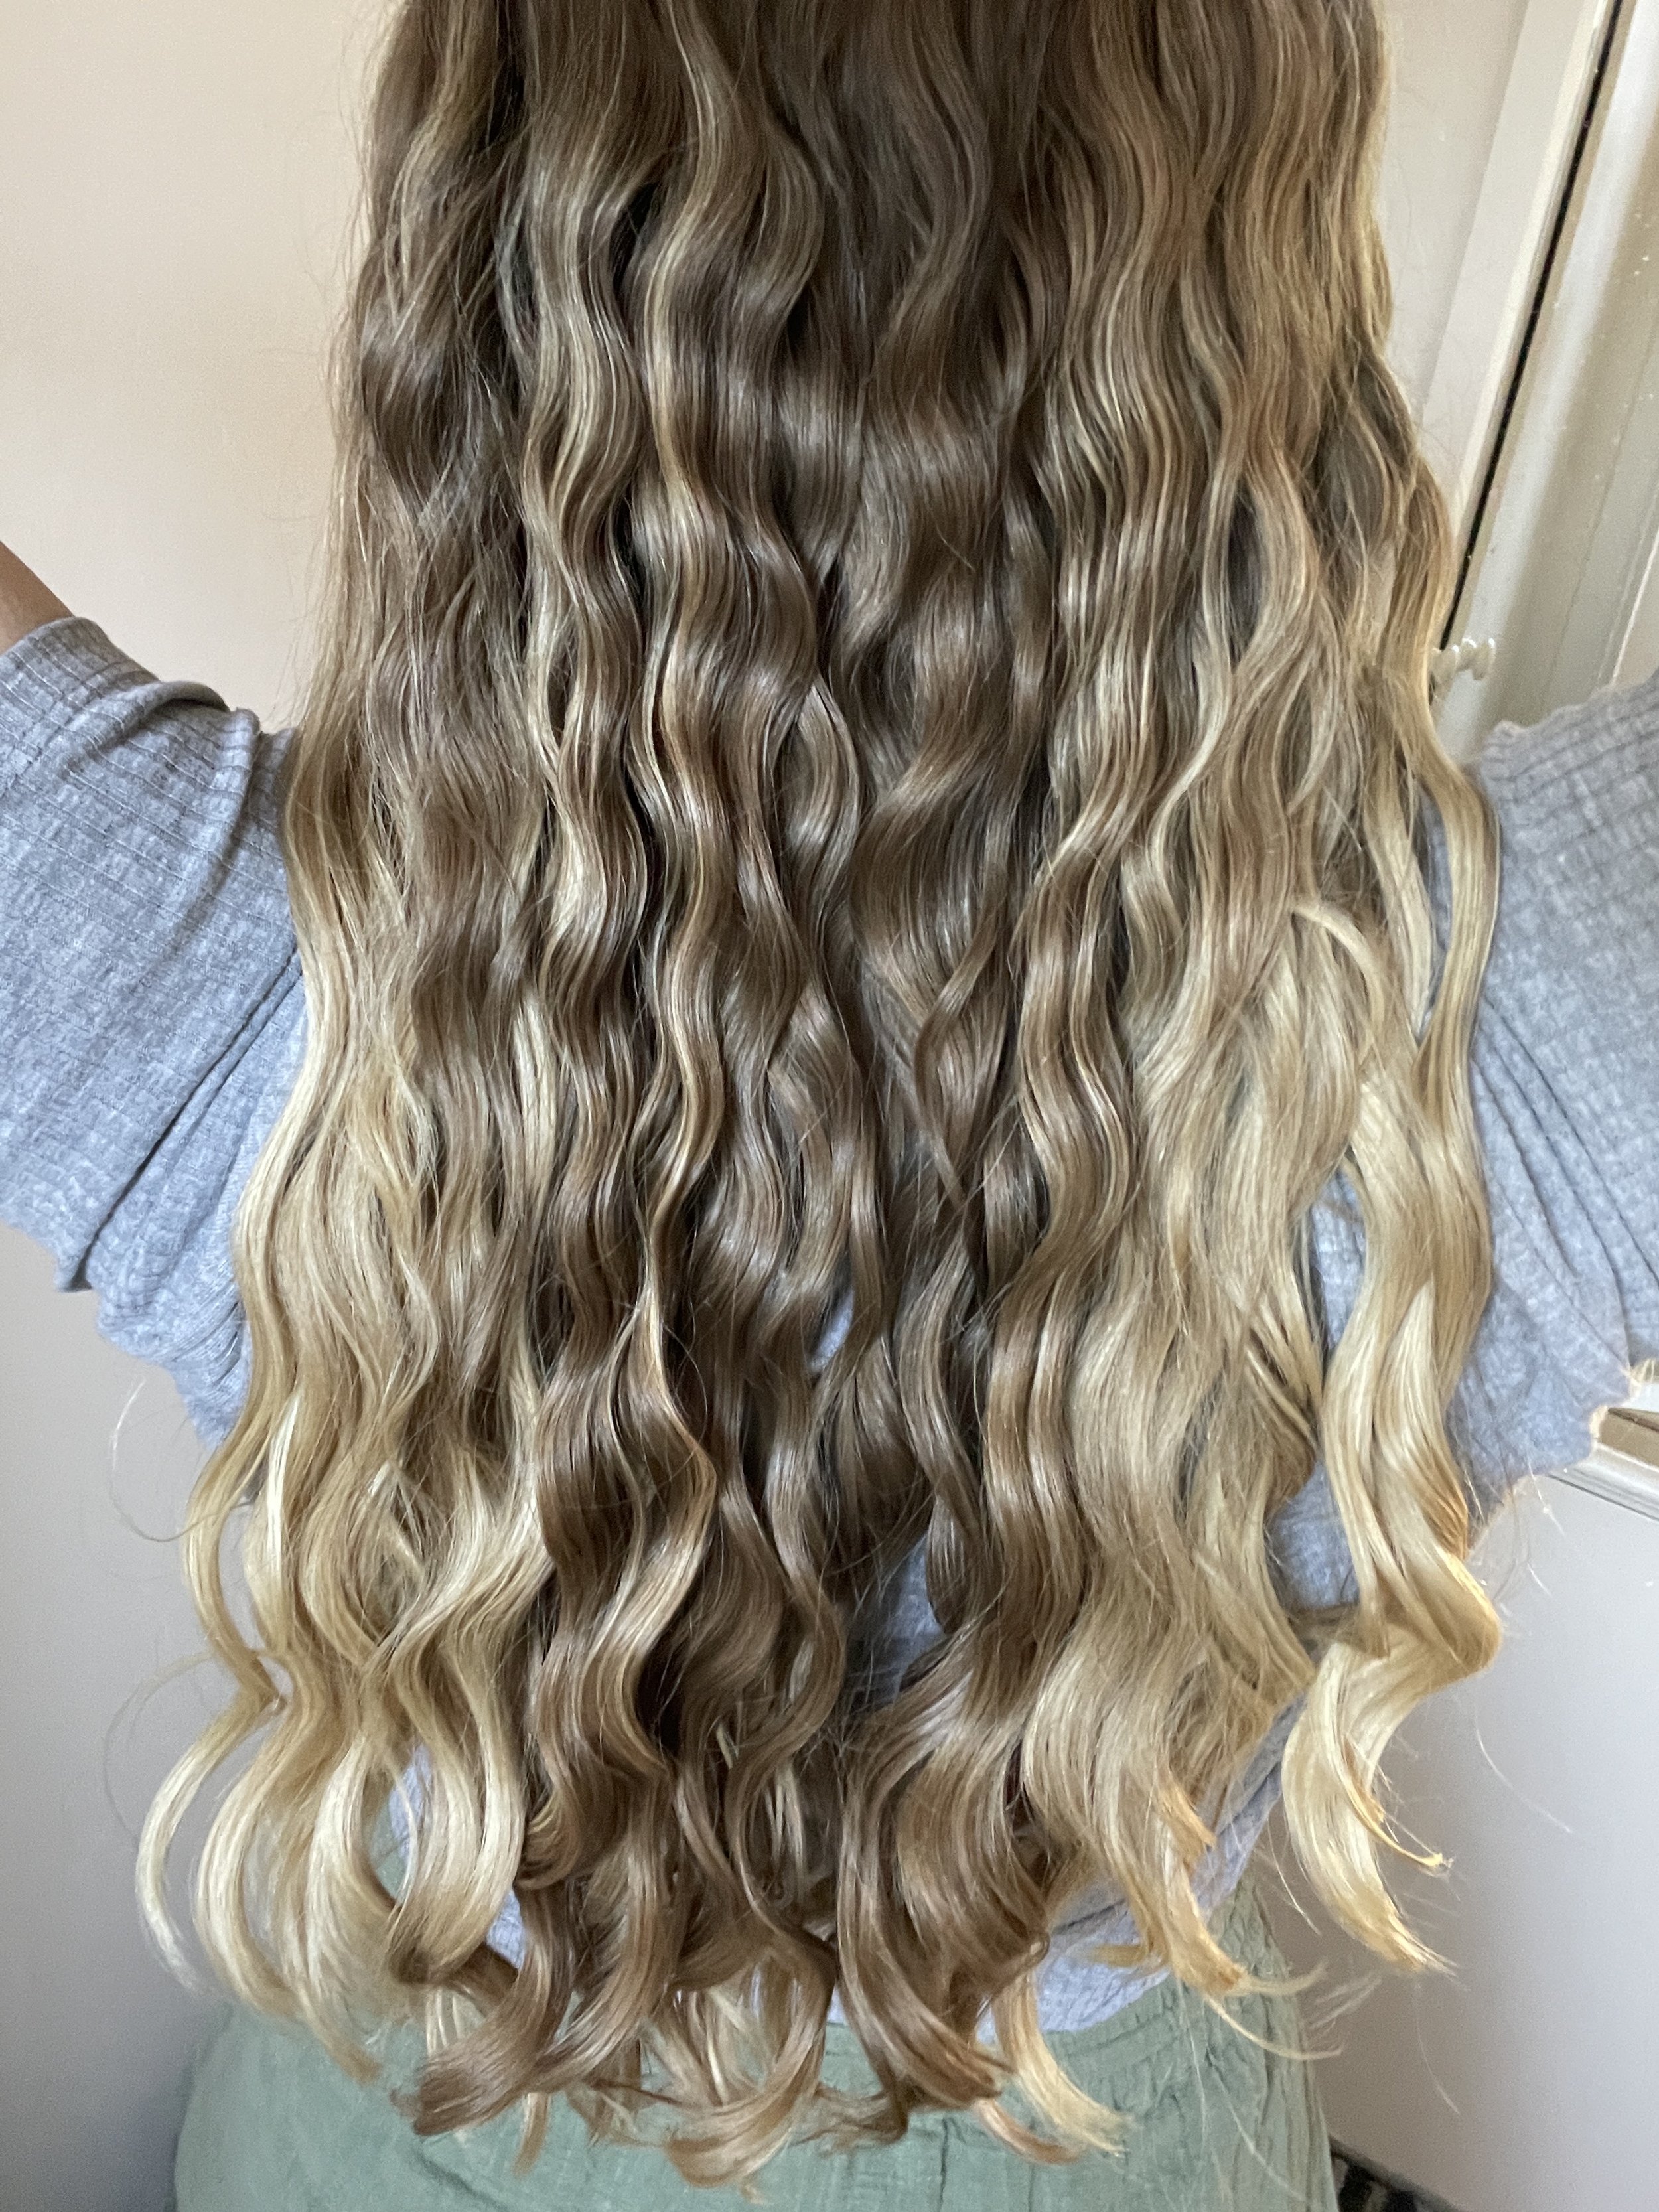
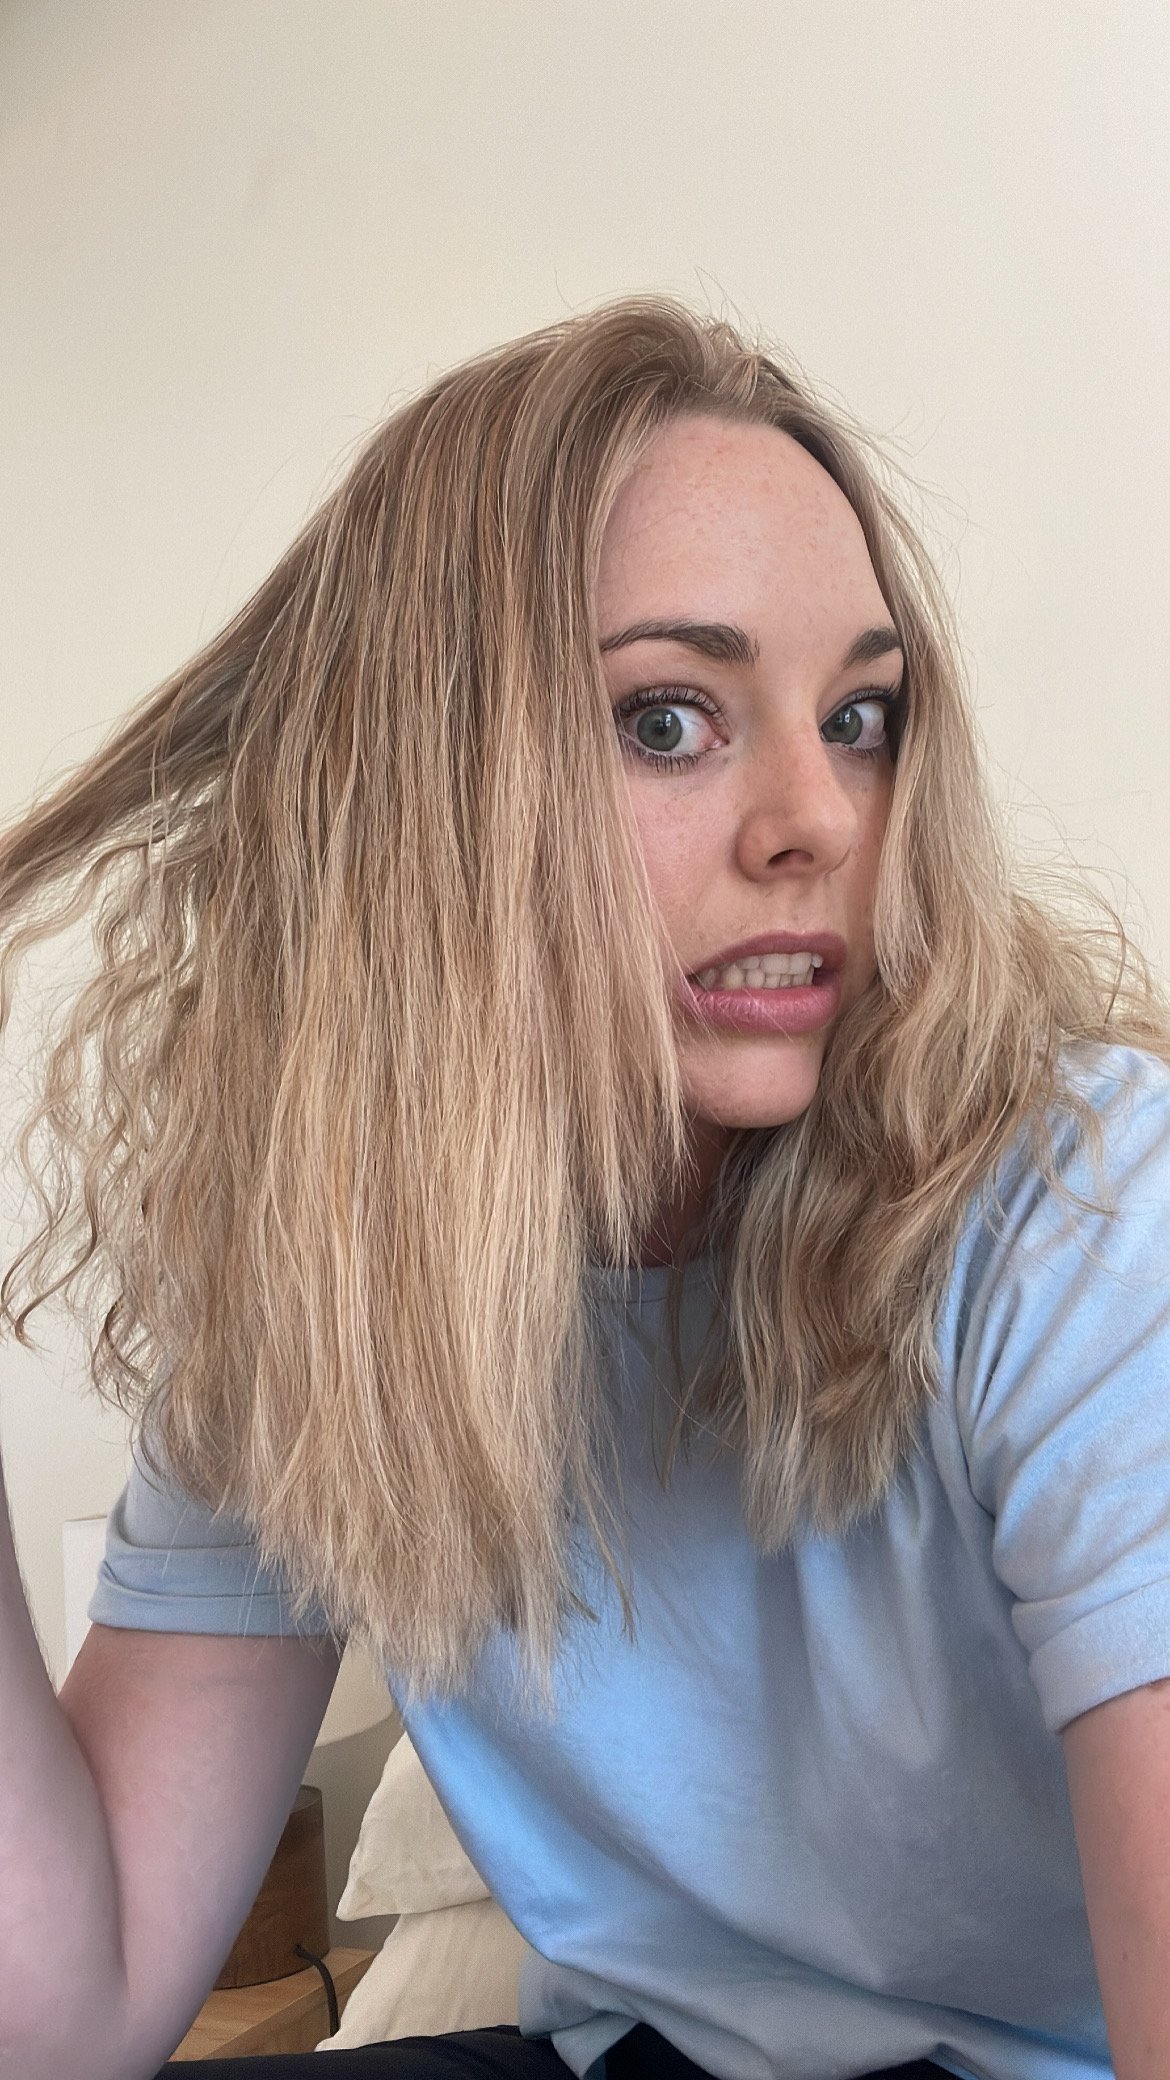
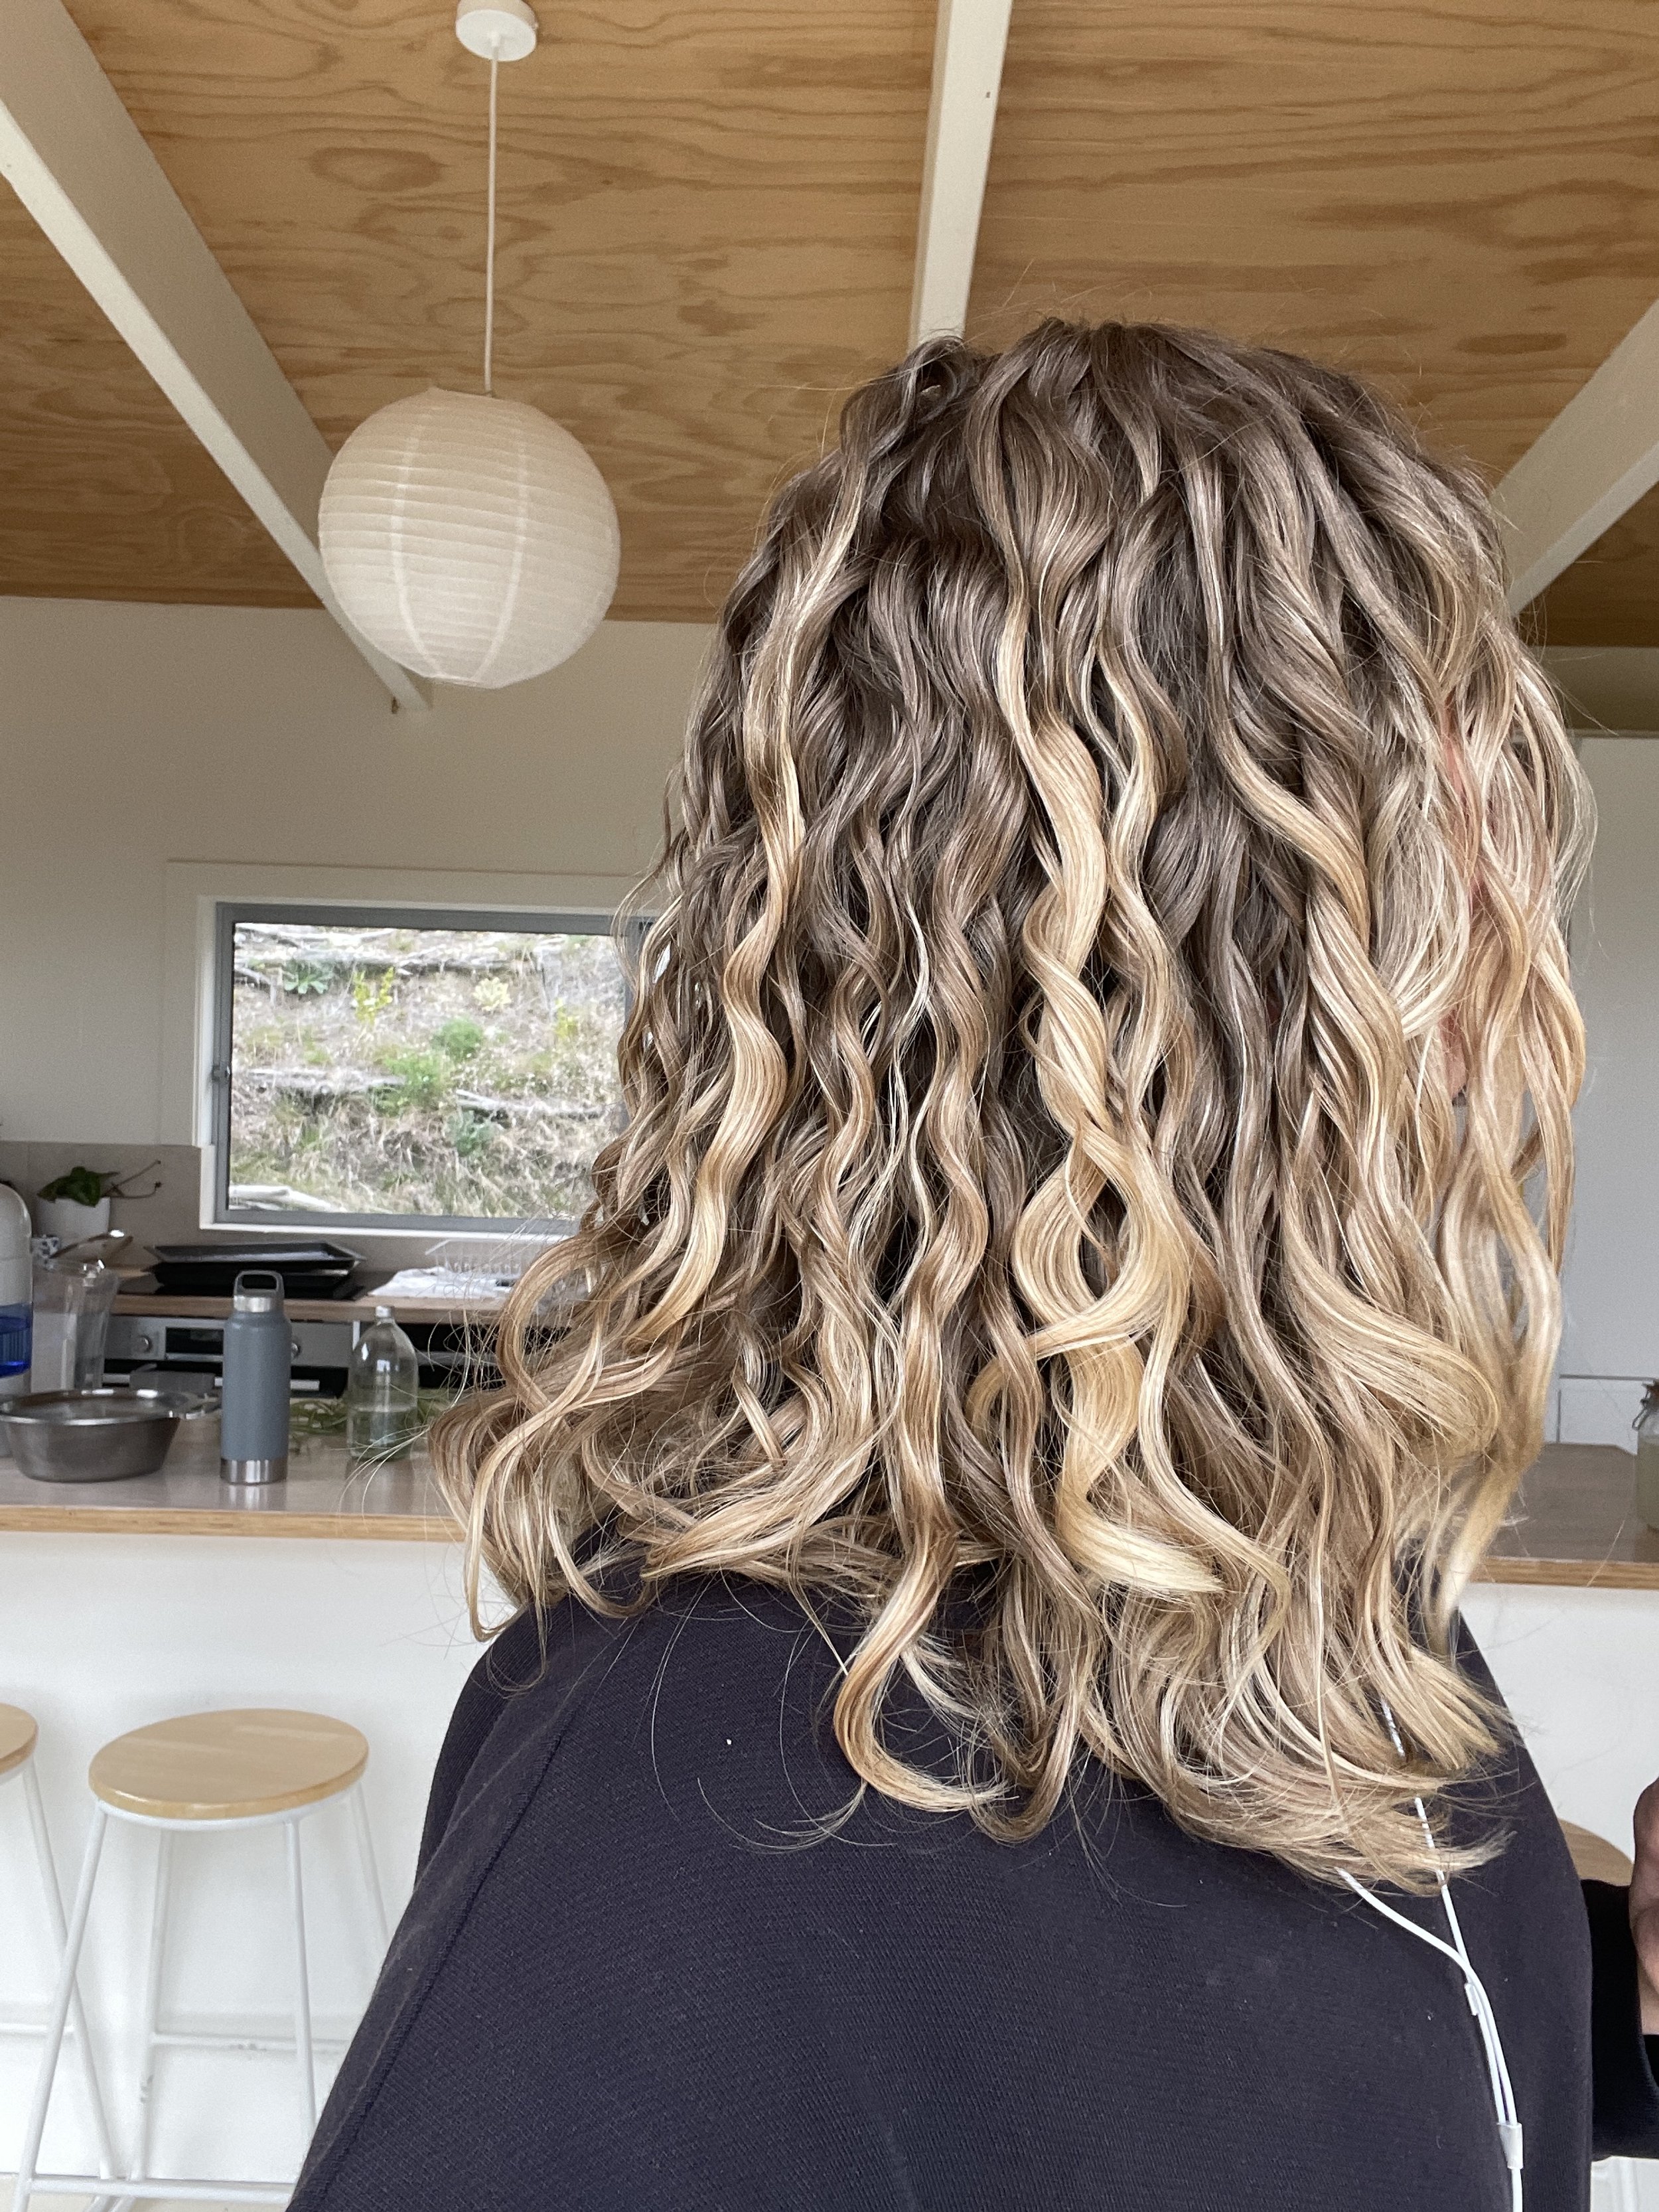
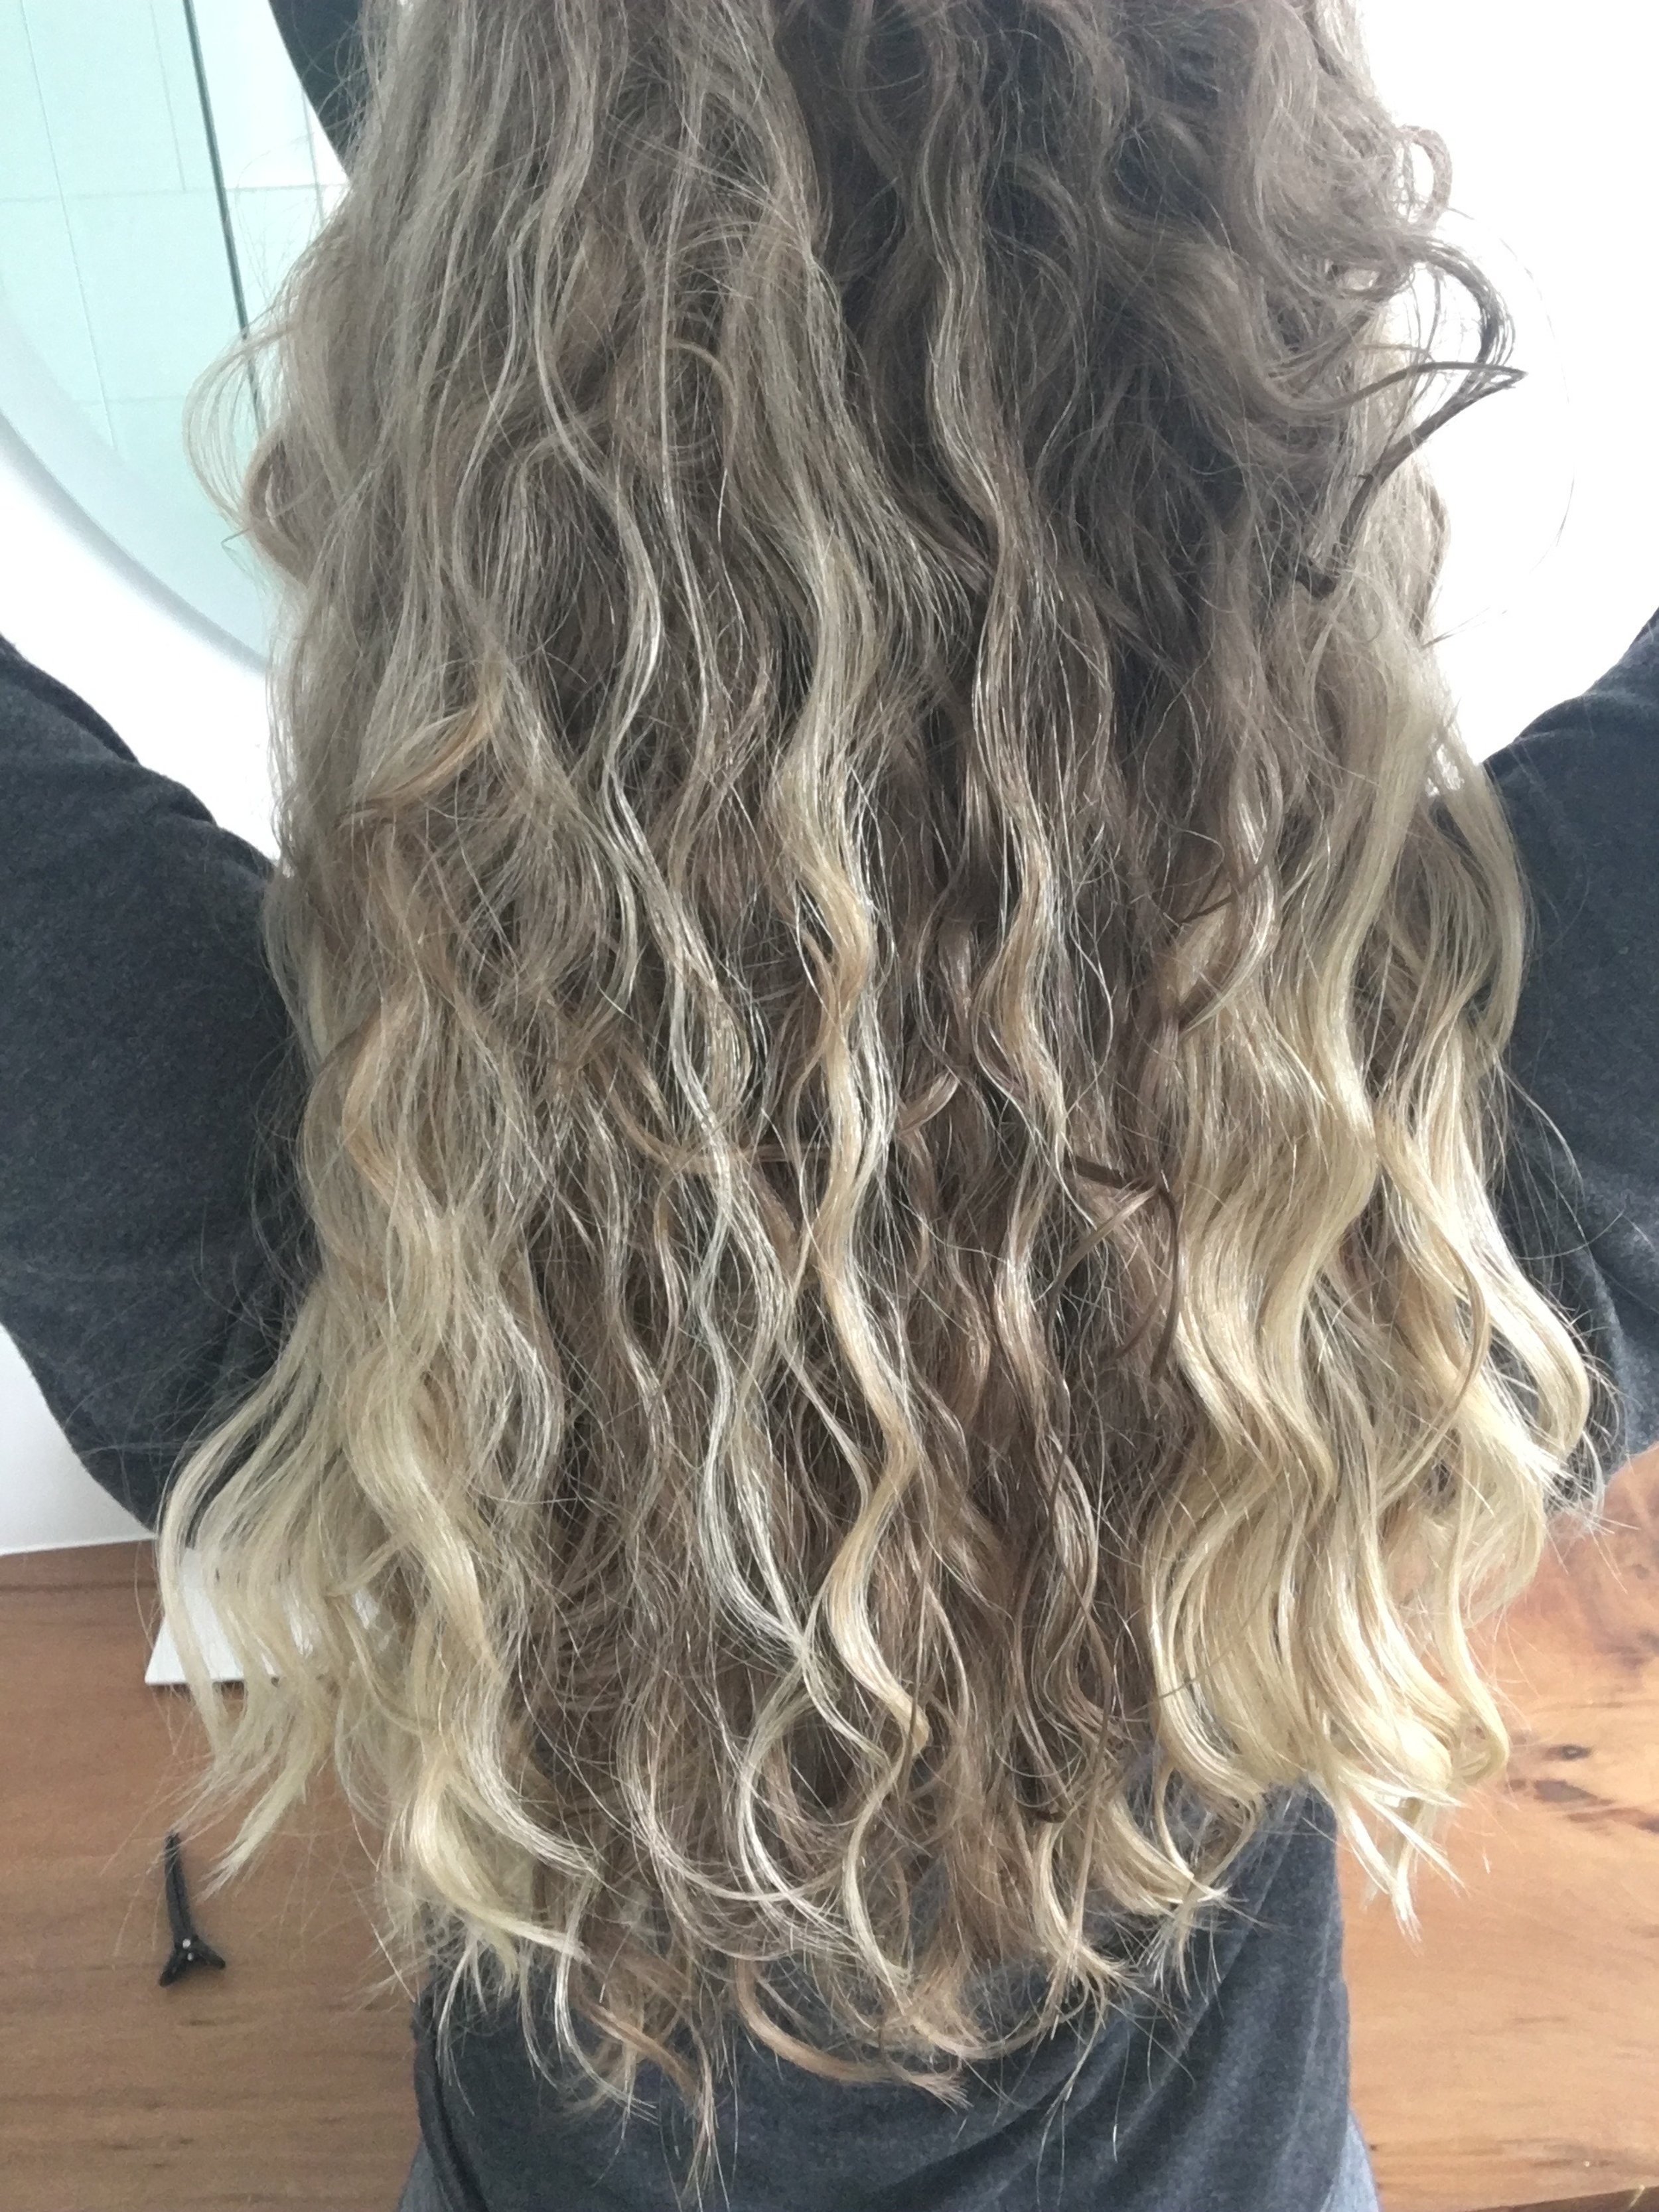
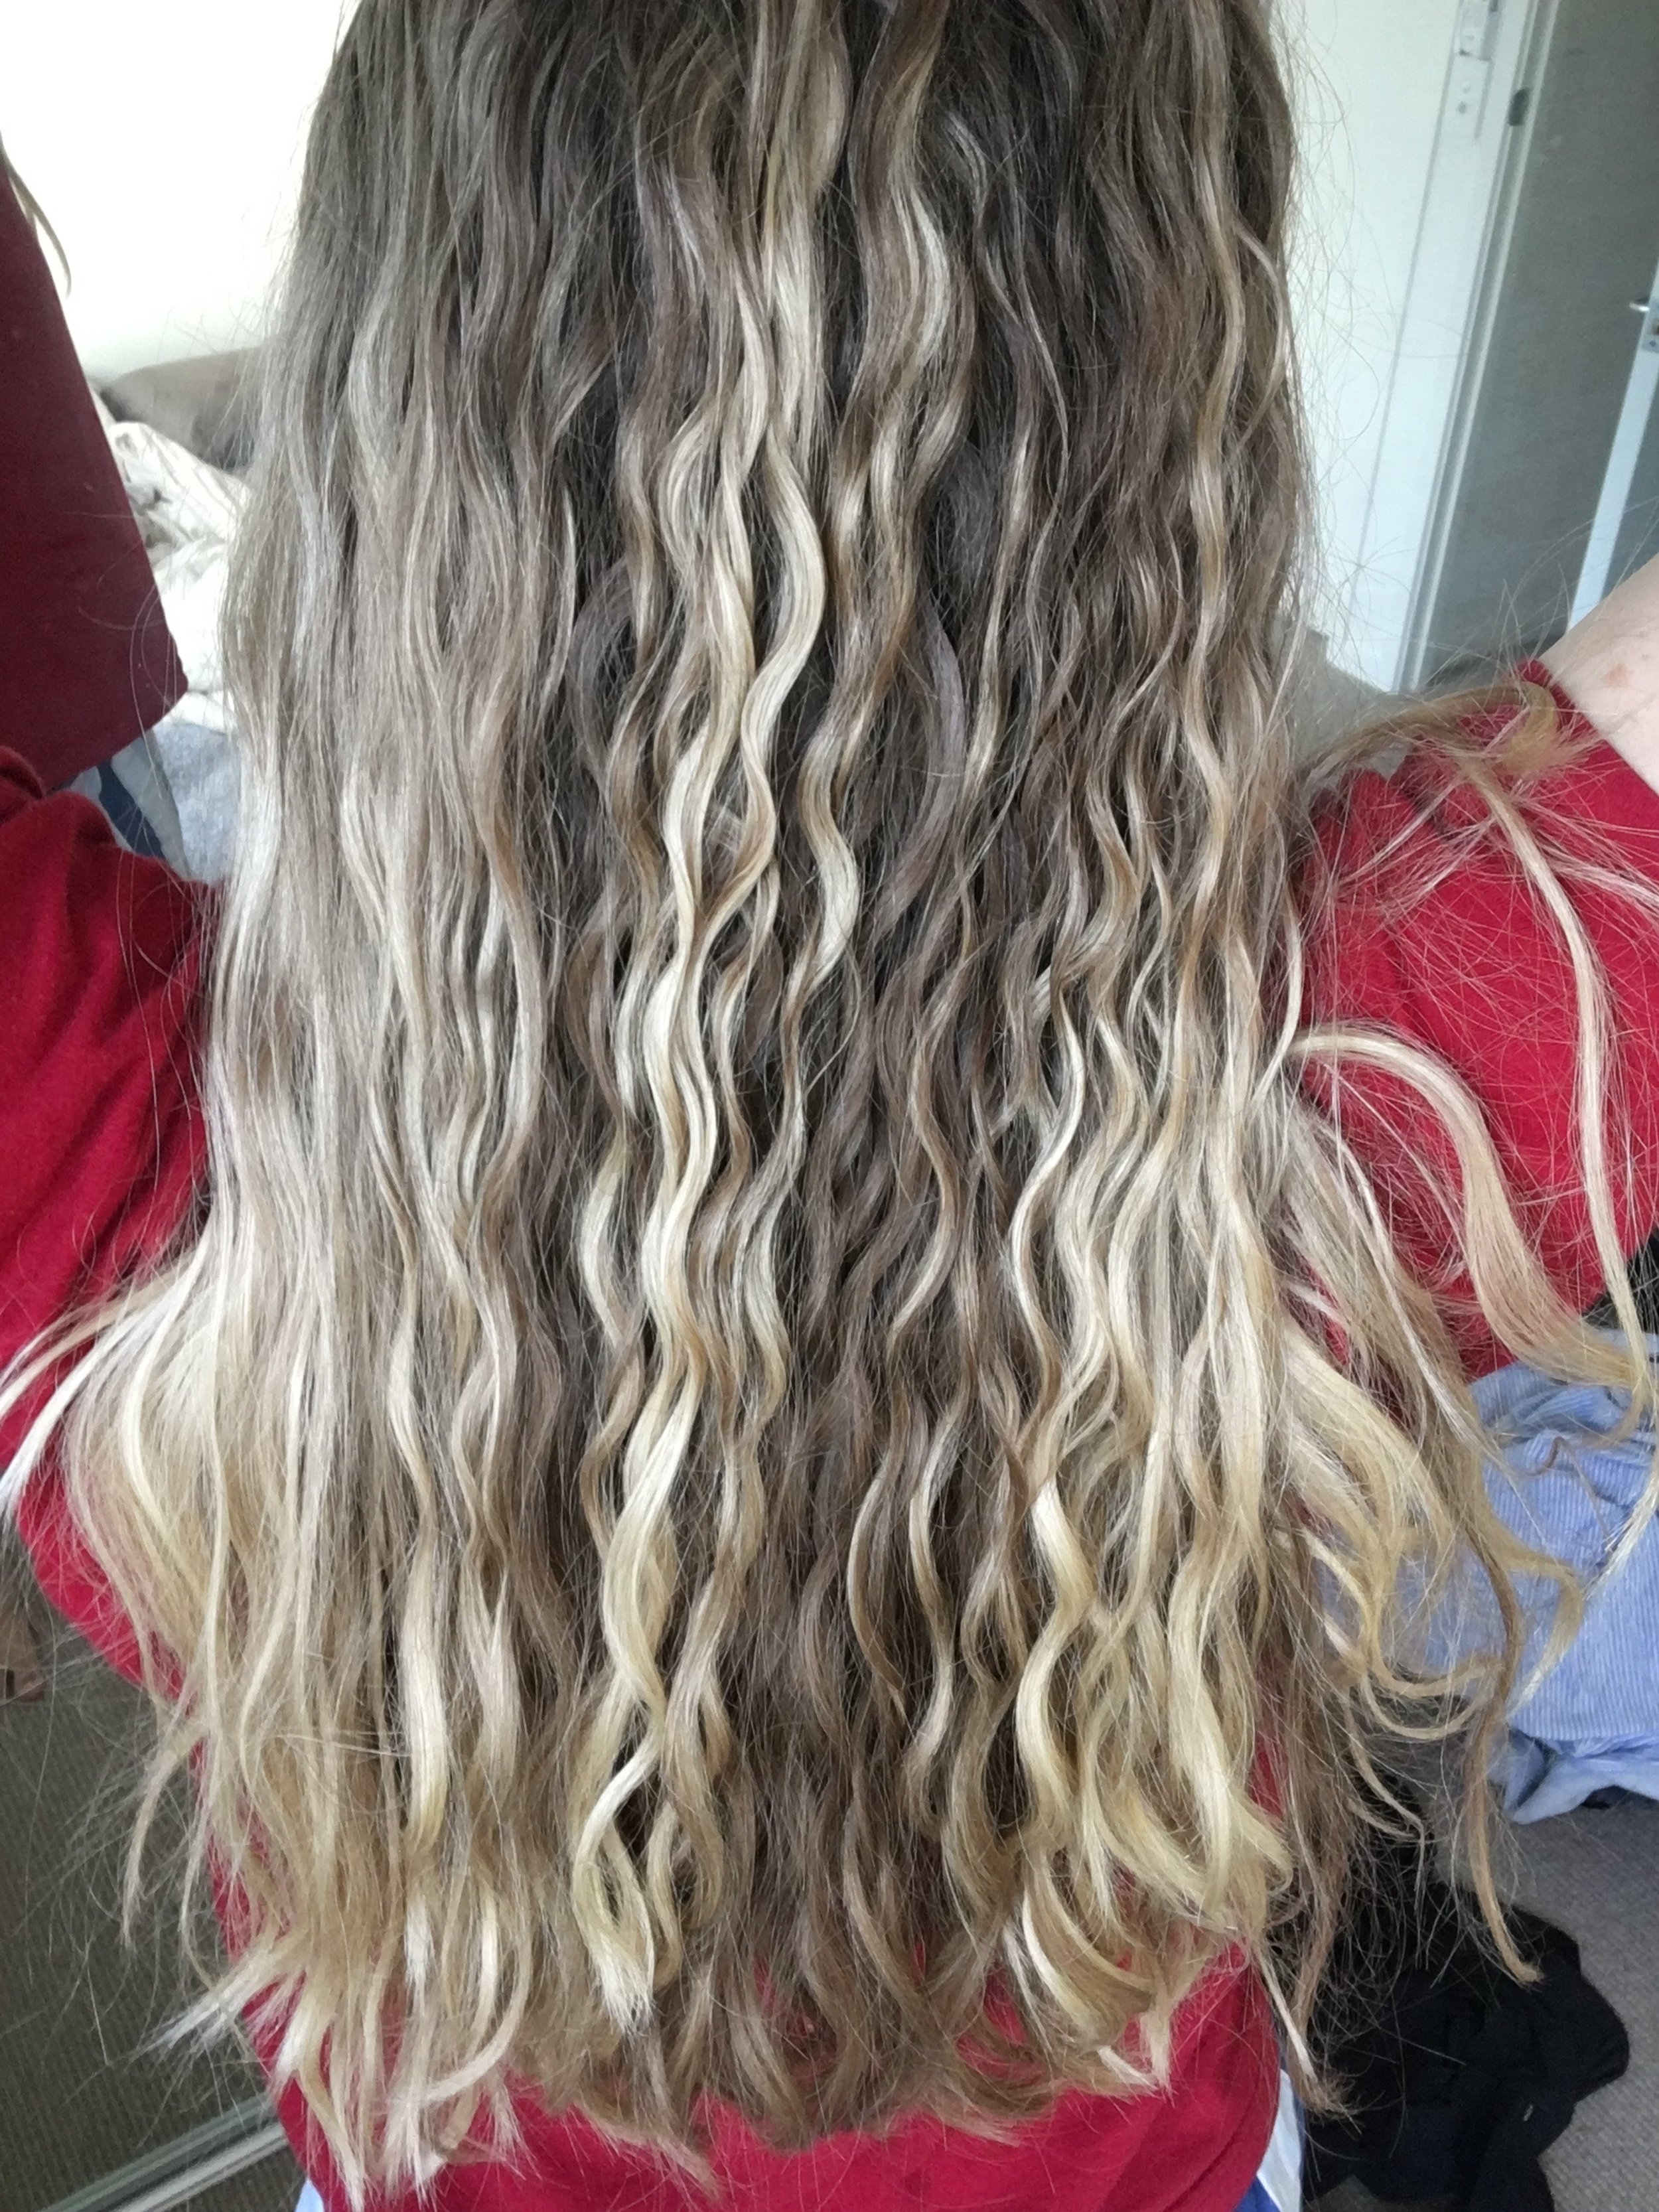
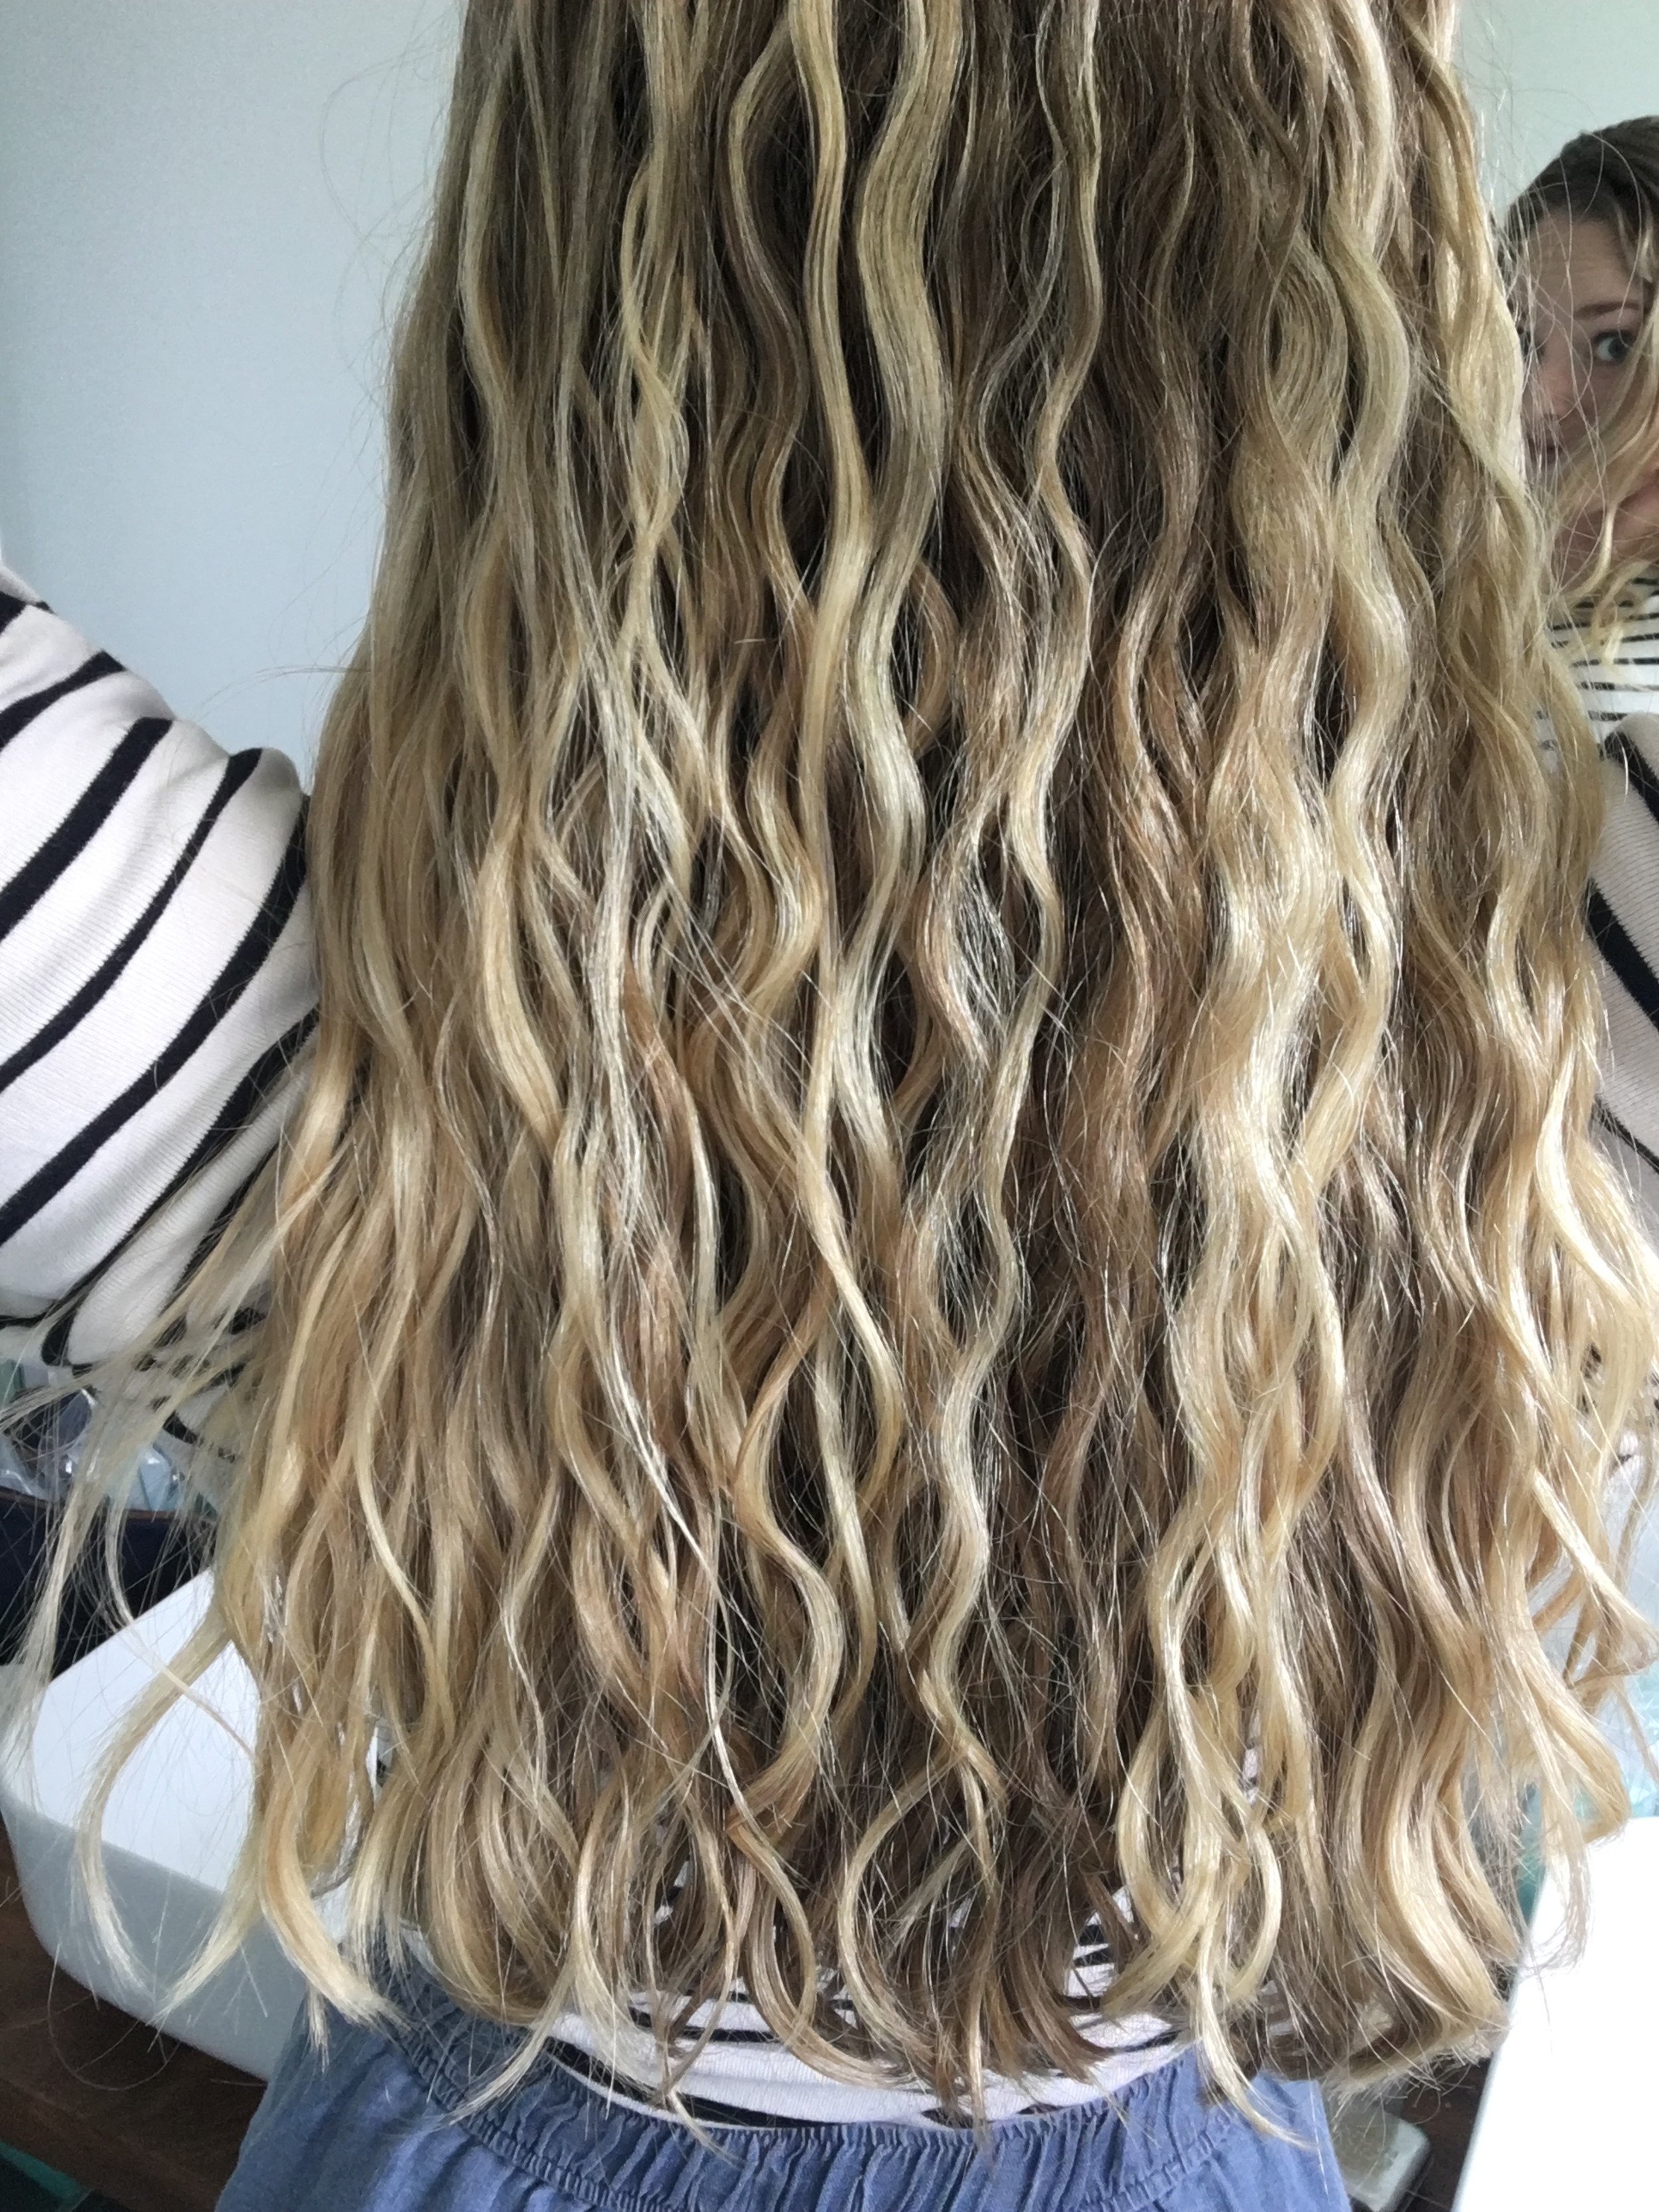
I want to show you the difference in my hair after visiting a regular hairdresser vs. a curly hair specialist. Previous hairdressers would always treat my hair as though it was straight, so I never knew that there was another way to cut hair that actually accentuated my curls. You’ll see why I highly recommend finding someone who can cut and style curls!
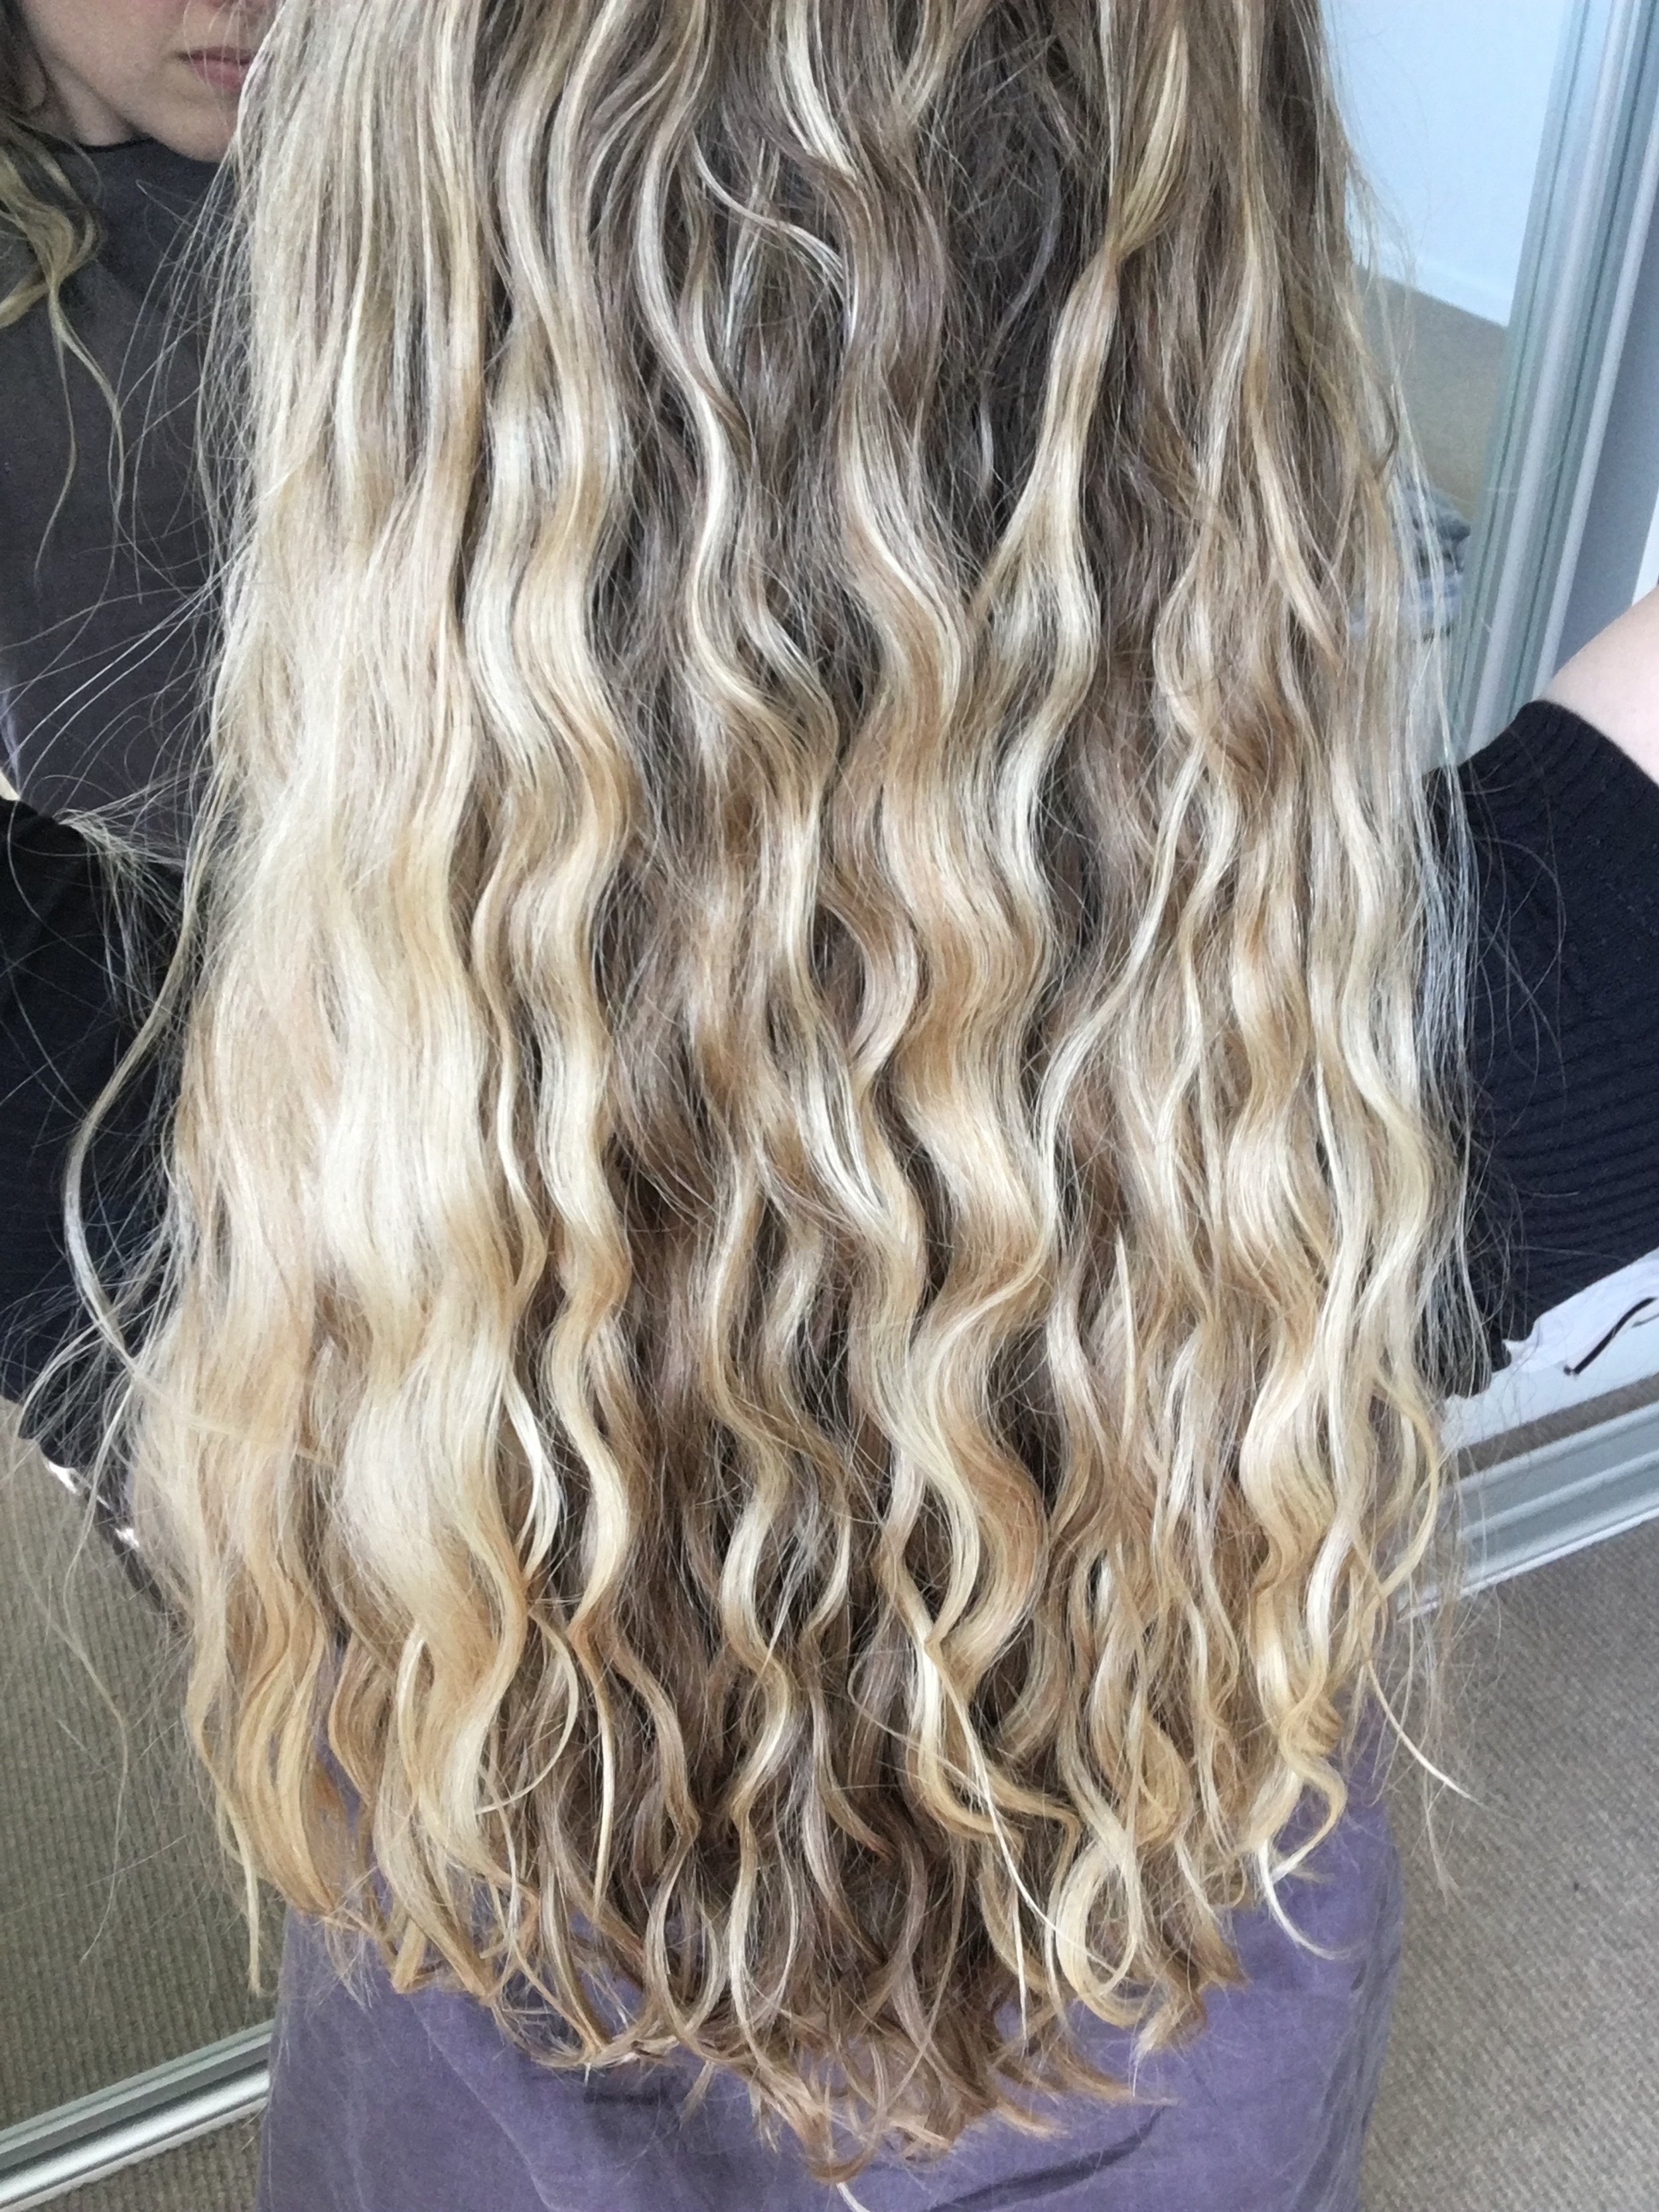
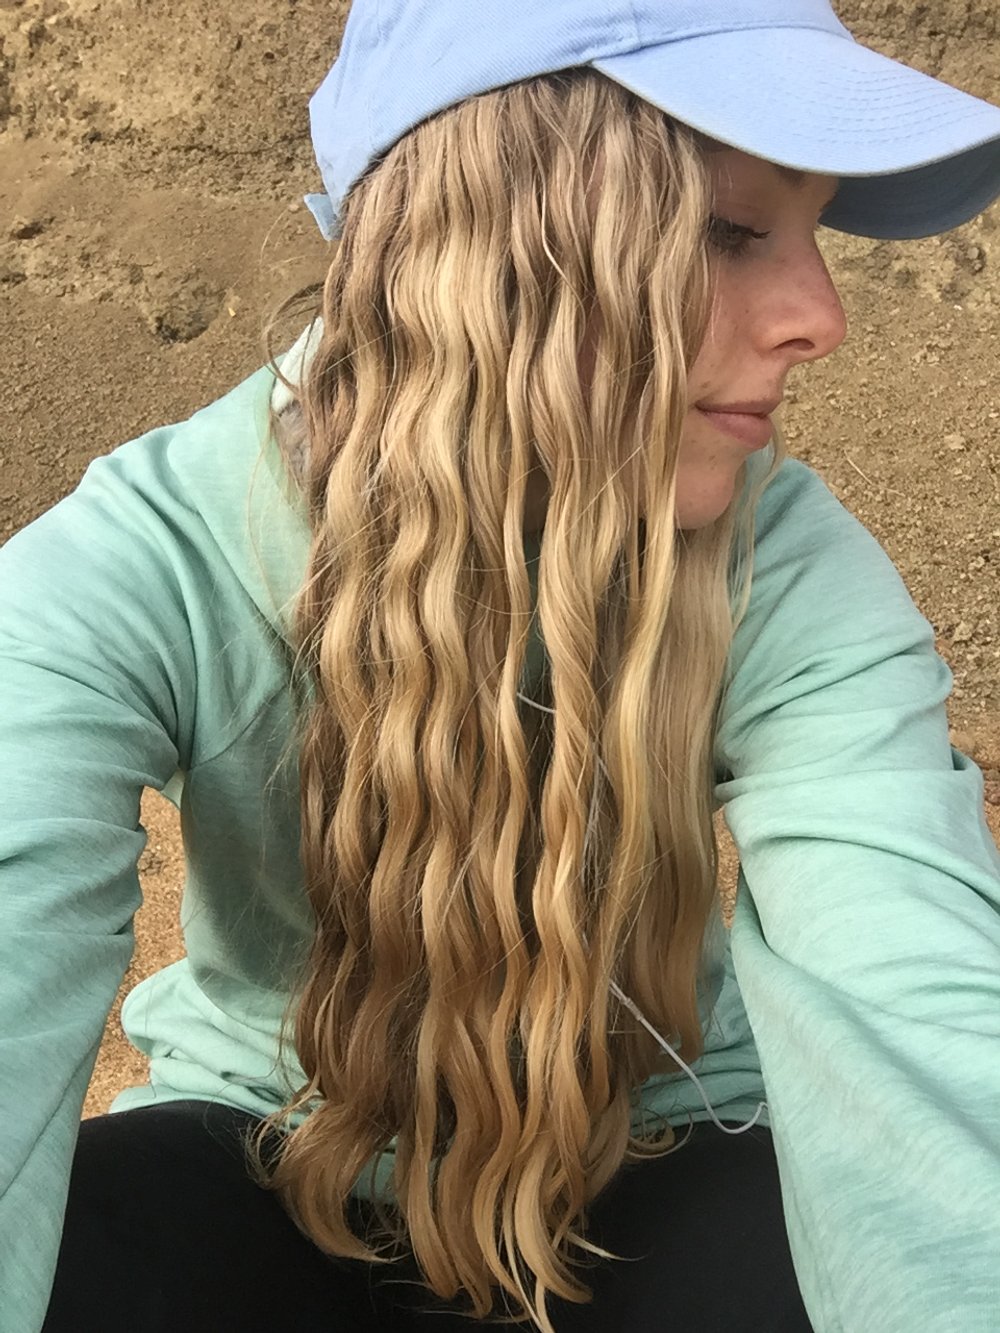
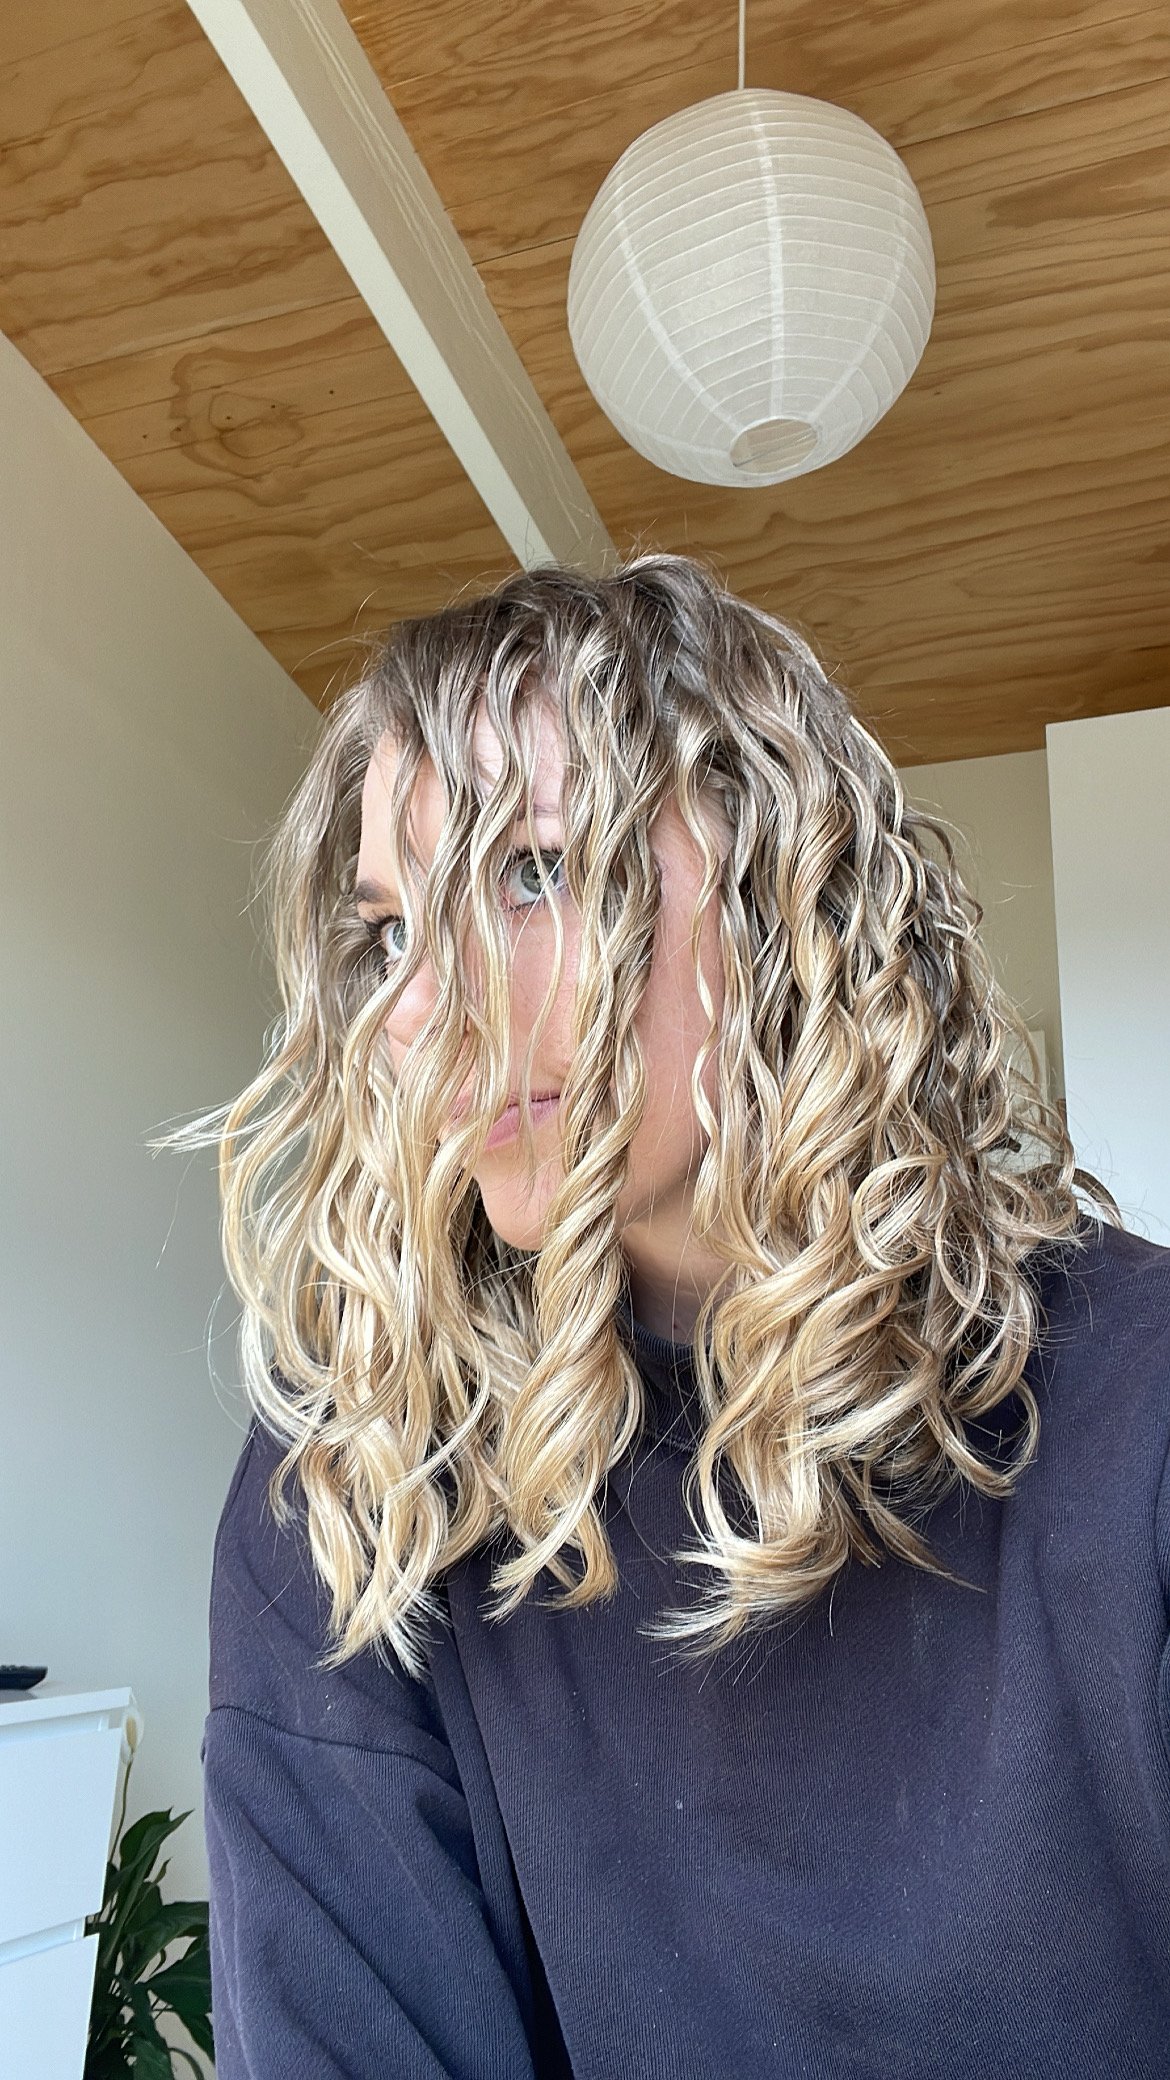
This was my hair after getting it done at a regular hairdresser. I’m not even kidding! I actually went back and got a partial refund because it was incredibly knotty (I lost so much hair brushing out all the knots), sticky from the product she used and incredibly dry and frizzy - just a mess.
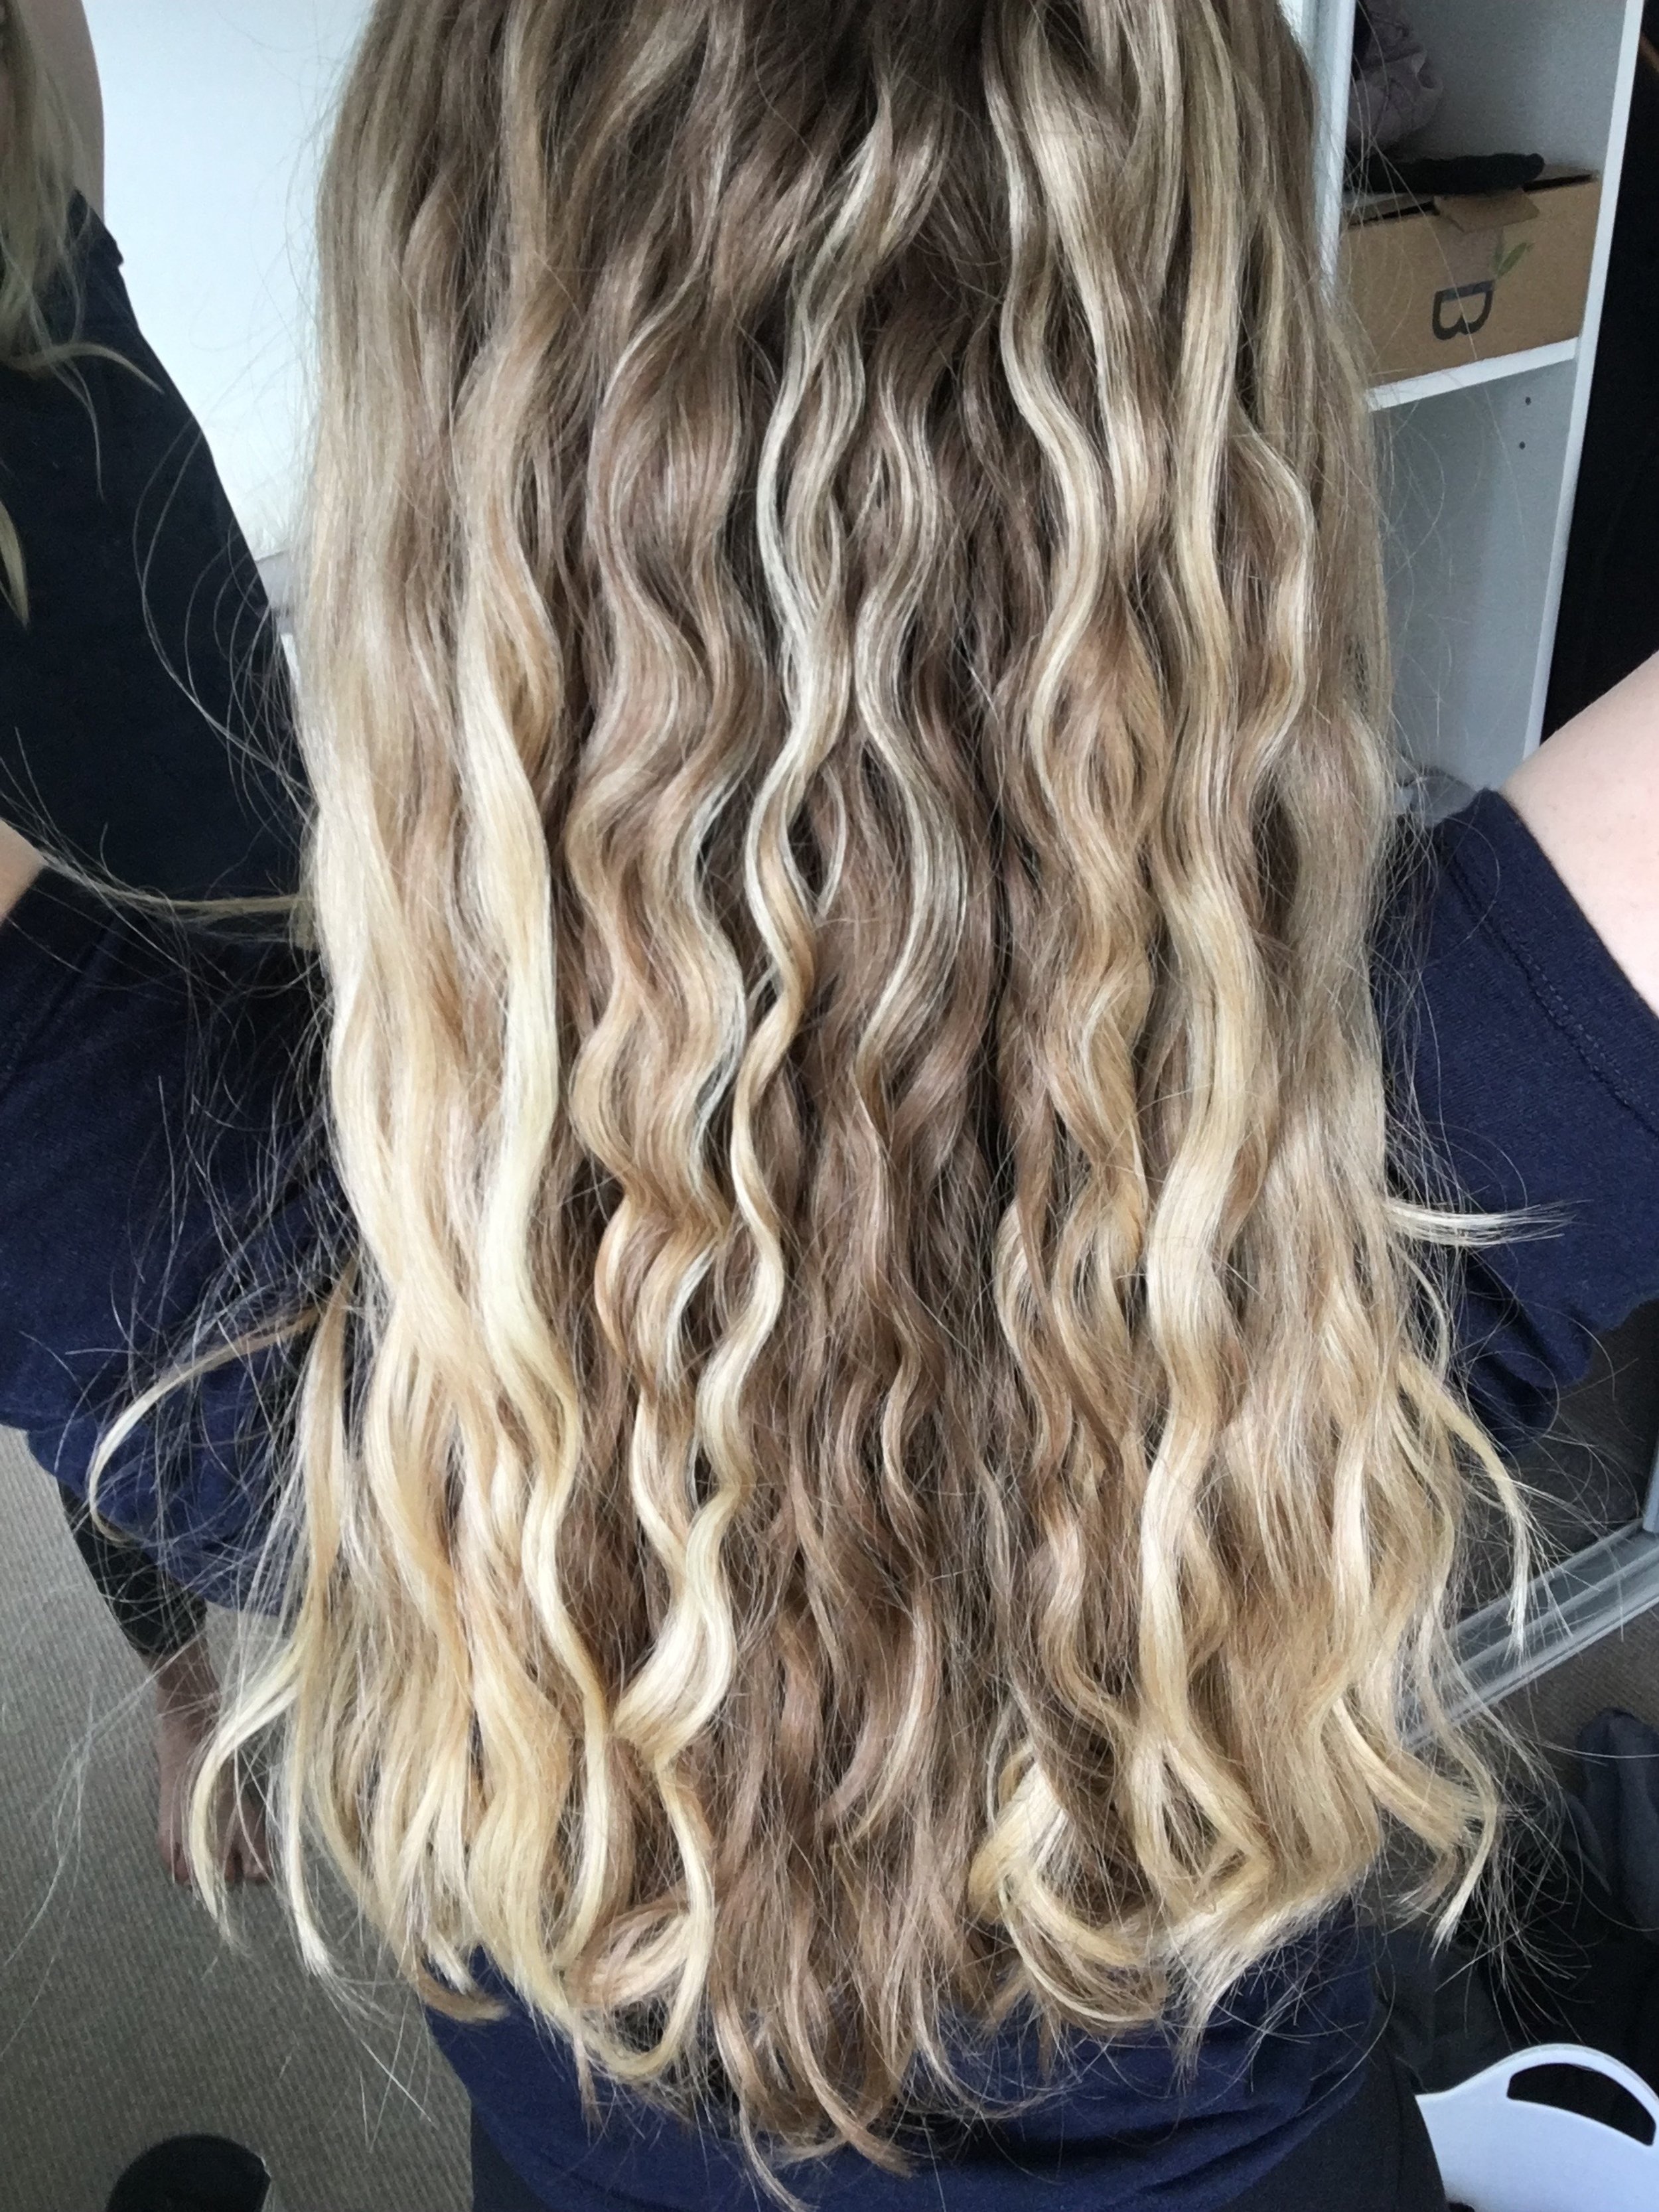
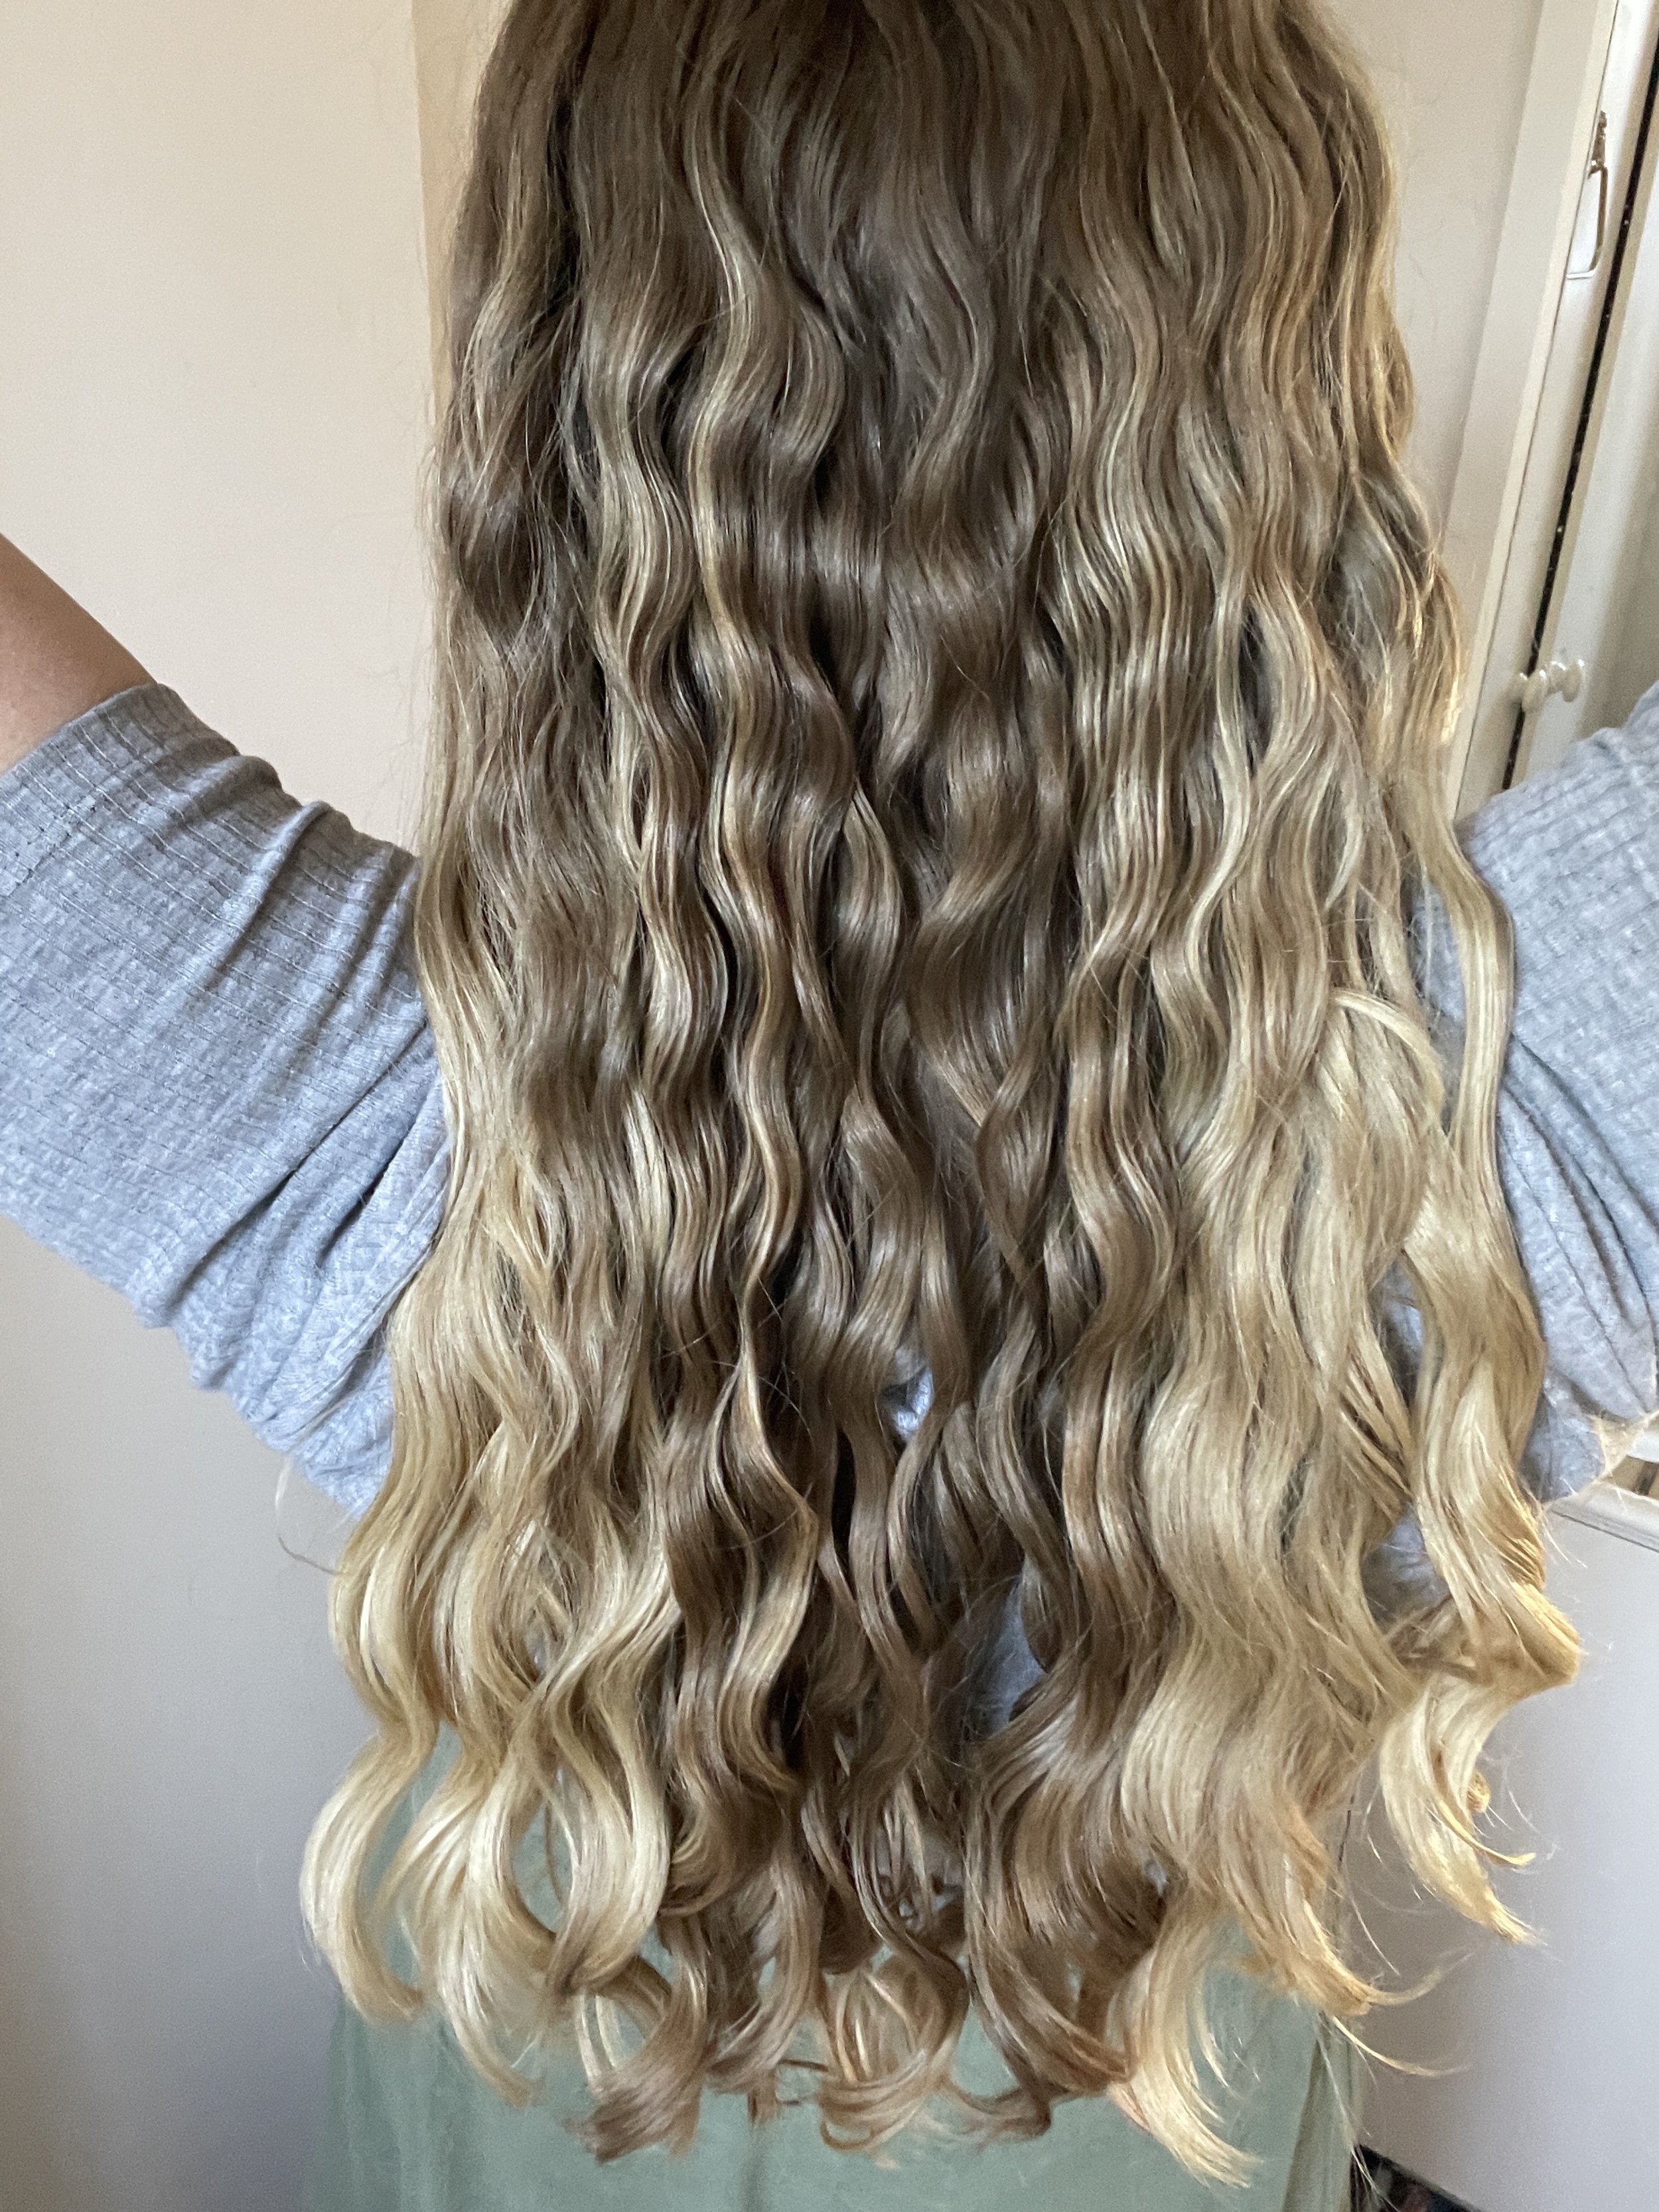
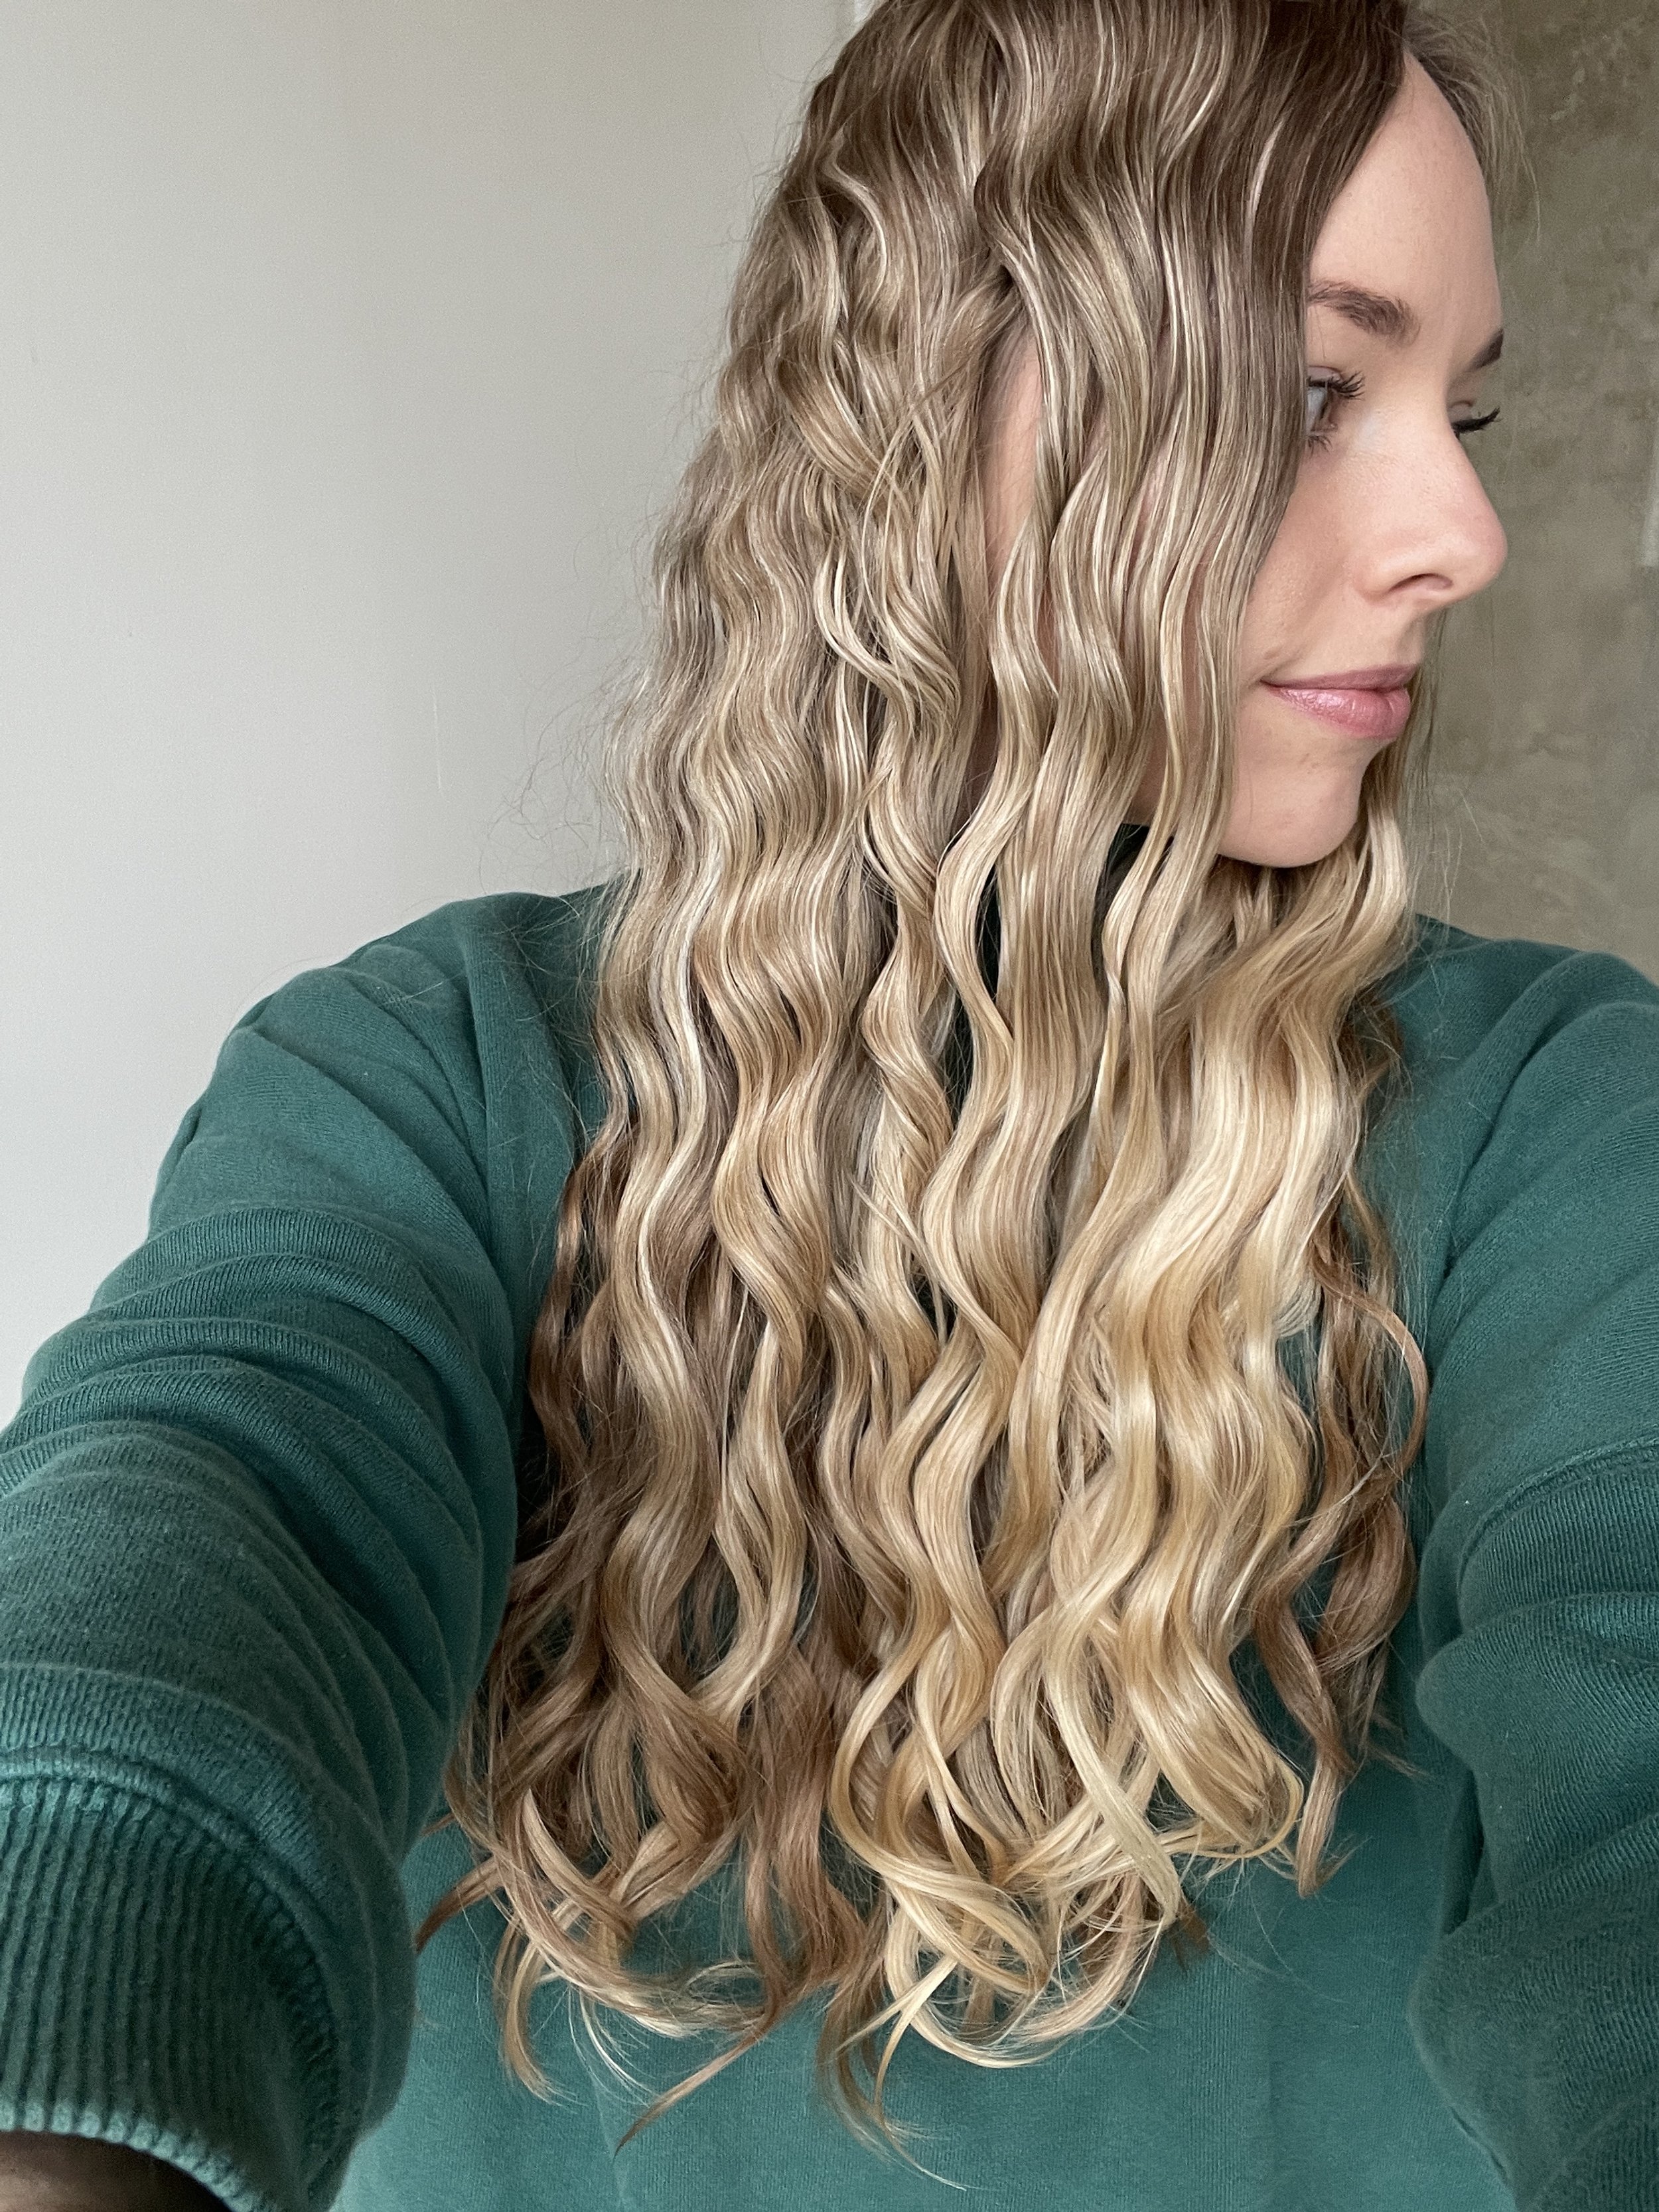
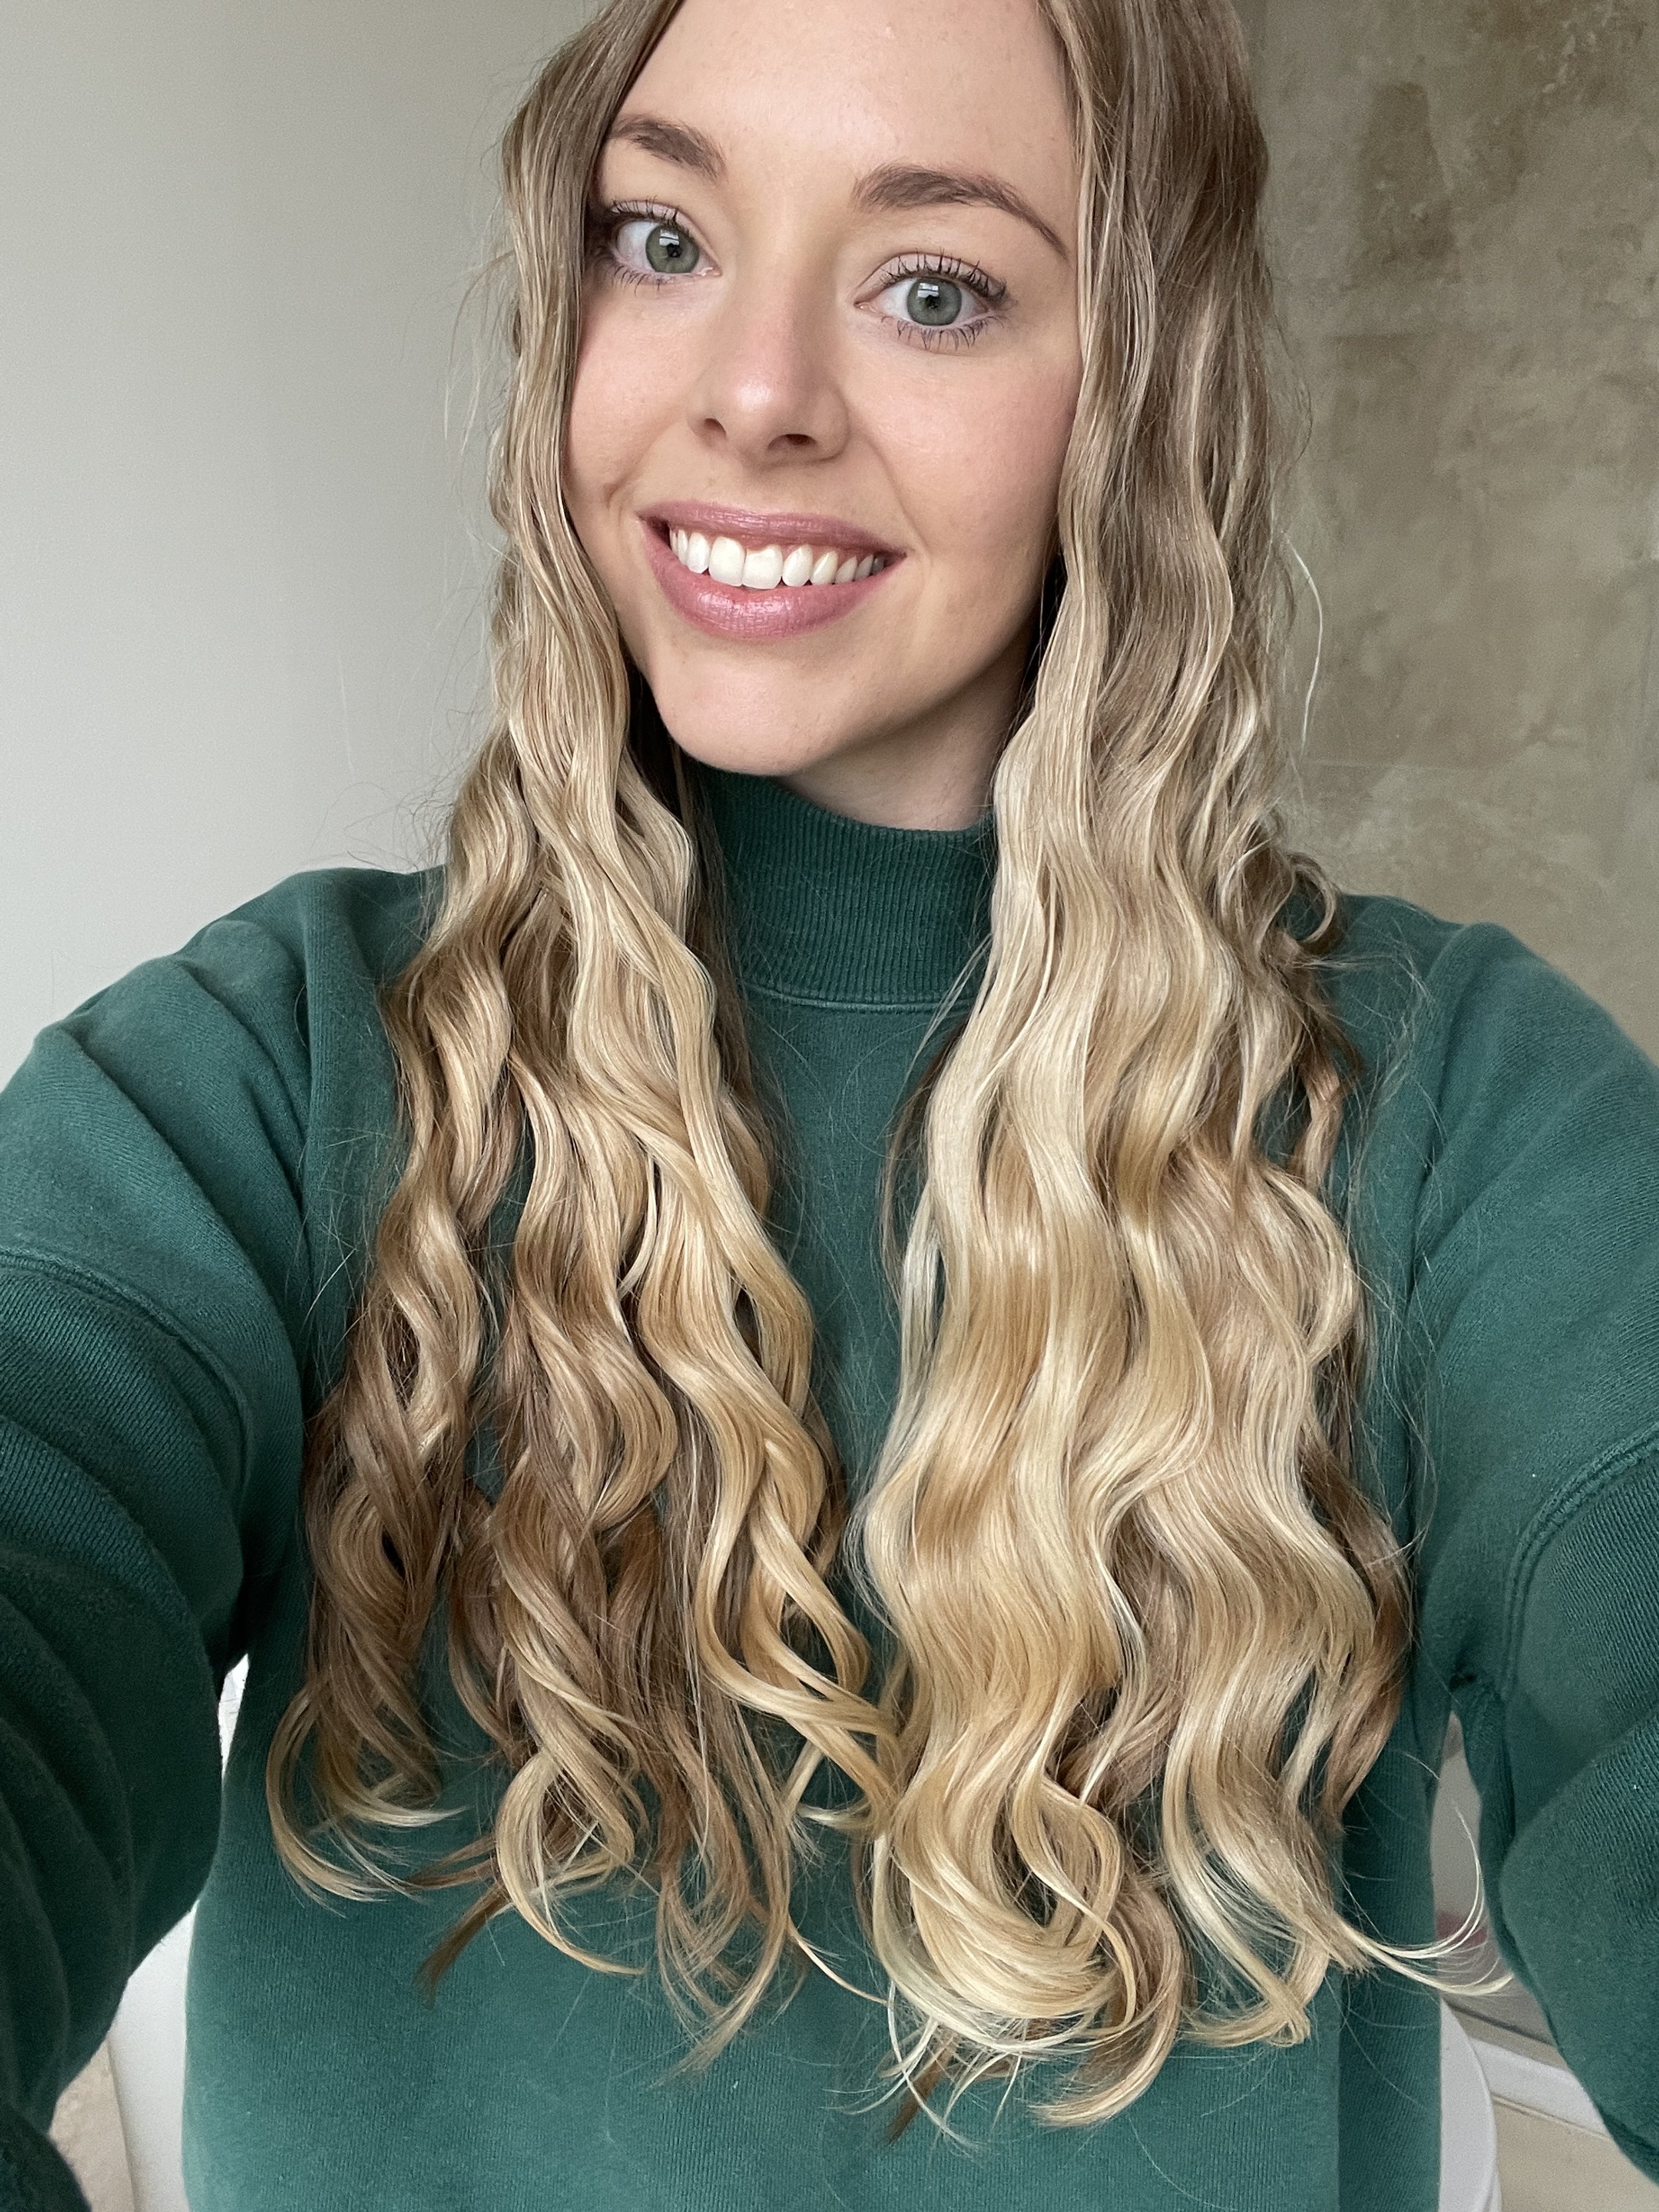
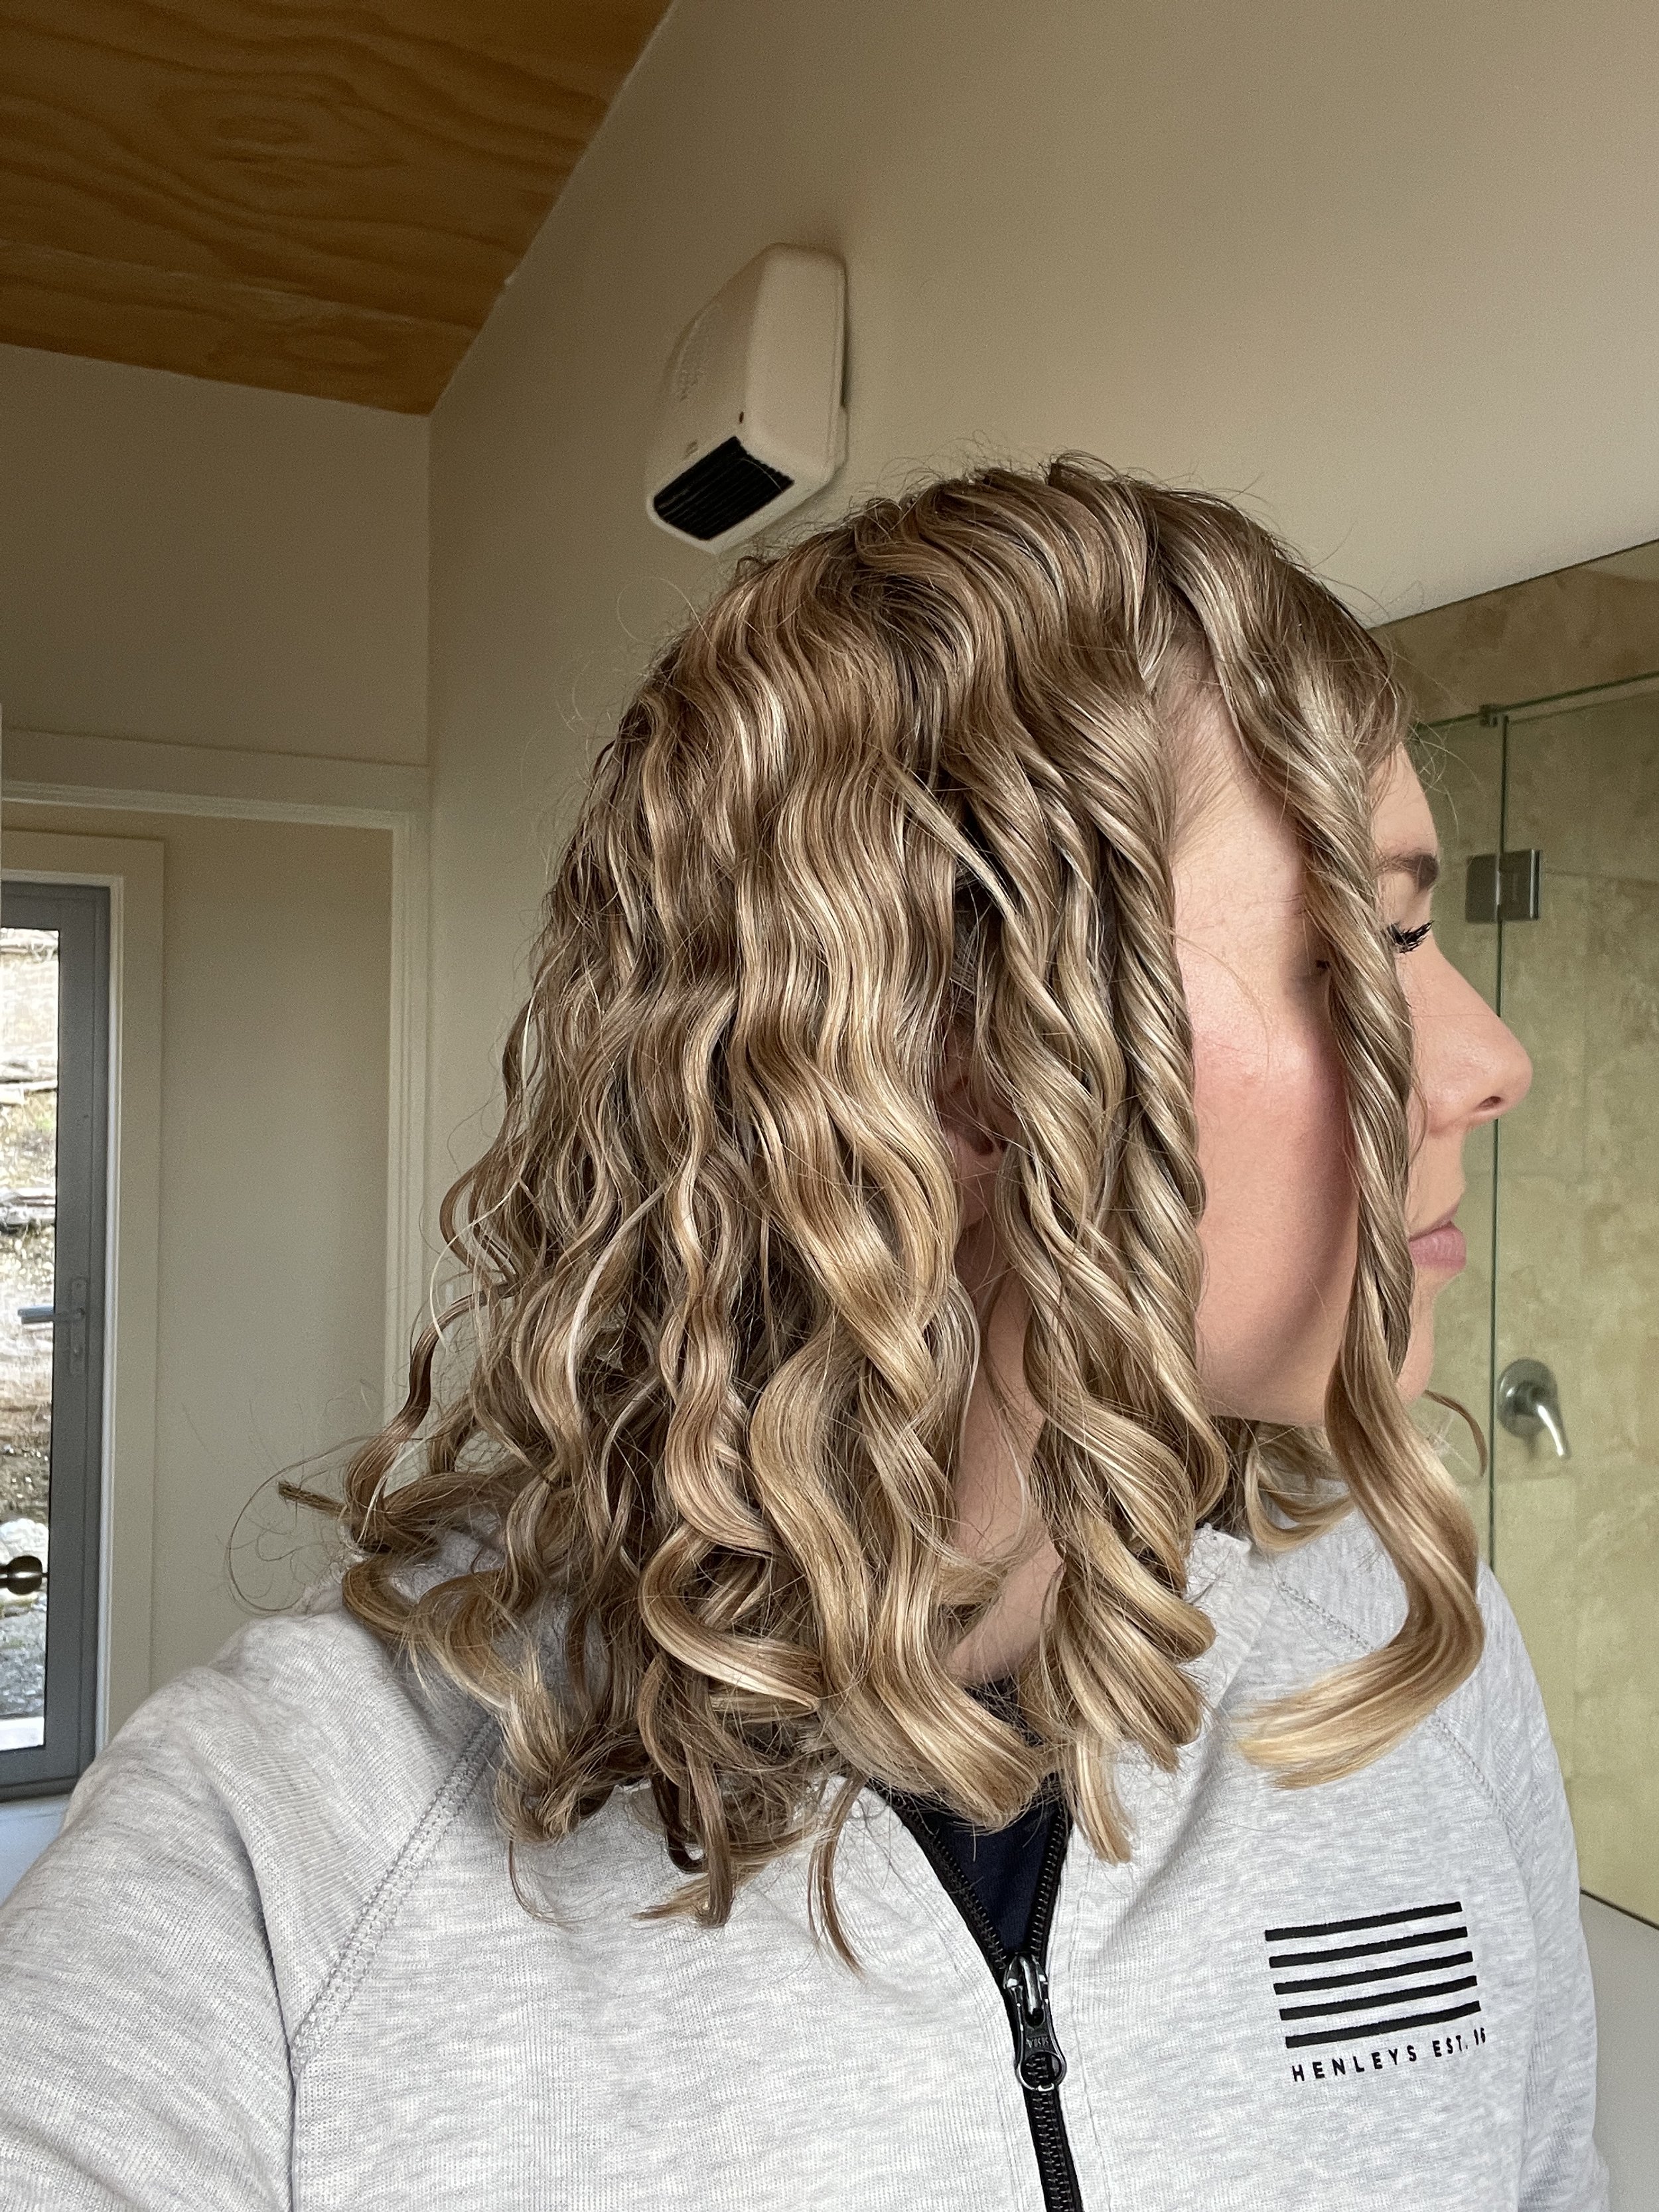
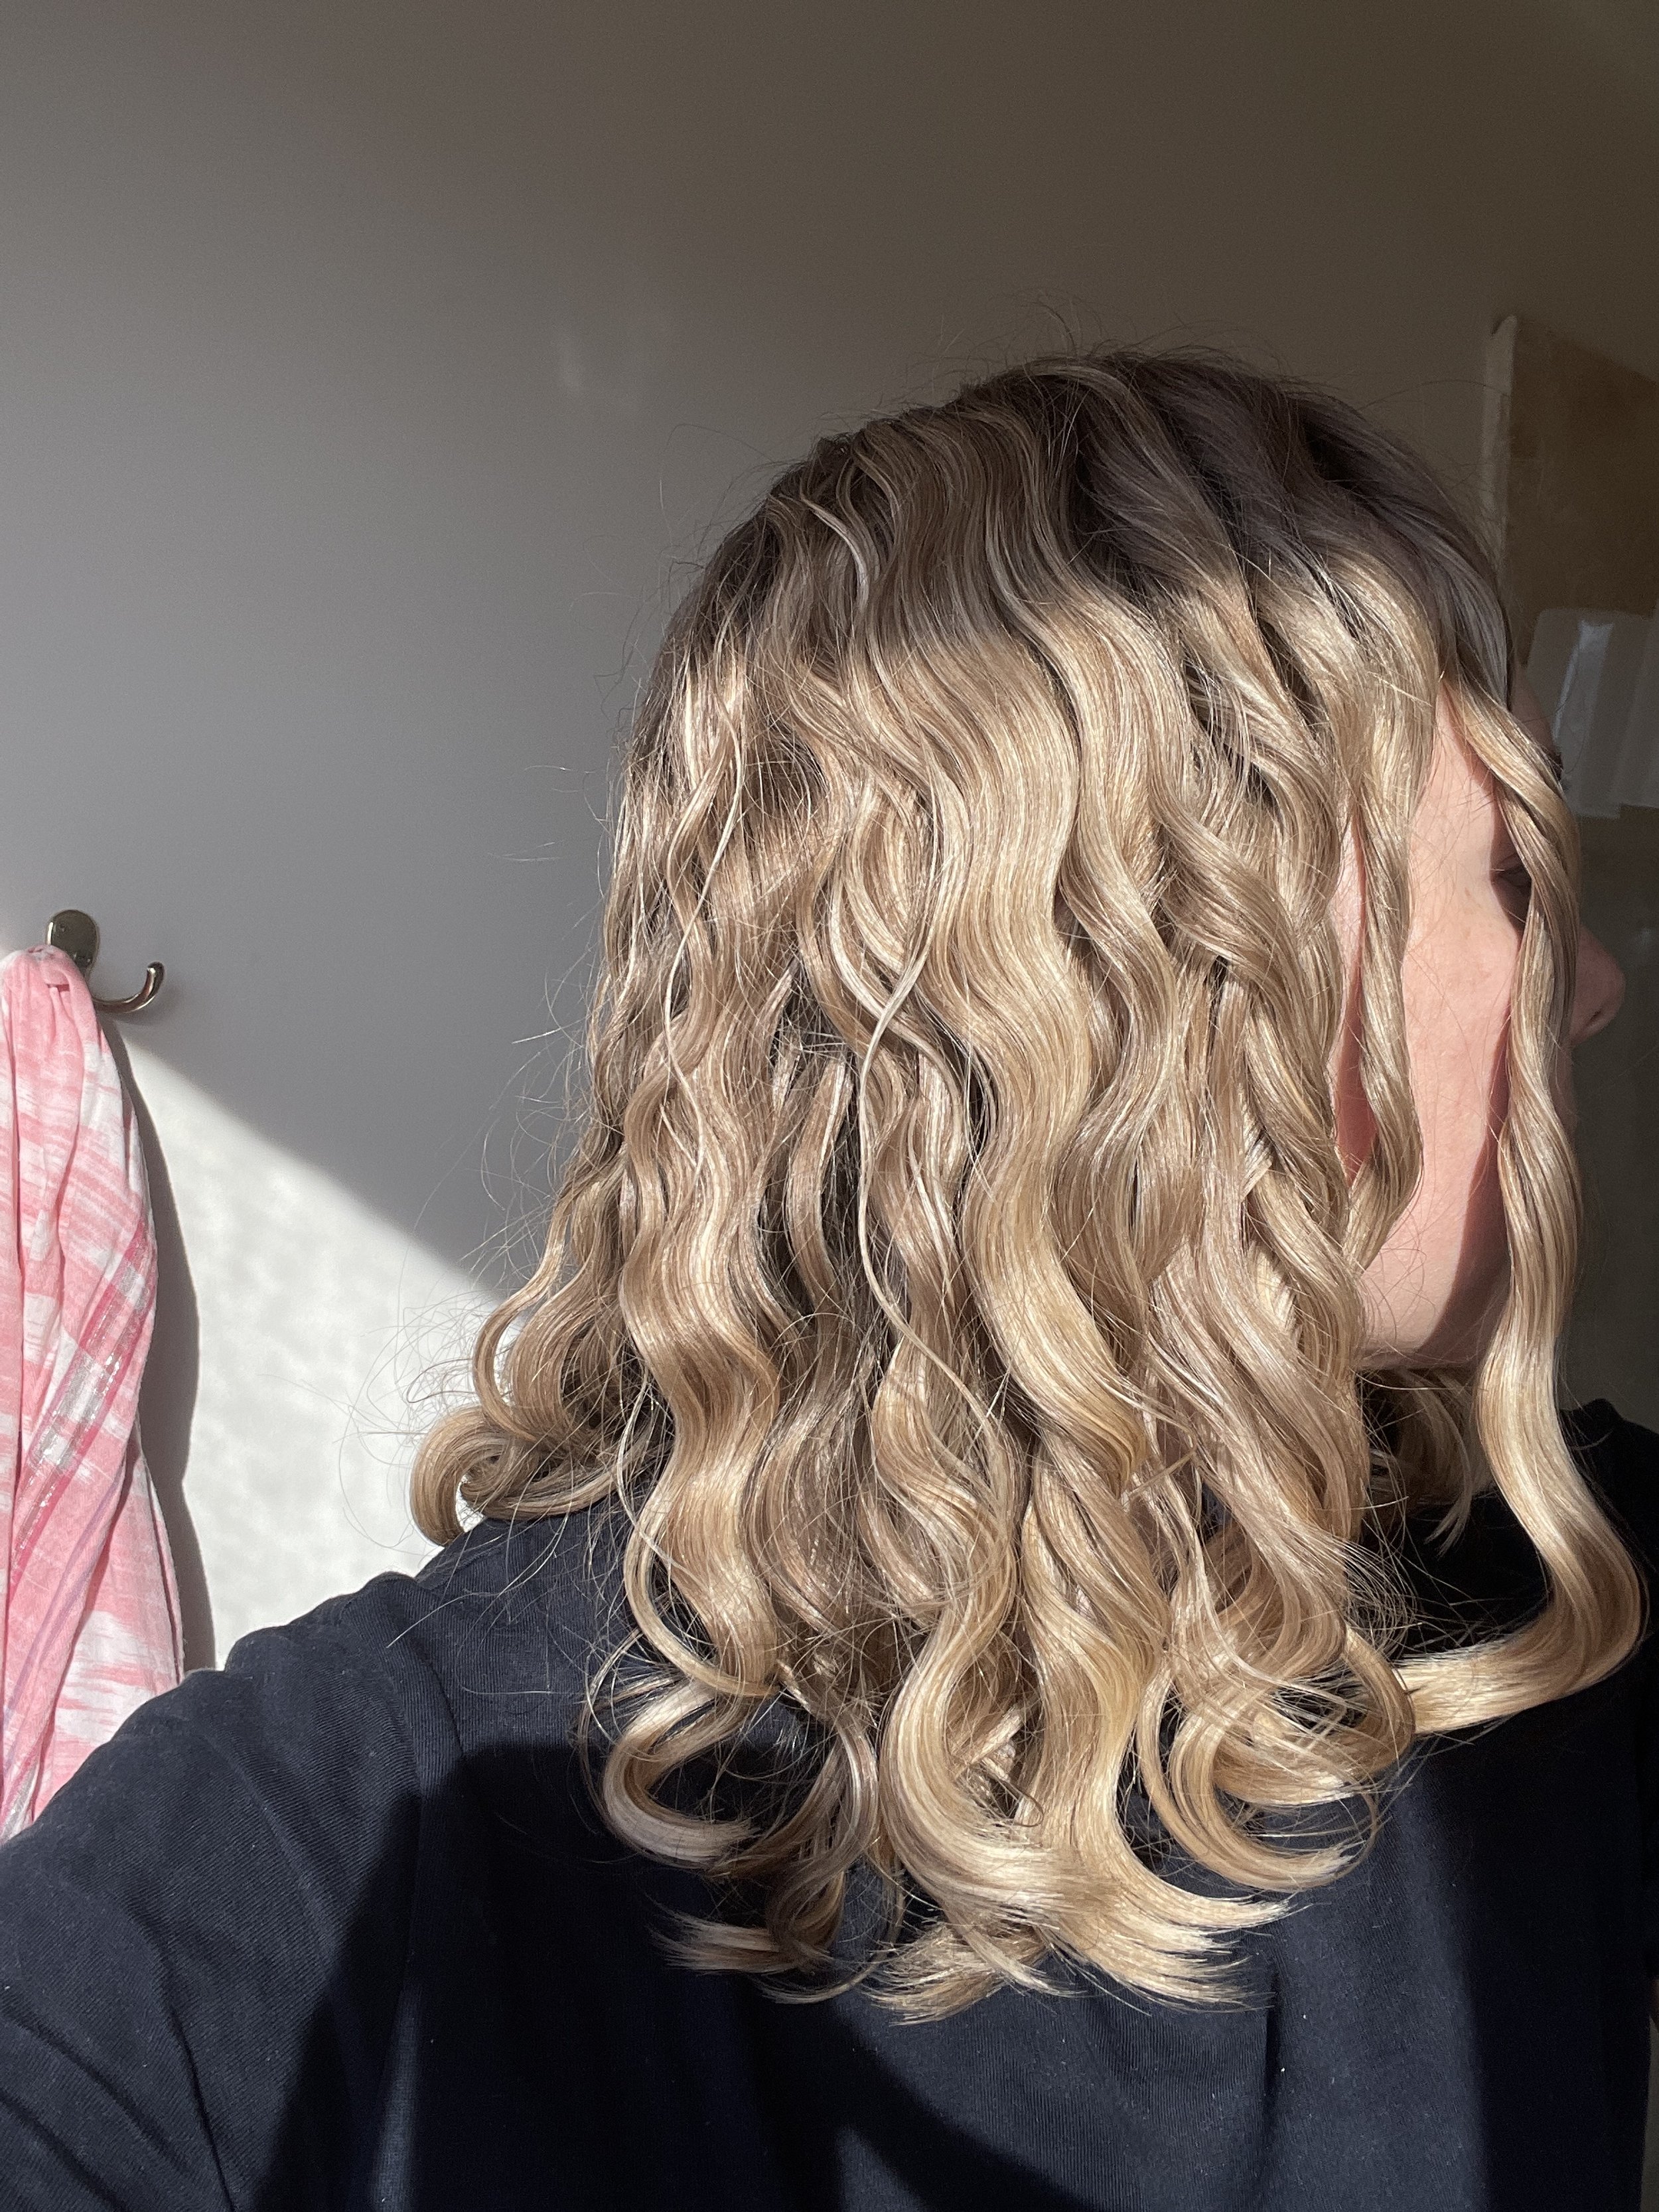
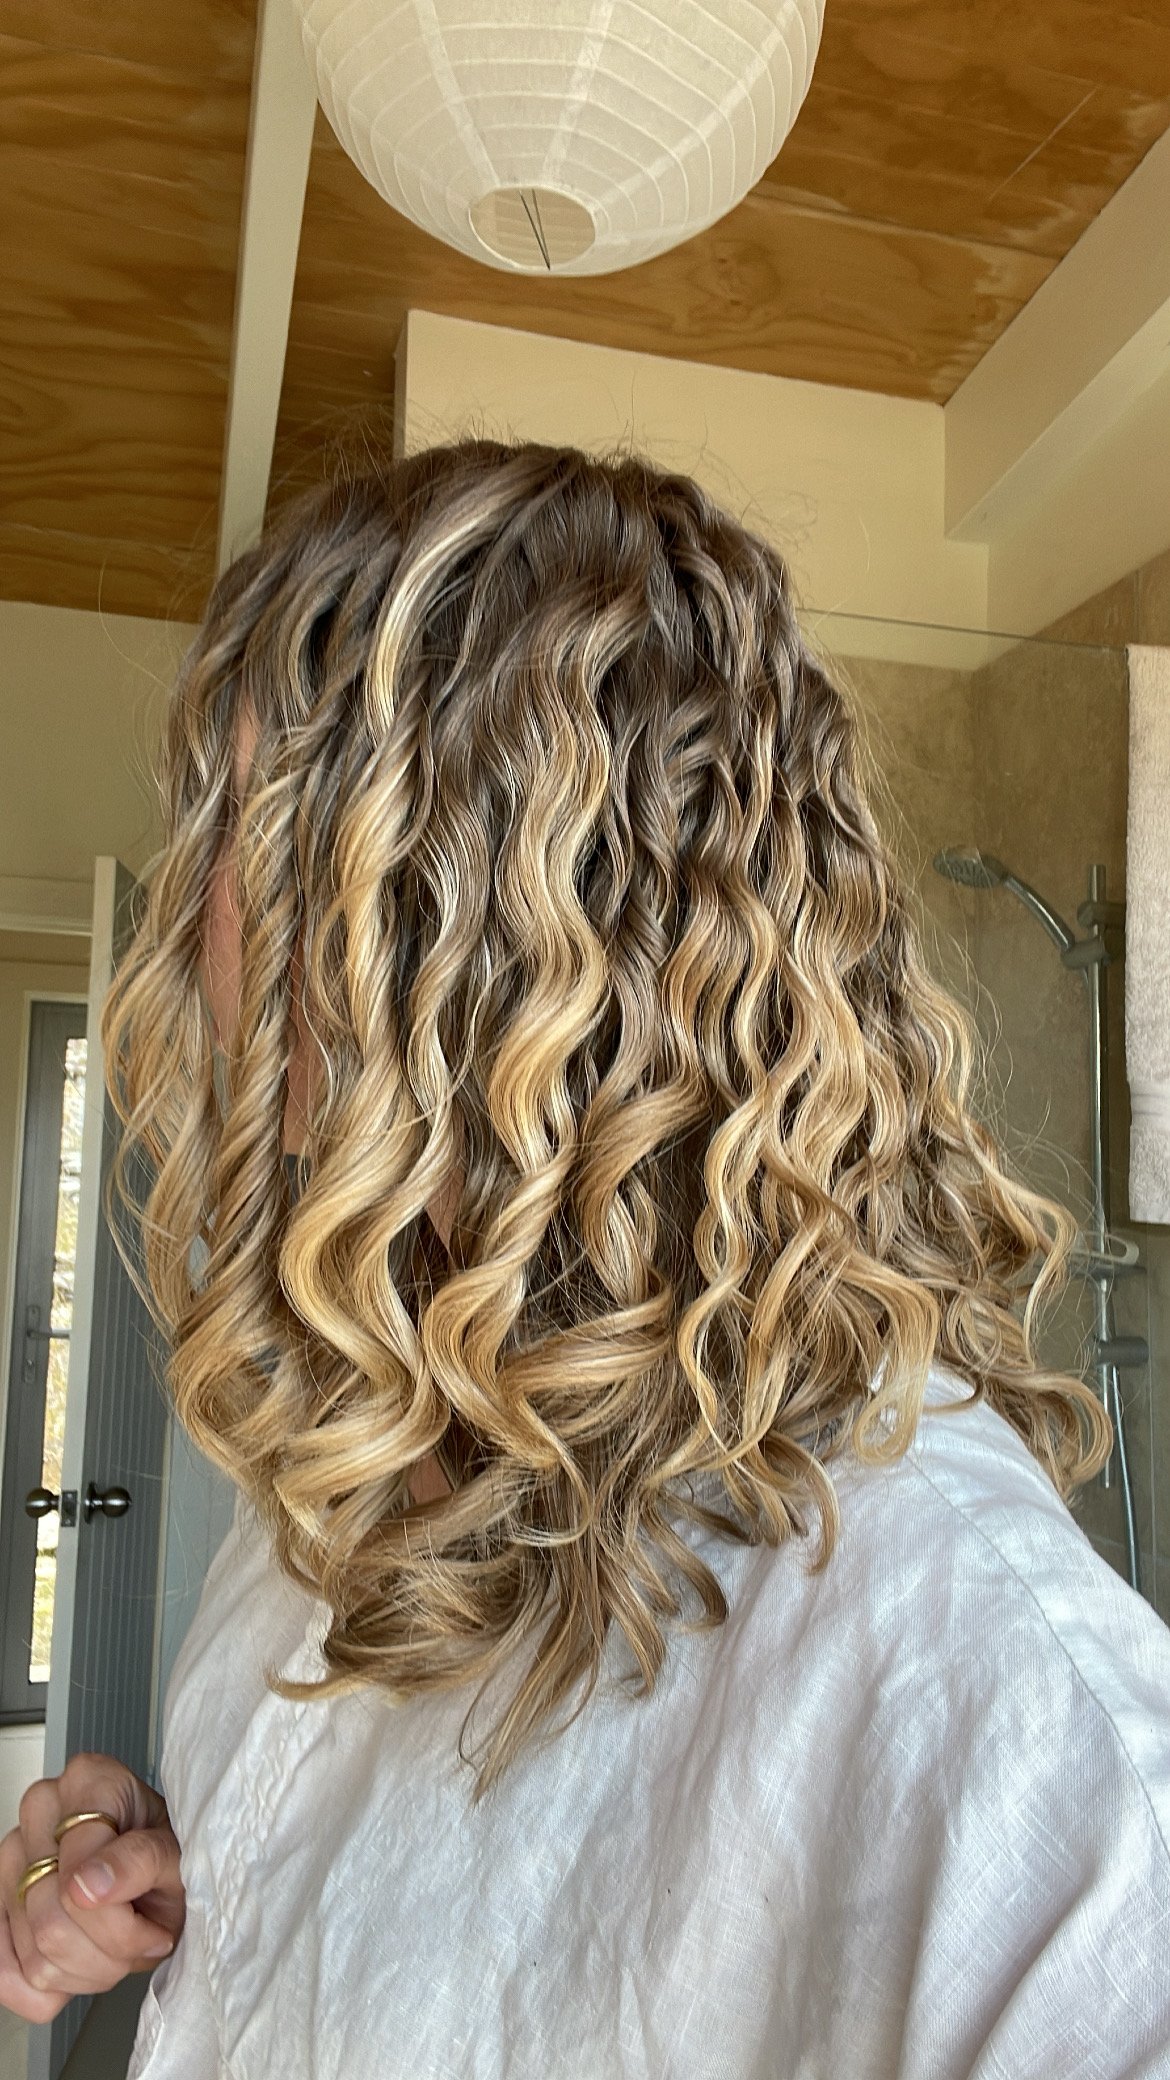
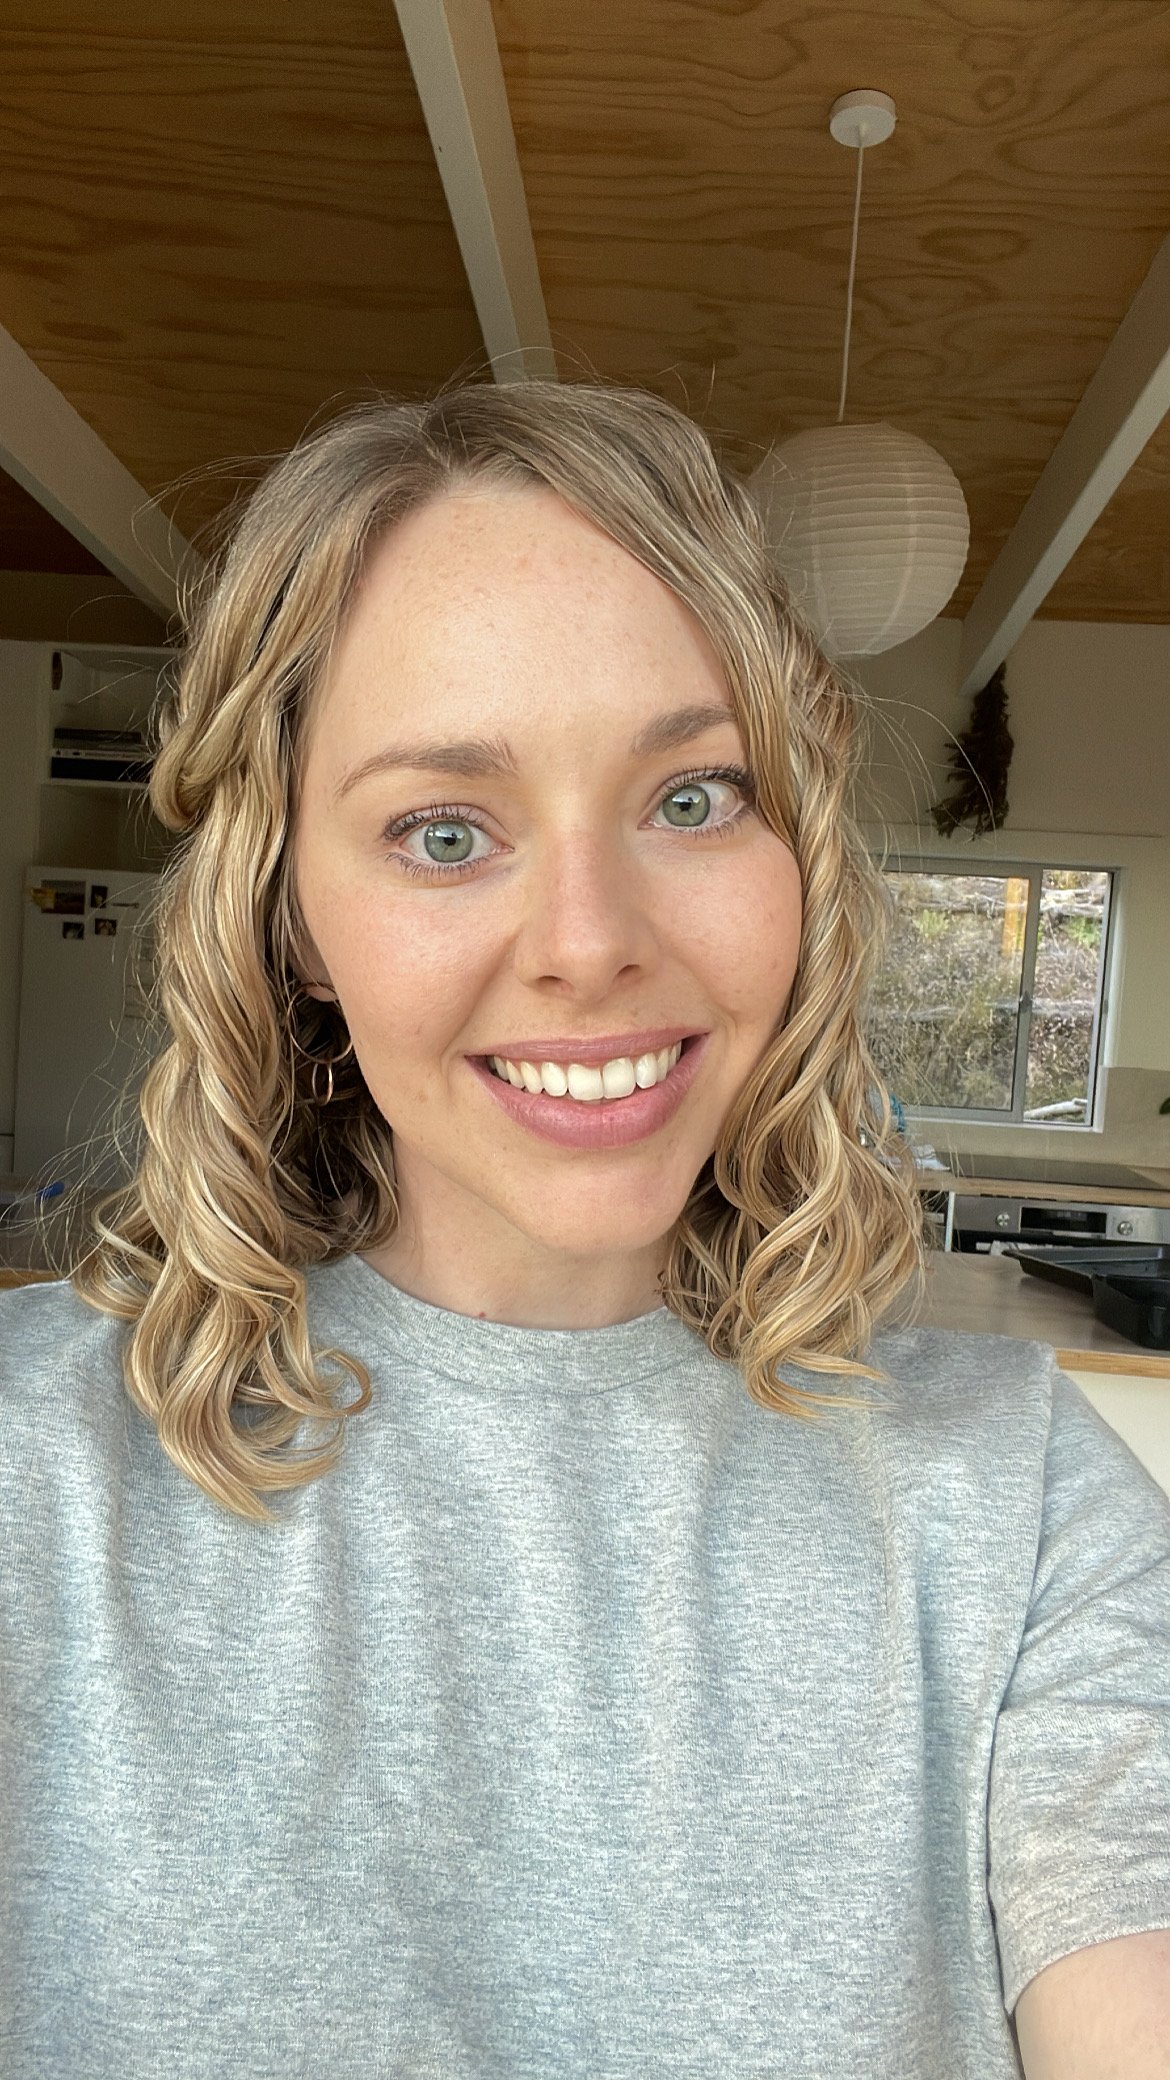
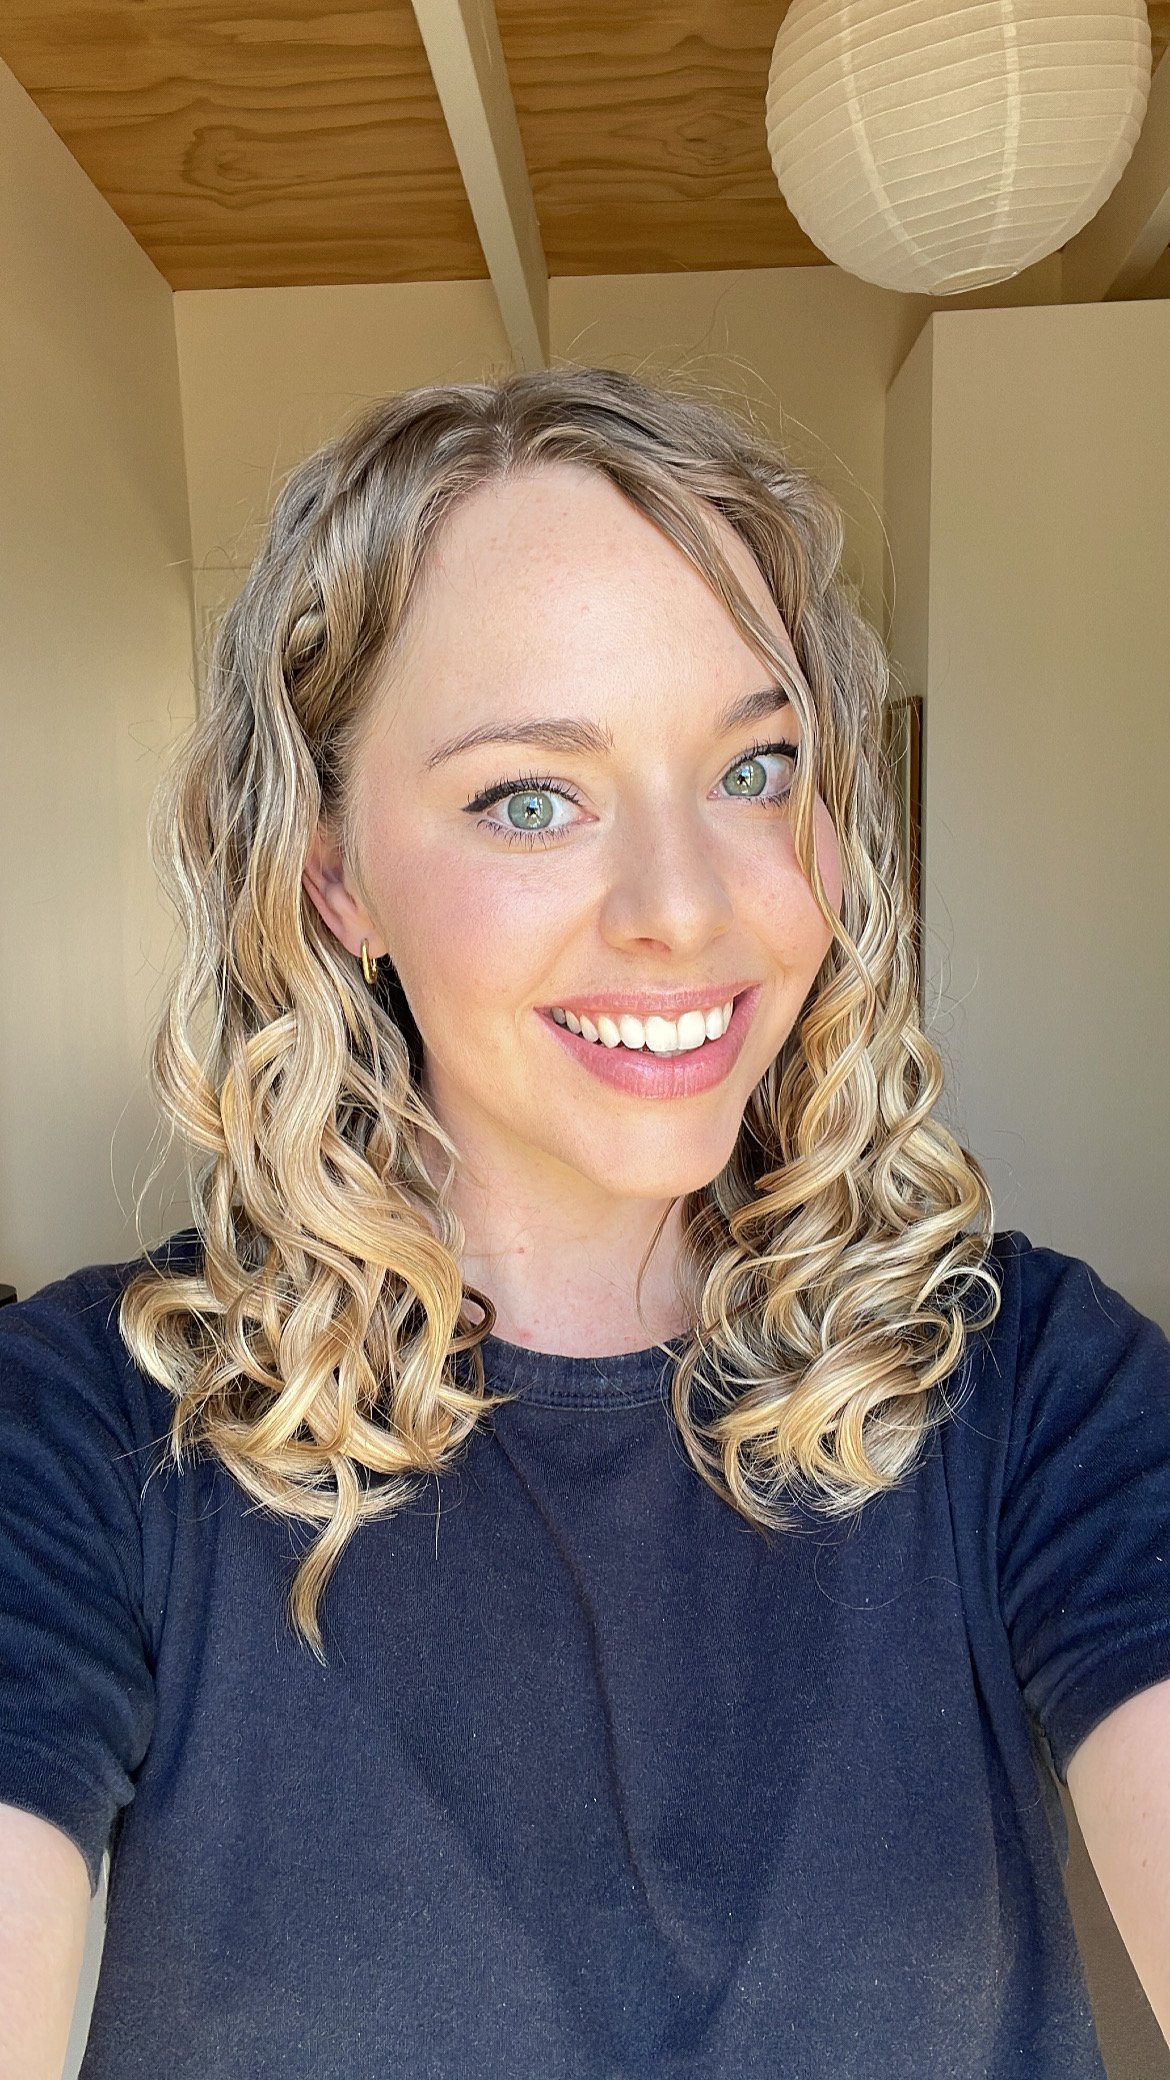
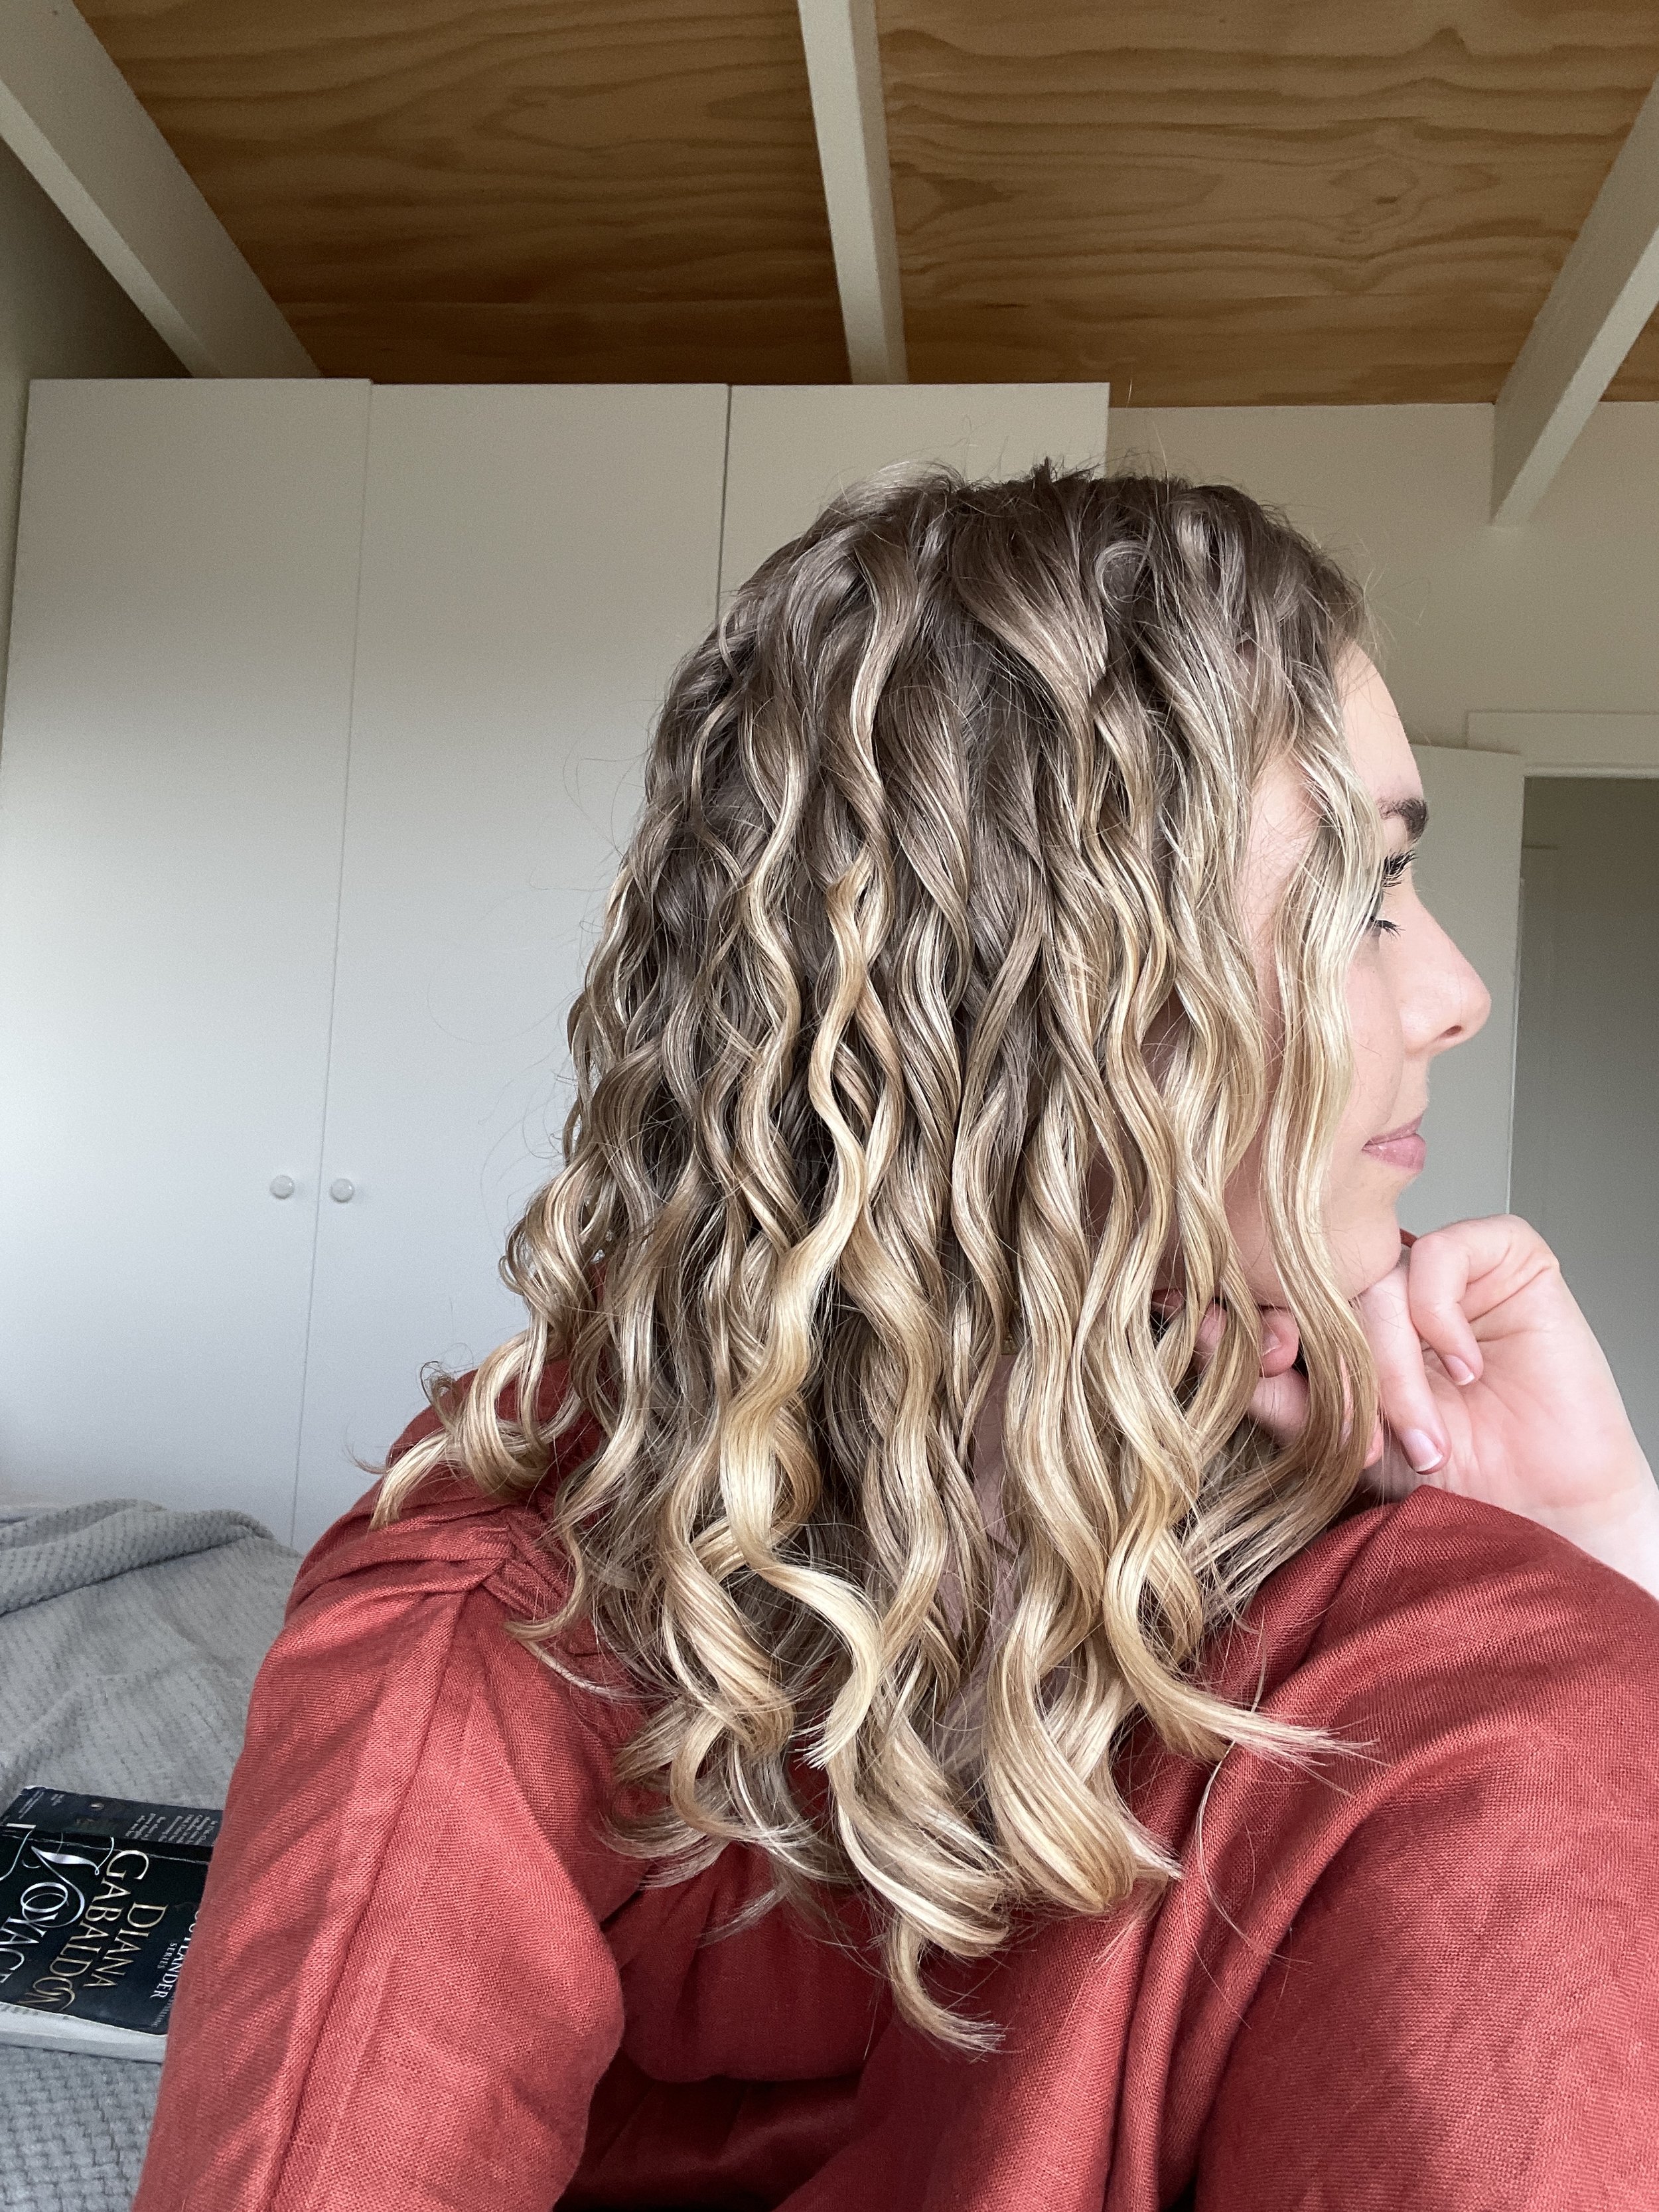
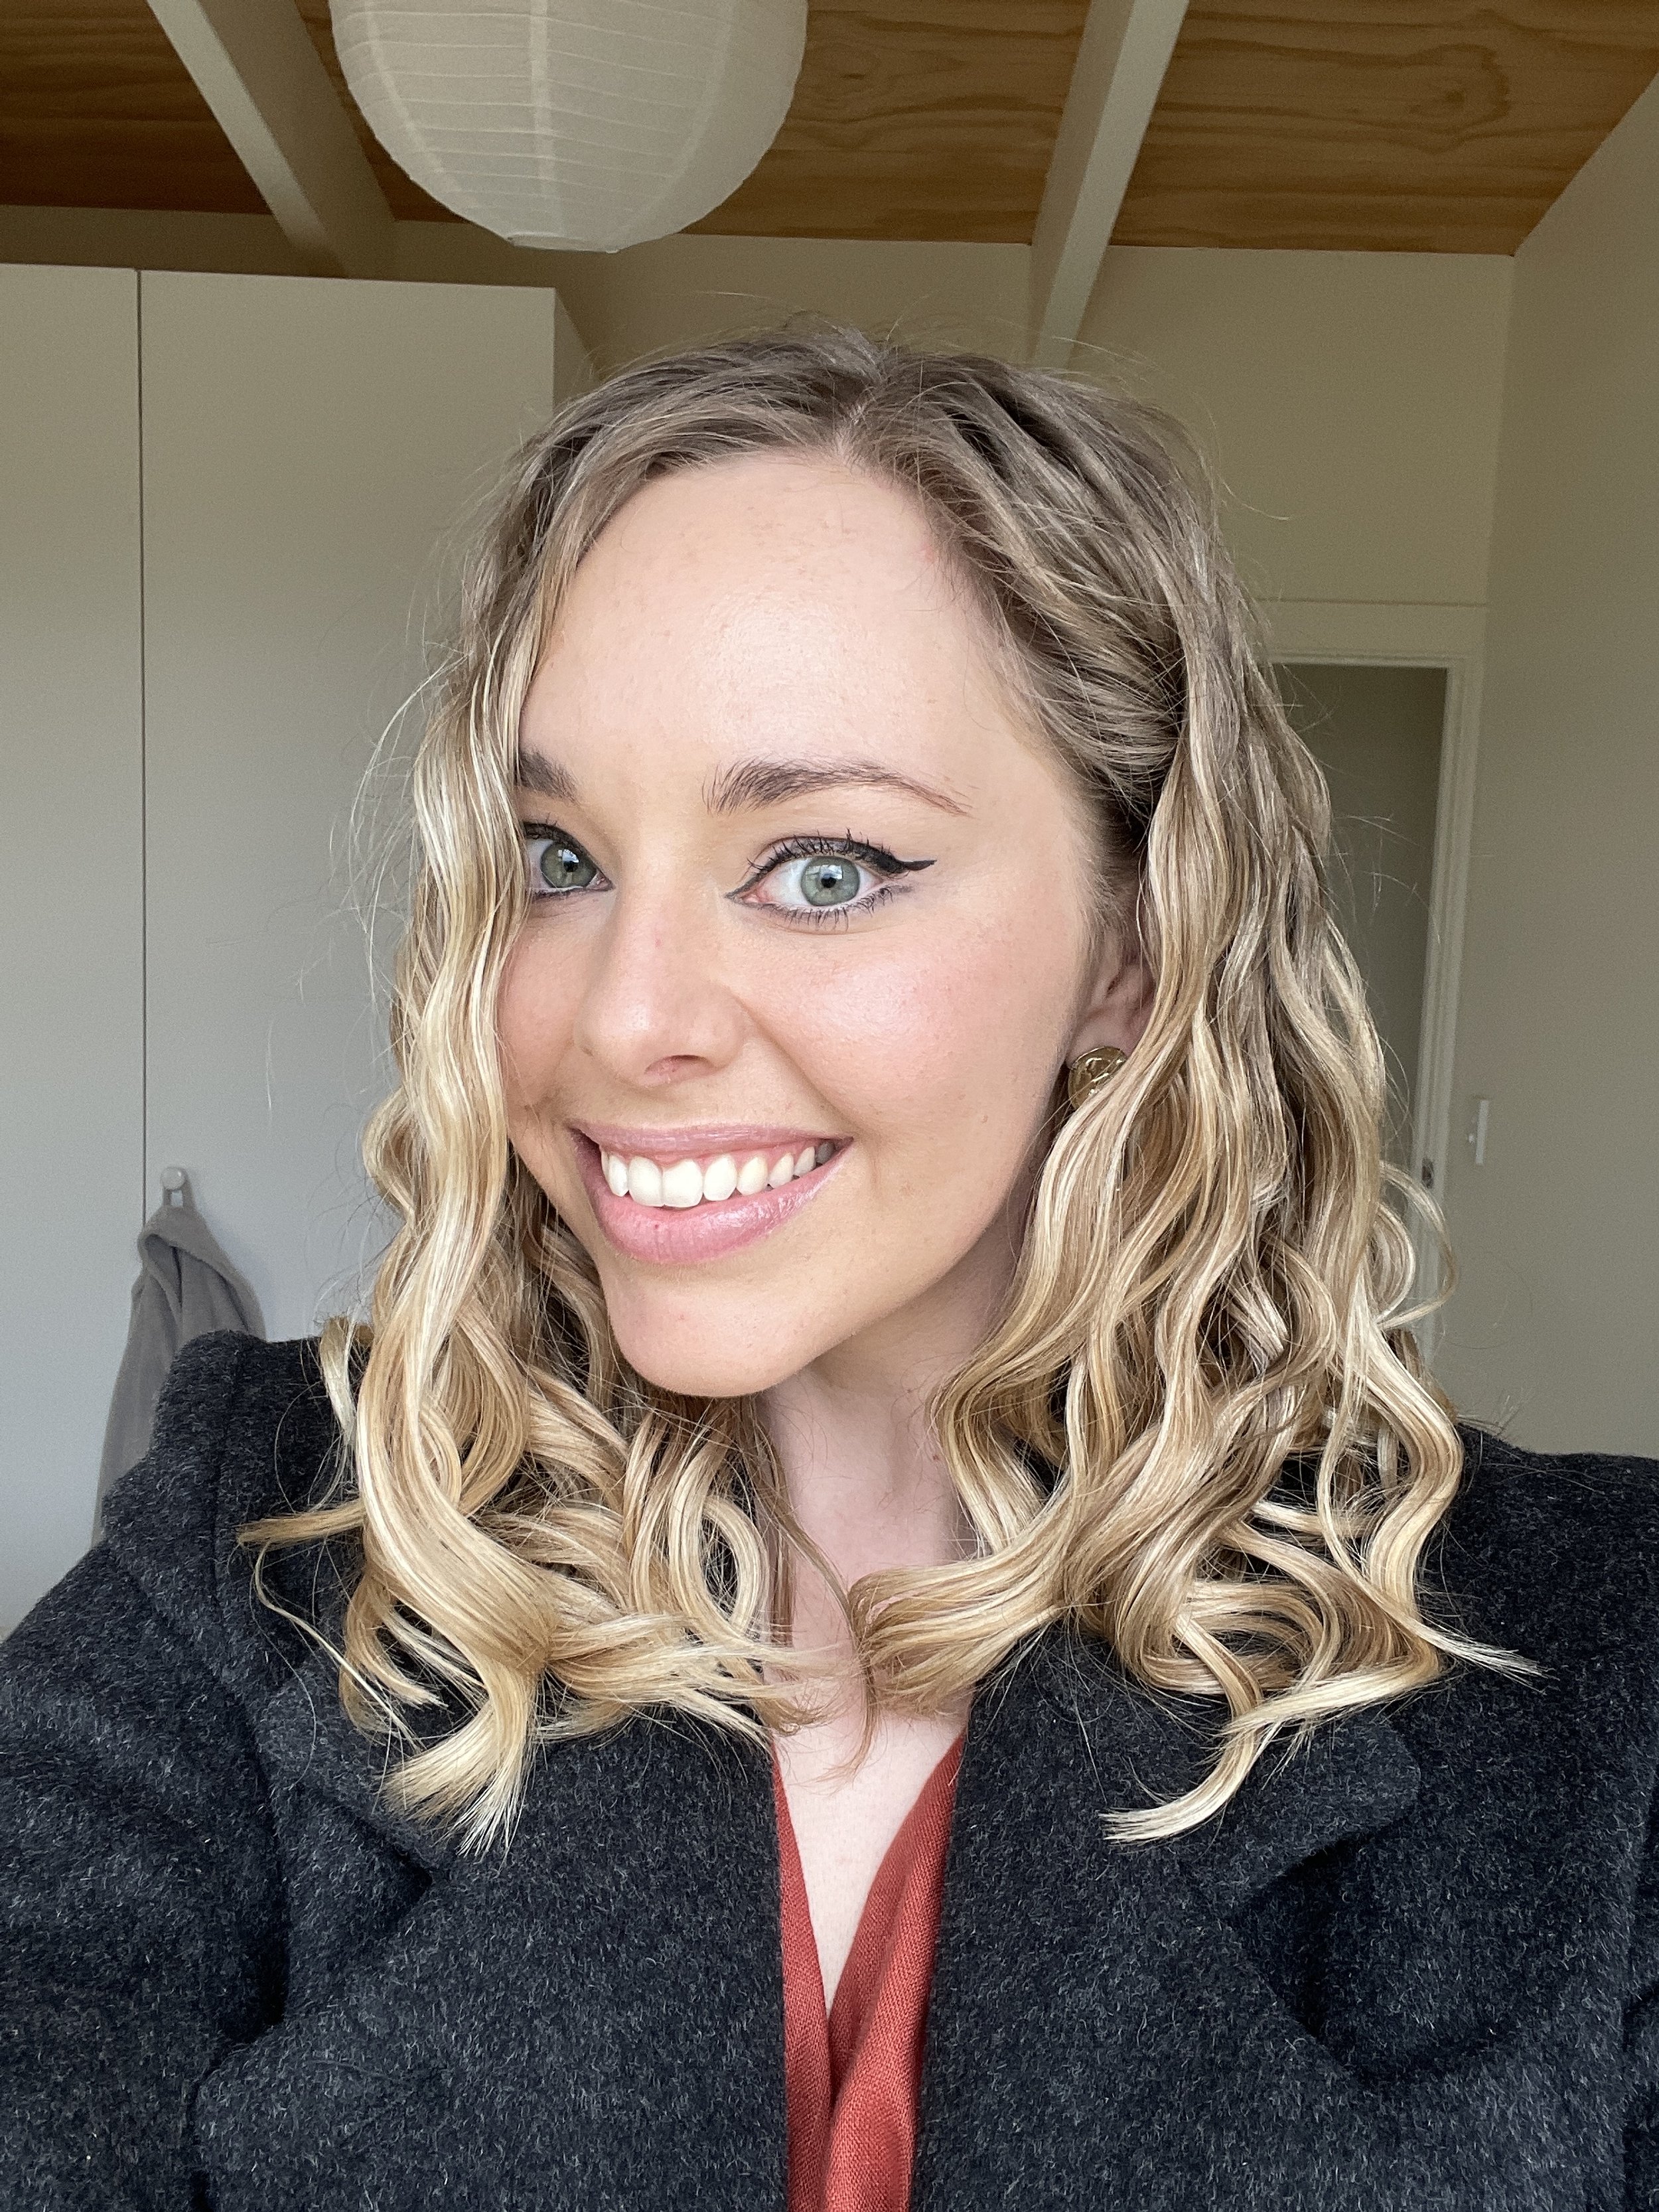
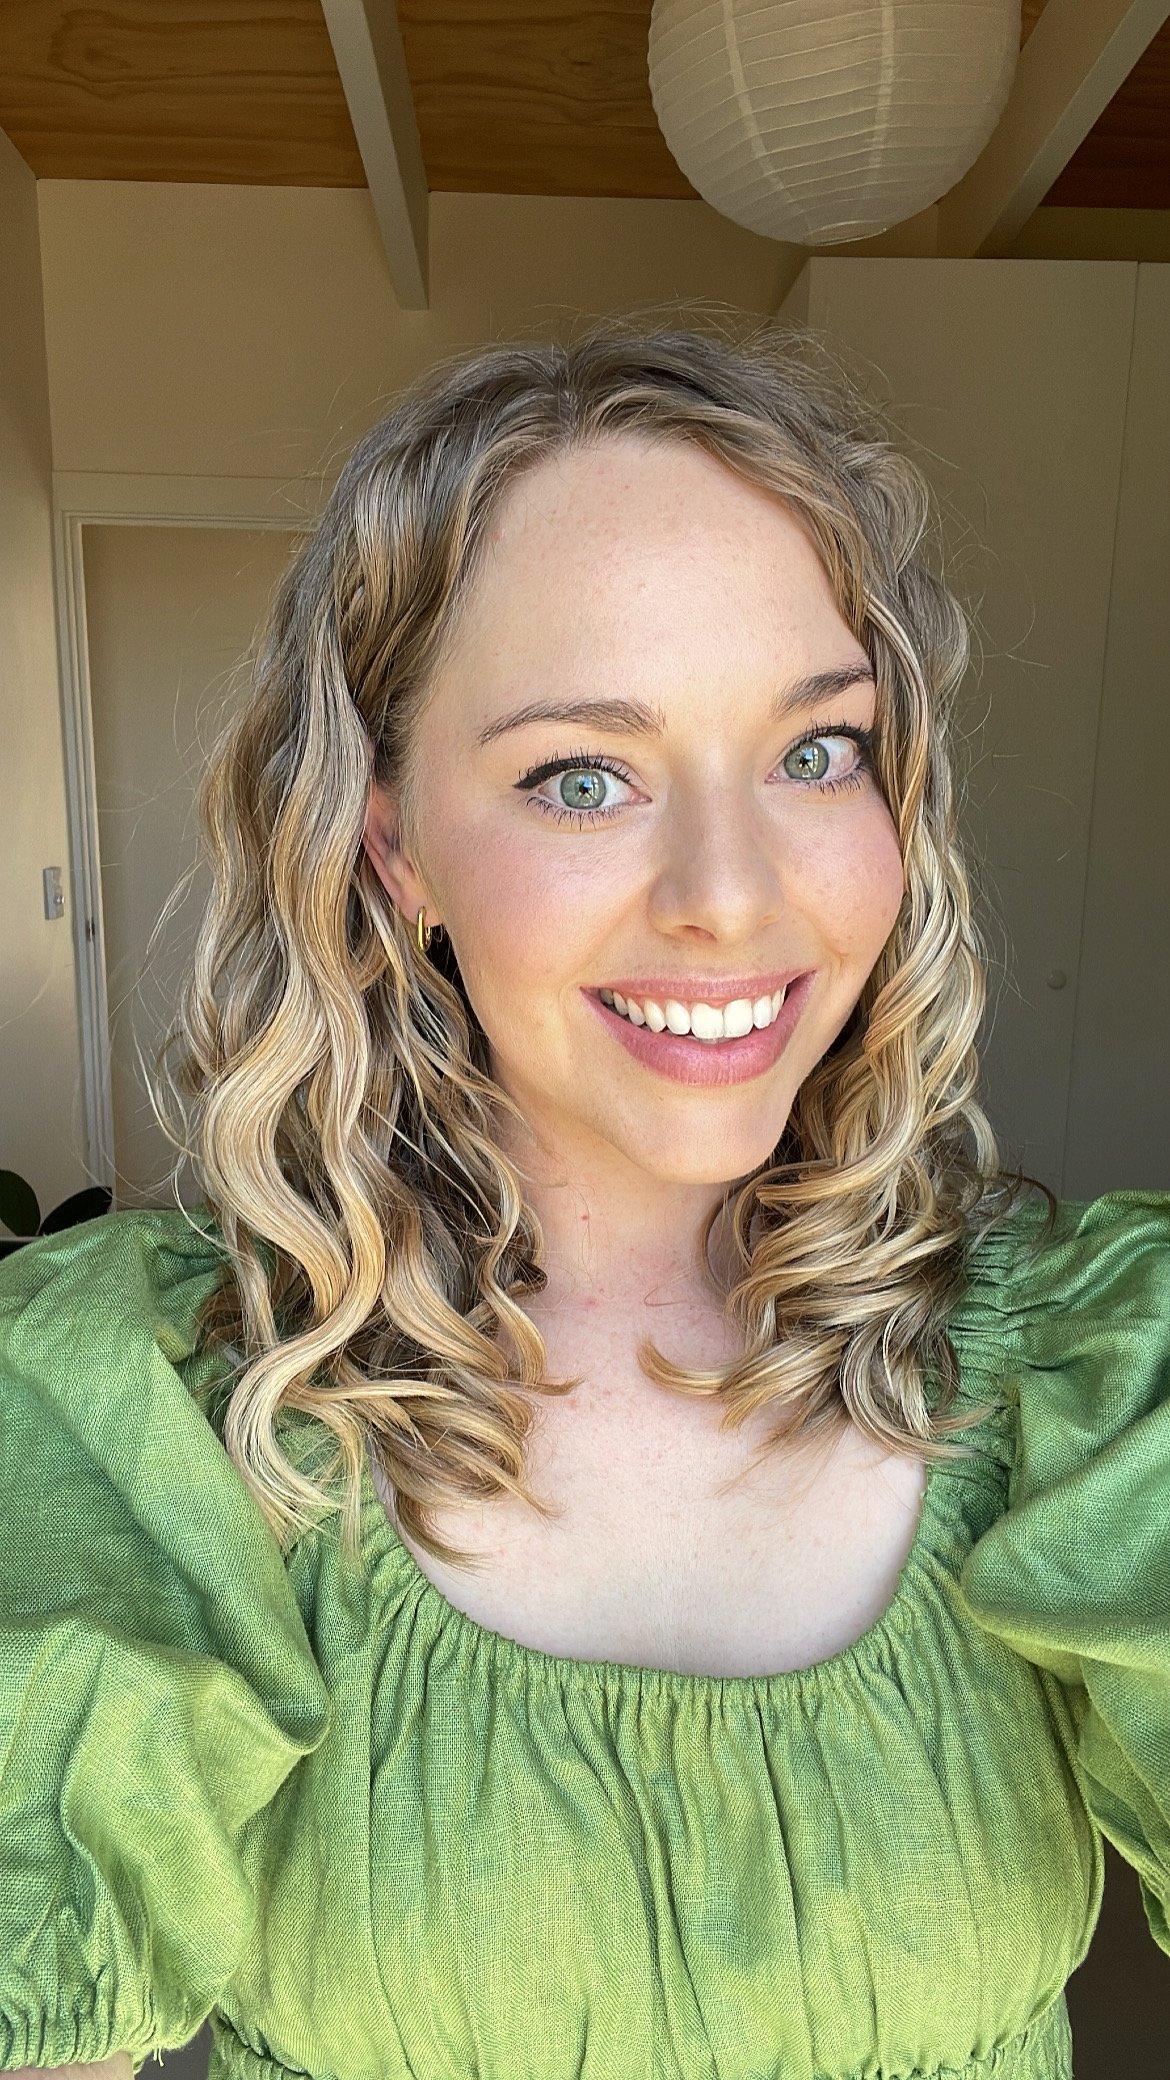
This is my hair after leaving my curly hair specialist / salon. You can see my hair is actually hydrated and looks much healthier compared to the pic on the left.
P.S Ignore the difference in colour, I just took the photo in bad lighting making it look a little pink.
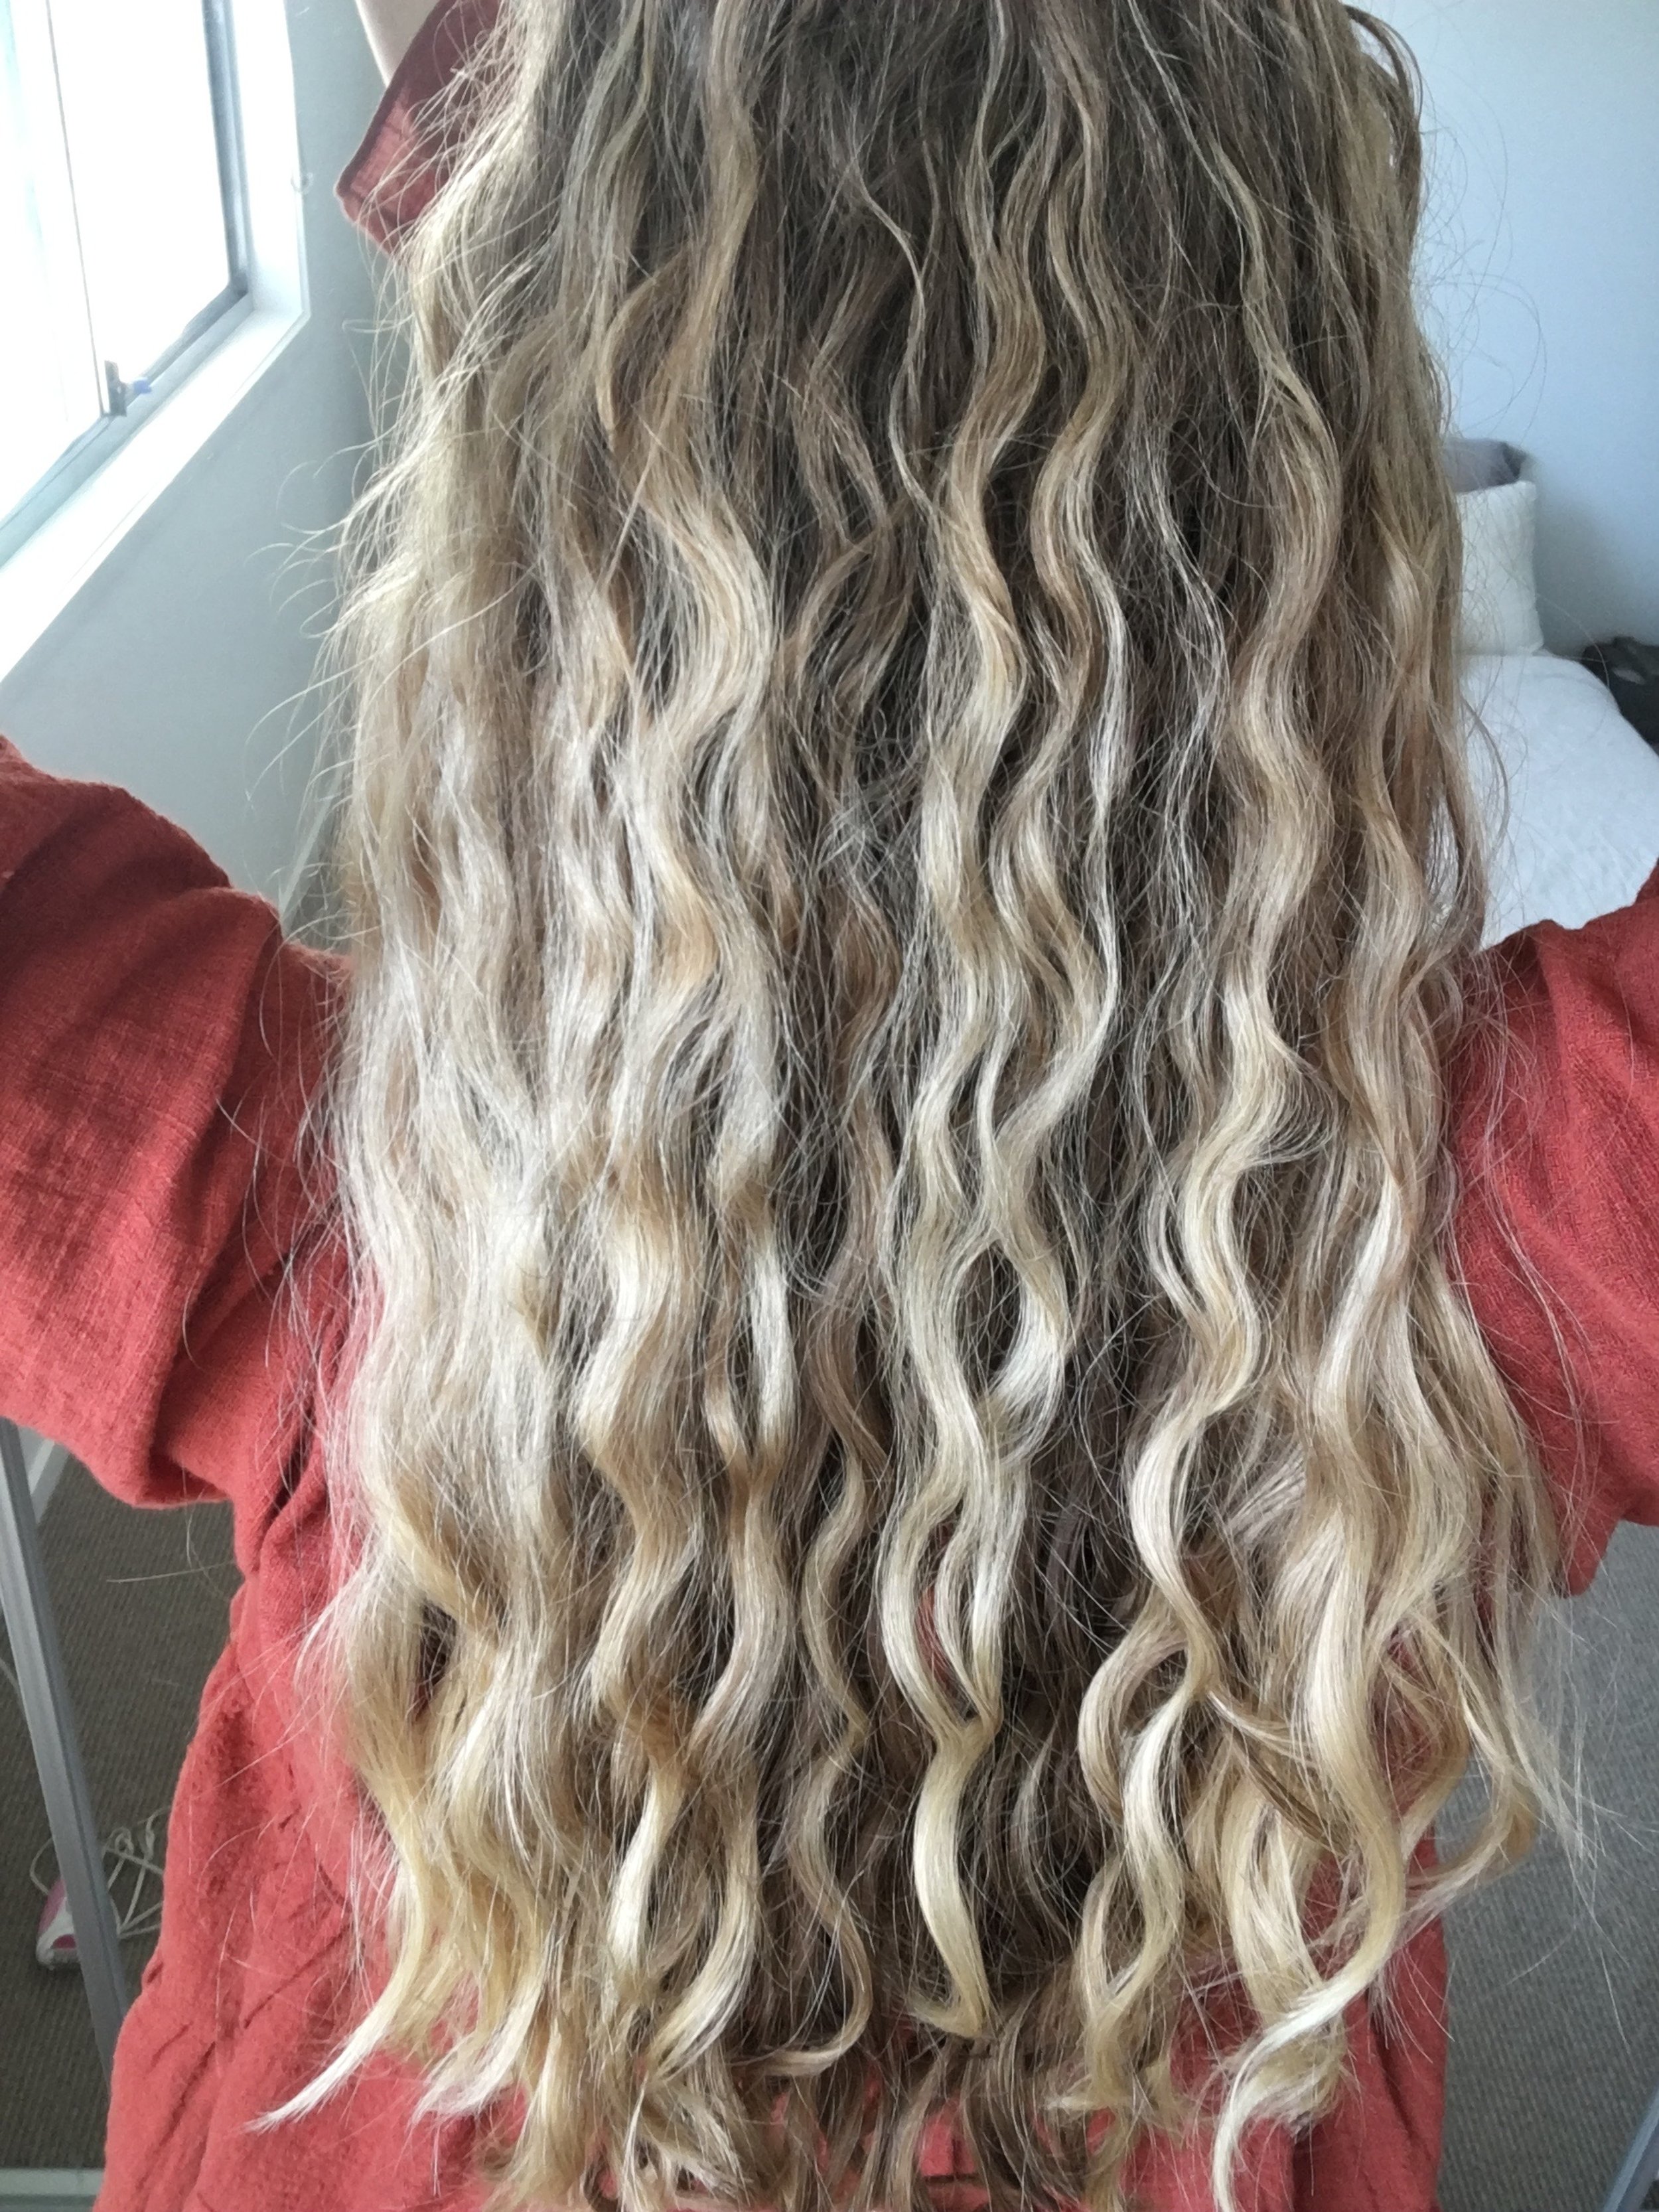
I couldn’t get into my curly hairdresser recently, so I went to a local hairdresser - this is how I left. It was the frizziest and driest I’ve seen my hair in a very long time. I was incredibly disappointed, especially because I paid so much.
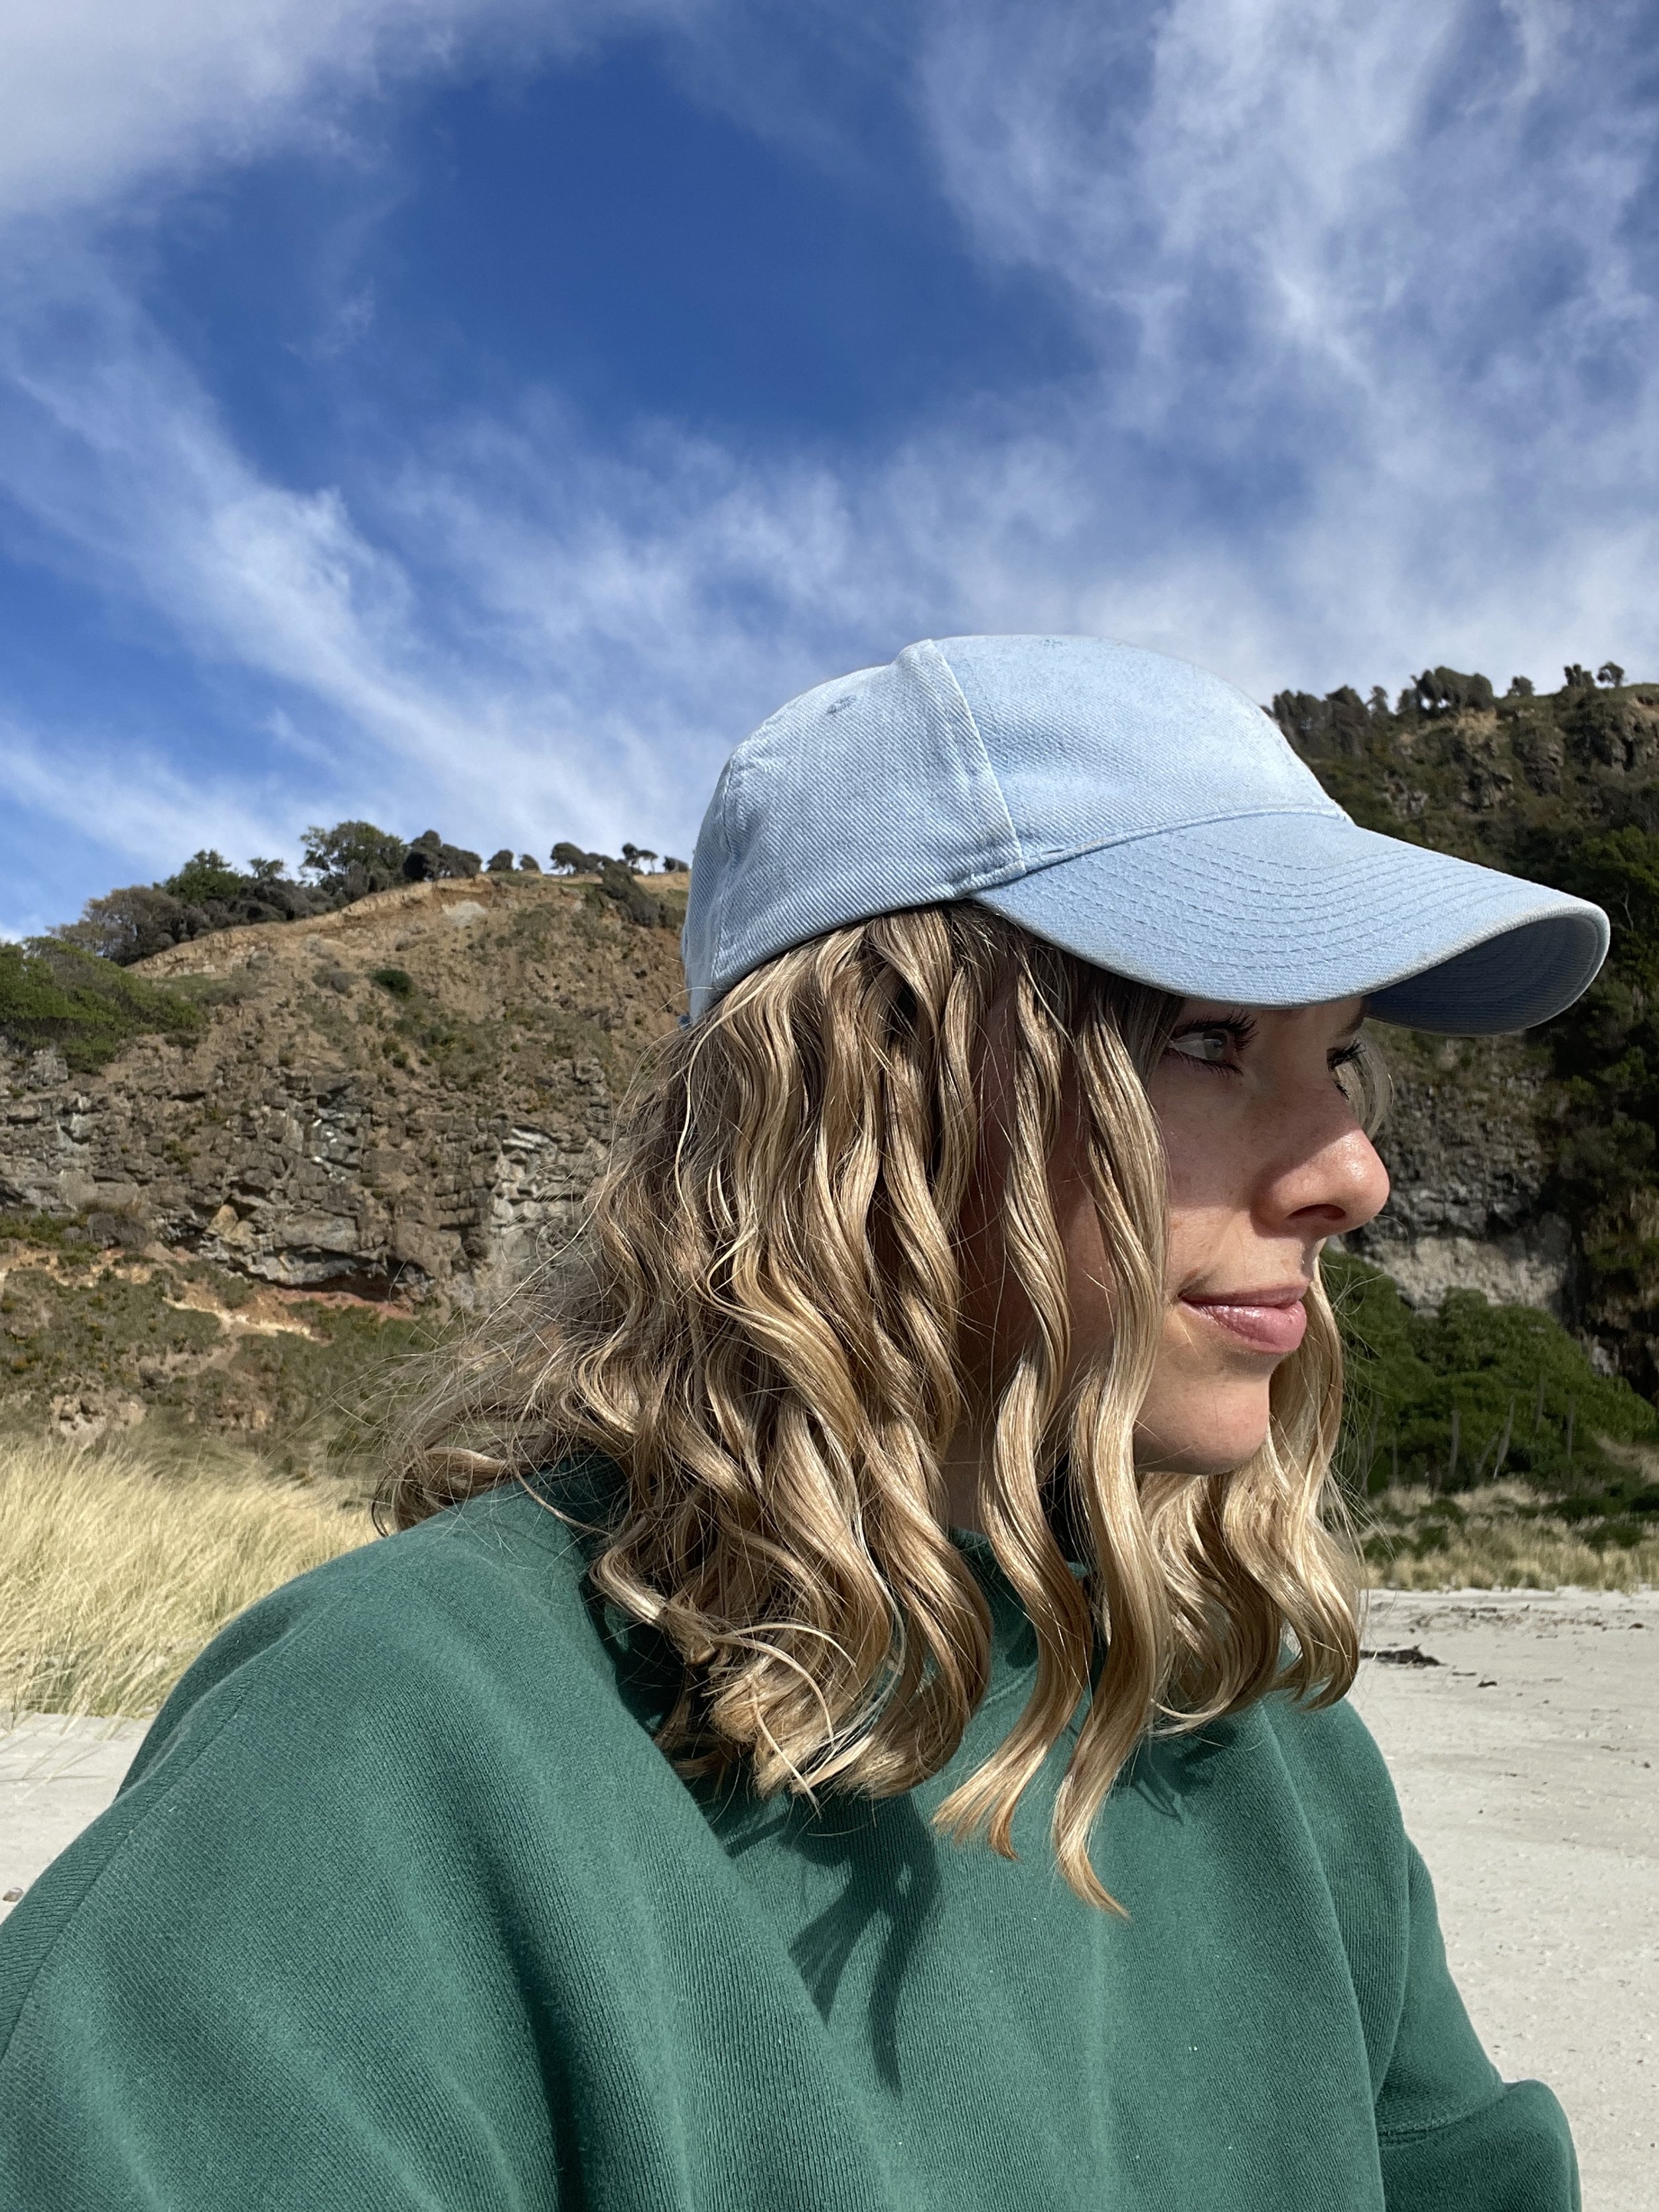
This is another pic after leaving my curly hair specialist / salon. You can see my curls are accentuated, hydrated and there’s no frizz in sight!
And I’m not saying that there aren’t 'regular' hairdressers that know how to cut and style curls amazingly; I’m just sharing my personal experience that I haven't found one. I made the switch and found a hairdresser in Queenstown that specialises in curly hair (it’s called Acapella Hair for anyone in the area). You can search for Curly Girl Method (CGM) hairdressers or curly hair specialists in your area/country and see what pops up. They used to be very rare, but fortunately are becoming easier to find as more of us are embracing our natural hair.
You might find that an appointment is a wee bit more expensive than a regular hairdresser initially, but their expertise is worth it. Before my first appointment, I was still a bit confused about how to do the CGM method. During my appointment, the hairdresser showed me what to do, step by step. They also gave me tips and product recommendations based on my curl type. I gained so much confidence and knowledge from the experience, and I left the hairdresser for the first time ever actually liking my hair afterwards!
THE CURLY GIRL METHOD
I somehow stumbled upon The Curly Girl Method, also known as the CGM, created by hairstylist Lorraine Massey. If you’ve never heard of this before, it’s basically a hair care routine designed specifically for naturally curly and textured hair. Curly hair is more prone to dryness and frizz, so the basic aim of the CGM is to ensure that your curls are always properly hydrated. Hydrated curls/waves look fuller, cleaner, healthier and shinier without frizz or fluffiness.
The CGM can be broken down into 4 main steps:
Cleanse – to wash the scalp and hair
Condition – to add moisture to the hair and smooth the hair cuticle
Styling – to encourage the natural curl in the hair and set the curls in place
Drying – to allow the hair to be completely dry so that the curls can sit in their natural state
I follow the CGM but a simplified version (because I’m lazy). More on this below.
I’ll admit, this method was a bit overwhelming at first because prior to starting the CGM I never used products in my hair (just shampoo and conditioner). Plus, you can go down the CGM rabbit hole where some people follow it super strictly (I don’t).
I’m a visual learner, so I watched a lot of videos before I jumped in. Here’s a few accounts I follow:
As most of these accounts are based O/S, I ignored the products they used/recommended because I couldn’t easily buy them, and many weren’t low-tox. I focused on their washing and styling techniques instead.
Once you’ve got a rough idea of how the CGM works, you want to look for products that suit your hair type.
LOW-TOX HAIR PRODUCTS I USE
I’m not perfect but I do consciously try to reduce my overall toxin load. A few years ago, I made the switch to low-tox hair shampoo and conditioner because our scalp absorbs chemicals from the hair products we use. This means more work for our liver and extra stress on our often already overworked detoxing organs. Chemical additives have been known to wreak havoc on the body and express themselves as a host of different adverse symptoms.
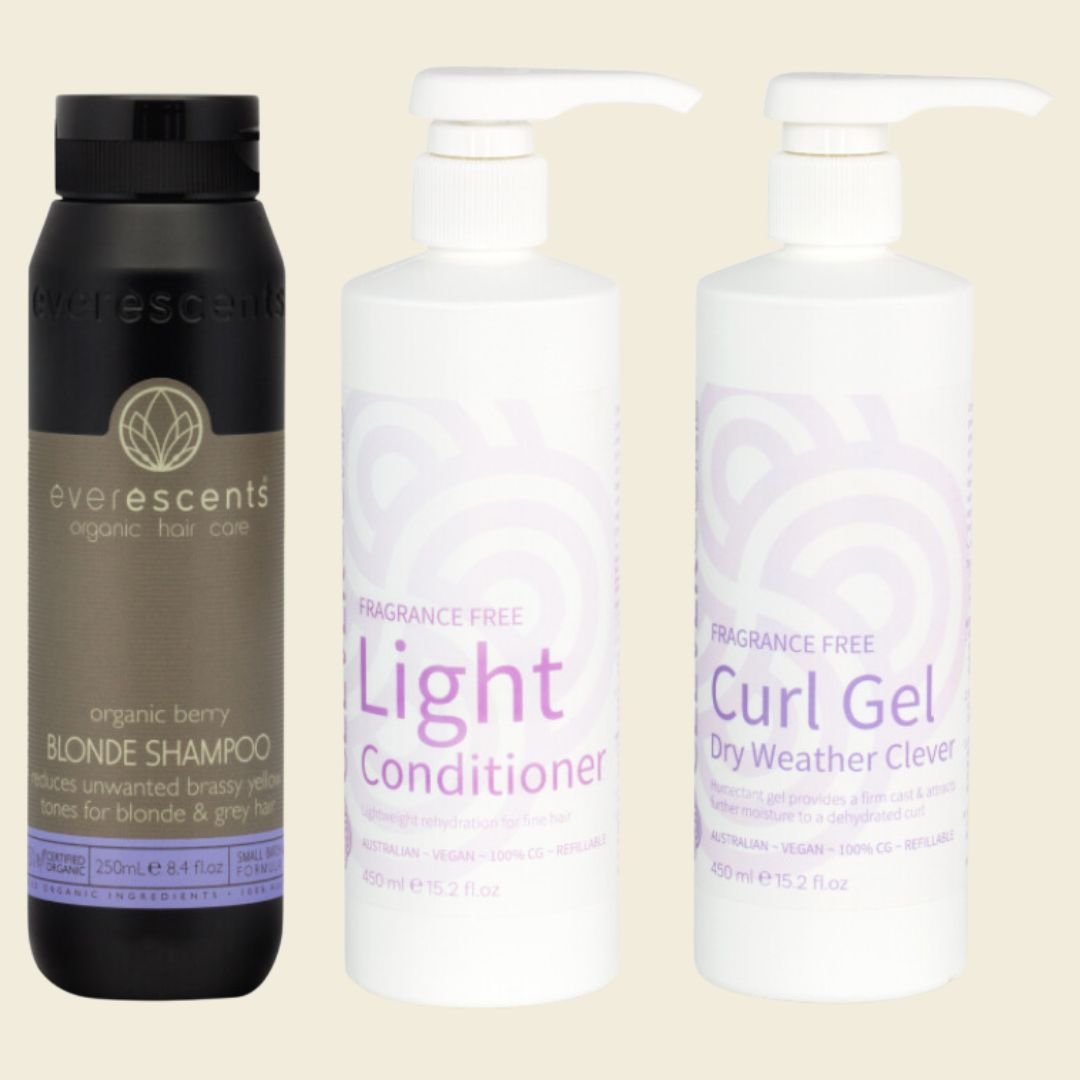
I made the switch to EverEscents shampoo and conditioner and loved them. Later on, when I delved deeper into figuring out how to look after my waves / curls, I started using their Clever Curl range. All products in the EverEscents Organic Hair Care + Clever Curl range are natural, water-based and have a high percentage of organic ingredients. I love the Clever Curl products, as they’ve been developed specifically for curly / wavy hair. Both options are also salon quality. You’ll find many hair salons that specialise in curly hair use Clever Curl.
(P.S. This is not a sponsored post for this brand; this is genuinely what I have been using for years.)
If you’d love some more low-tox, natural shampoo and conditioner options to explore, my lovely friend Amelia and I recently did a Shampoo + Conditioner Swaps post over on Instagram.
I mentioned earlier that I follow a simplified version of the CGM. I’m pretty lazy when it comes to styling my hair, so I like to simplify my routine as much as I can. You might have to do some trial and error to see what products your hair responds best to, but these are the products I use in my routine:
EverEscents Blonde Shampoo: I previously used the Clever Curl Cleanser, but found it gave me an itchy scalp.
Clever Curl Light Conditioner (fragrance free): My hair is pretty fine, so I opt for the light conditioner. You might like the Rich Conditioner for extra hydration if you have tighter curls or 3c or 4a etc. hair.
Clever Curl Dry Gel (fragrance free): If you’d like a non-tox version, try homemade flaxseed gel instead.
I’ll also do a leave-in treatment approximately every 14ish days. I’ll use either the EverEscents Blonde Treatment or the Clever Curl Treatment (fragrance free).
HERE’S WHAT MY WASH DAY LOOKS LIKE
WASHING
I brush my hair before washing to get rid of any big knots.
I double-cleanse my scalp with shampoo. I don’t wash the ends of my hair at all, just my scalp, and I do it twice. My hairdresser recommended this.
I add conditioner and brush it through my hair using a wet brush to remove any knots. I scrunch the conditioner into my curls, then wash it out.
I add more conditioner and brush it through again with a wet brush. I scrunch the conditioner into my hair again; this encourages the curls to form and squeezes out excess water. I do not wash this conditioner out. By the time I’ve squeezed out the excess water, I’ve probably got 40-50% conditioner left in my hair. If my hair is still sopping wet, I’ll use a cotton t-shirt (or something similar) and gently scrunch to remove more water. DO NOT USE A TOWEL. A TOWEL = FRIZZY HAIR.
STYLING
Note: You want your hair to still be kind of wet before you start.
I section my hair, starting with the bottom layer (I do this in pretty big chunks) and brush through a gel with a wet brush.
I scrunch the hair upwards to encourage the curls to form, and then move onto another section and repeat until I’ve done my whole head.
I scrunch my hair again to help the curls form. If you’re doing it right, you can’t overdo the scrunching.
DRYING
I diffuse my hair until it’s about 80-90% dry and let the rest air dry. A diffuser is a must for curly hair!
By this time, my hair is ‘crunchy’ because the gel creates a gel cast - this is exactly what you want. The gel forms a protective layer around the curls which prevents frizz and locks in moisture.
I use a silk scarf to scrunch out the ‘crunch’, which softens the curls but allows them to hold their shape. After this, you should have beautiful, bouncy and hydrated curls.
P.S. If this is SUPER confusing, please go to the Instagram accounts above or YouTube for visual aid. Just note that some of their routines are more complicated than mine, but you can experiment for yourself and see what works for you and what doesn’t.
Once I’d worked out my routine, I didn’t find the washing and styling process to take very long. Plus, the more you do it, the easier it becomes. The longest, most annoying part for me is the diffusing (hair drying) part. Before diving into the CGM, I had never used a blow dryer before, so in the beginning I found it incredibly boring and frustrating that it took so long for my hair to dry. Now, I just listen to an audiobook or podcast and it makes it feel so much faster. I also only do this once a week (any more than that feels like a lot of effort haha).
OTHER TIPS
CLARIFYING HAIR
As I mentioned above, I only wash my scalp (not the ends) with shampoo. I only wash all of my hair with shampoo when I need to ‘clarify’ it - this basically means I’m getting rid of product buildup. You’ll know when you need to do this when your curls aren’t ‘curling’. They’ll be quite lank and just not cooperating like they usually do. When I clarify my hair, I also do a quick Apple Cider Vinegar (ACV) rinse (water + ACV) to help get rid of any product buildup. This mix strips all moisture/product from the hair, so afterwards I do a leave-in treatment, then wash my hair as above.
PROTECTING YOUR CURLS
I sleep on a silk pillowcase which prevents frizz and helps my curls to stay intact. I also only use silk scrunchies in my hair for the same reason.
WET BRUSH
Getting a wet brush helps so much! When you add conditioner to your hair while washing, it glides through knots better than anything I’ve ever tried. If you have kids who have constant knots and tangles in their hair, this is worth trying. Wet brushes also help ensure you have an even distribution of product in your hair. They also work to smooth your hair and reduce ‘wet’ frizz.
I got my wet brush off iHerb here (feel free to use “CJJ916” for a wee discount).
DIFFUSER
I got a diffuser for my hair dryer. Diffusers are claw-like attachments you can put on the head of your blow dryer. When you use a diffuser, the heat hits your head indirectly, meaning your hair is less damaged by the high heat and less likely to frizz.
TIPS FOR KIDS
I’m sorry I don’t have kiddies yet, so I don’t have any amazing tips to share for those of you who have kids with curls, but this is what my sister-in-law does. She pops some conditioner and filtered water into a spray bottle, sprays it onto her boys' hair, brushes the curls to get rid of knots, and then leaves it to dry. The curls are hydrated and contain some moisture from the conditioner - it’s quick and minimal fuss.
GET A SHOWER FILTER
This is totally optional, but I noticed a huge difference in my hair (and skin) health when I started using a shower filter. Filtering not only our drinking water but the water we bathe and shower in is so important as these filters remove pathogenic bacteria and viruses, pesticides and herbicides, nitrites, chlorine, fluoride, heavy metals and other toxins.
I use this one from Waters Co. Feel free to use “JORDIEPIE7” for a wee discount.
HAIR OIL
Because I usually only wash my hair once a week, usually around day 6 or 7, my scalp starts to get pretty dry and sometimes a bit itchy as well (which is also thanks to the dry weather we have here in NZ), so I’ll add a bit of Nila Botanics Organic Hair Oil onto my scalp and leave it on overnight. This oil moisturises the scalp, strengthens hair follicles and replenishes dry or brittle hair. After leaving it on overnight, I wash my hair the following day. My hair is quite fine, so I don’t add this oil onto the ends of my hair as I have found it weighs it down.
QUICK RECAP
Stop using heat - straighteners, curlers and the hottest heat on the hair dryer.
Remember, curly hair is usually pretty DRY; it needs lots of hydration/moisture!
Experiment with your hair to find the techniques and products that are best for you.
Try a wet brush and diffuser - these tools made a huge difference for me.
Don’t use a towel on curly/wavy hair - it creates frizz.
So if you’ve stuck with me until now, bravo. That was a very lengthy post BUT I hope you (and your curls/waves) gained something from it. Let me know if you have any questions in the comments below.
Happy hair experimenting!
Jordan xx
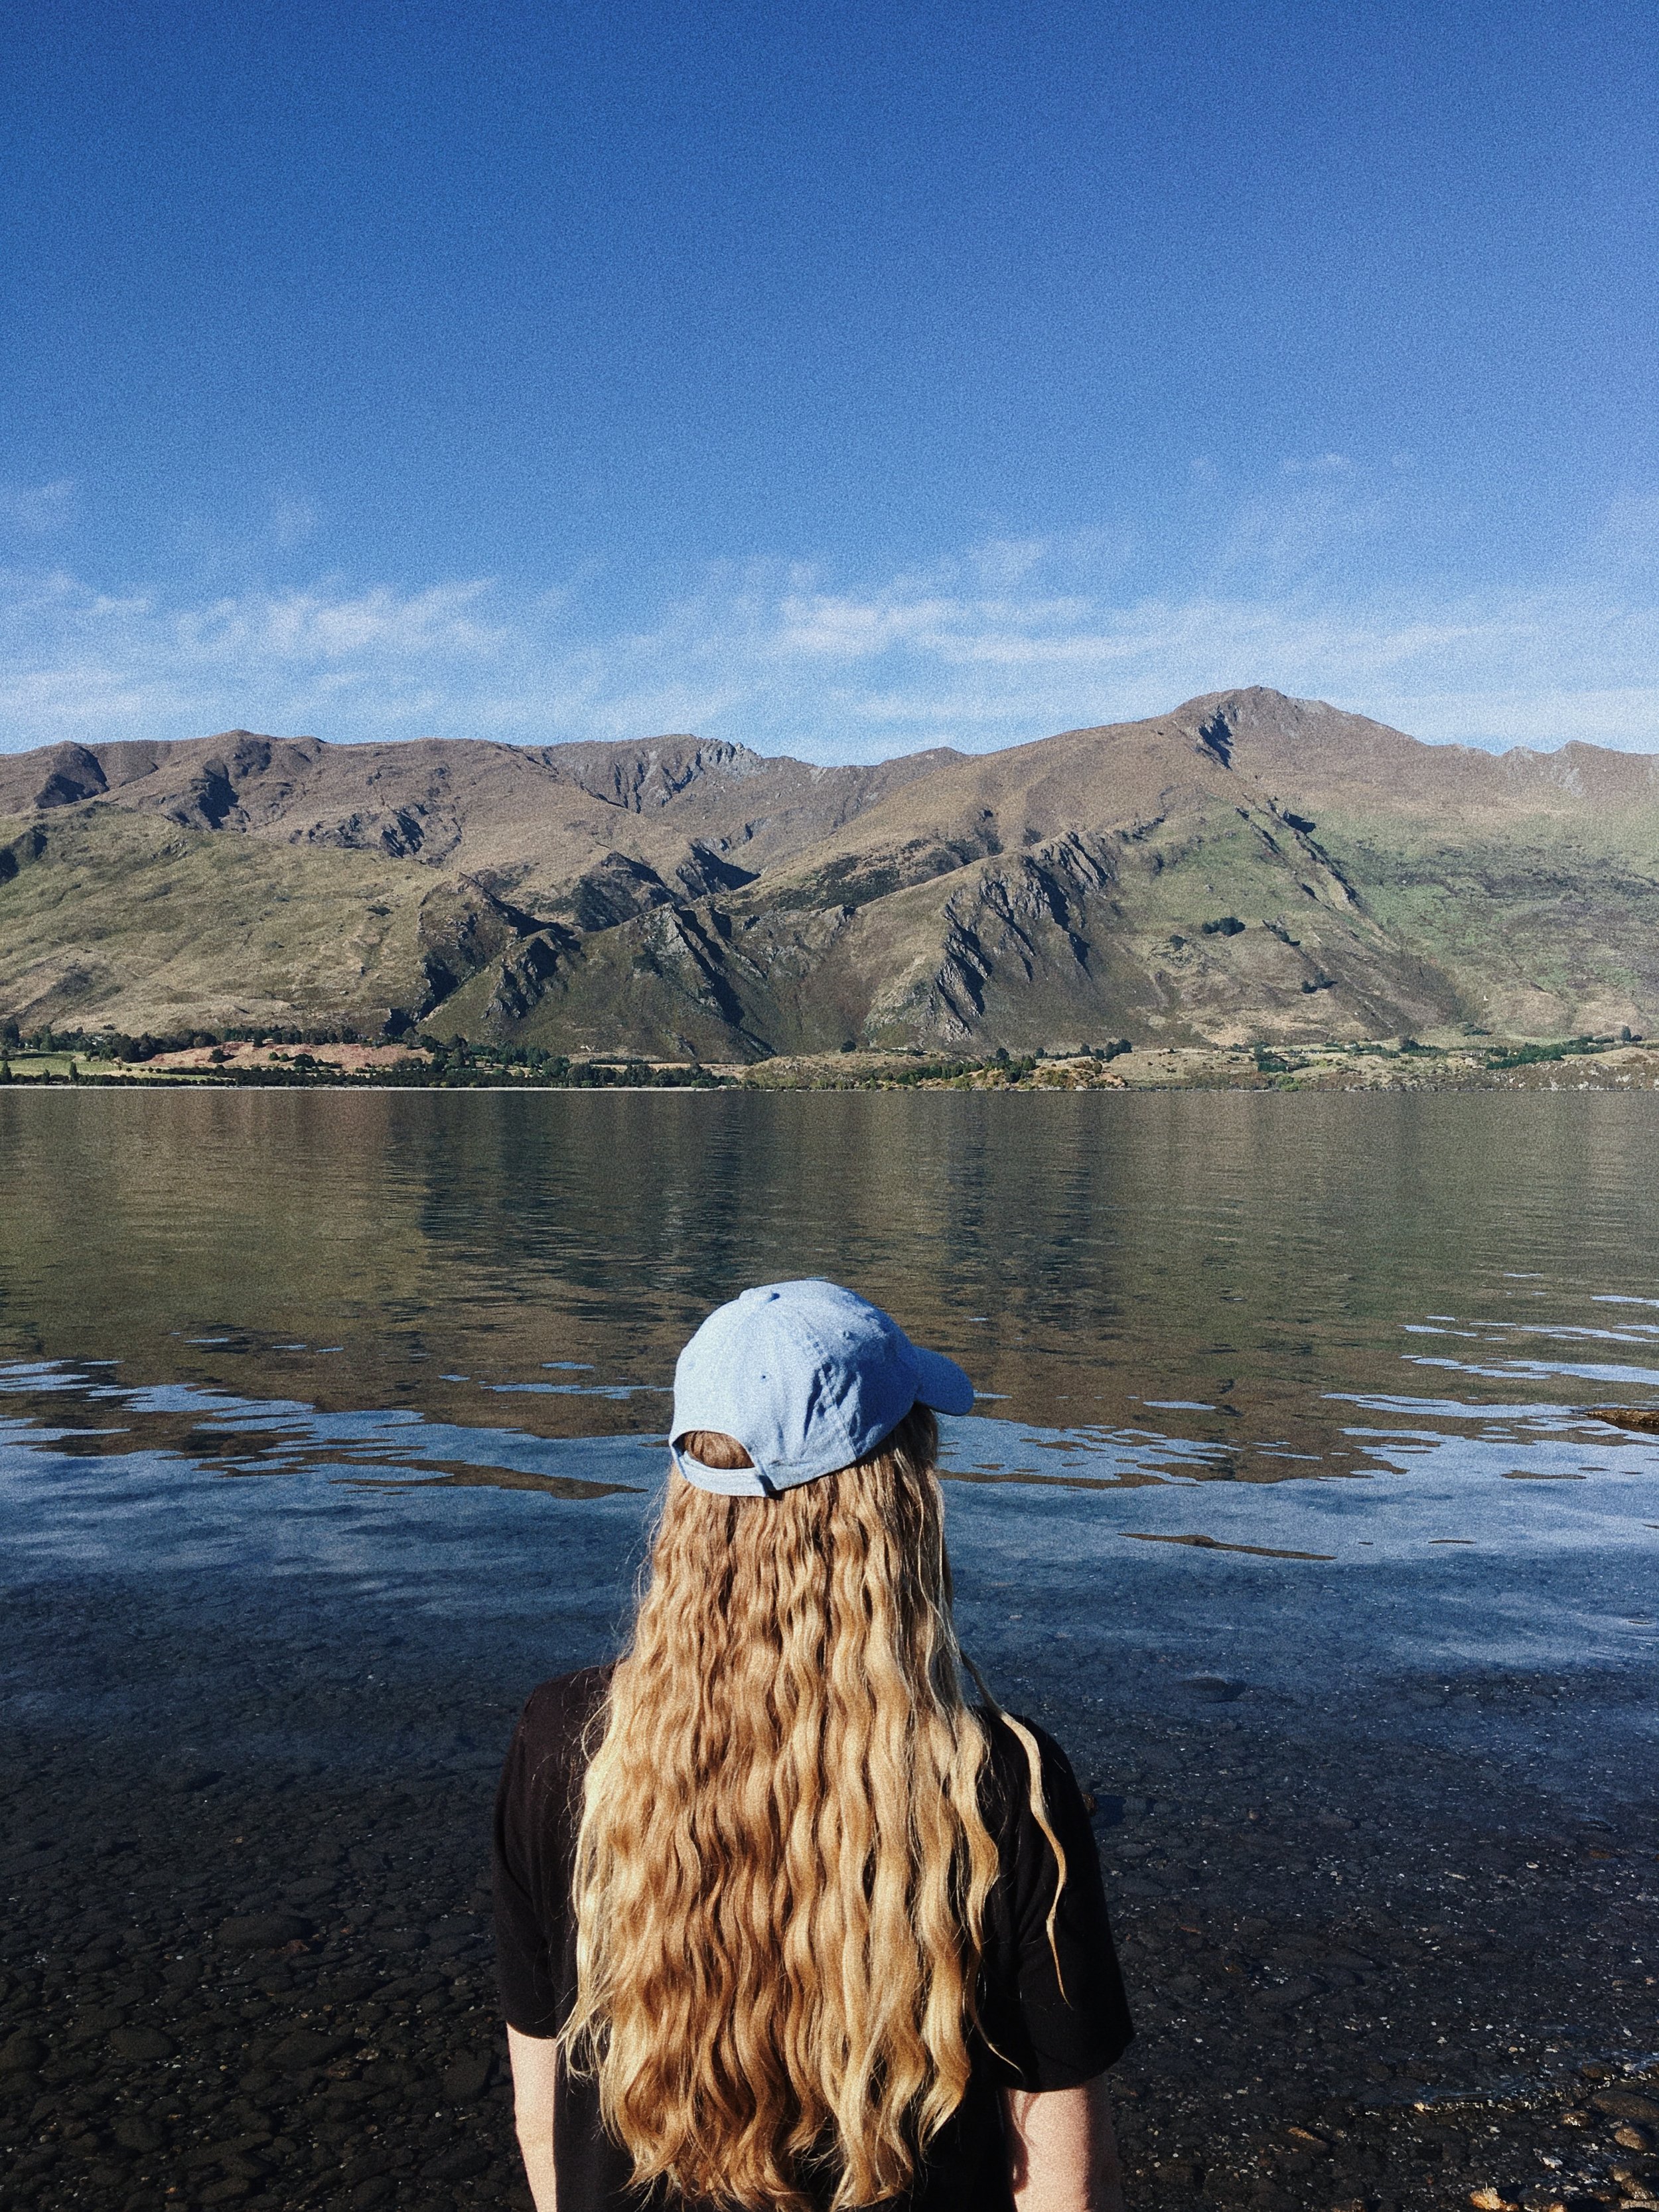
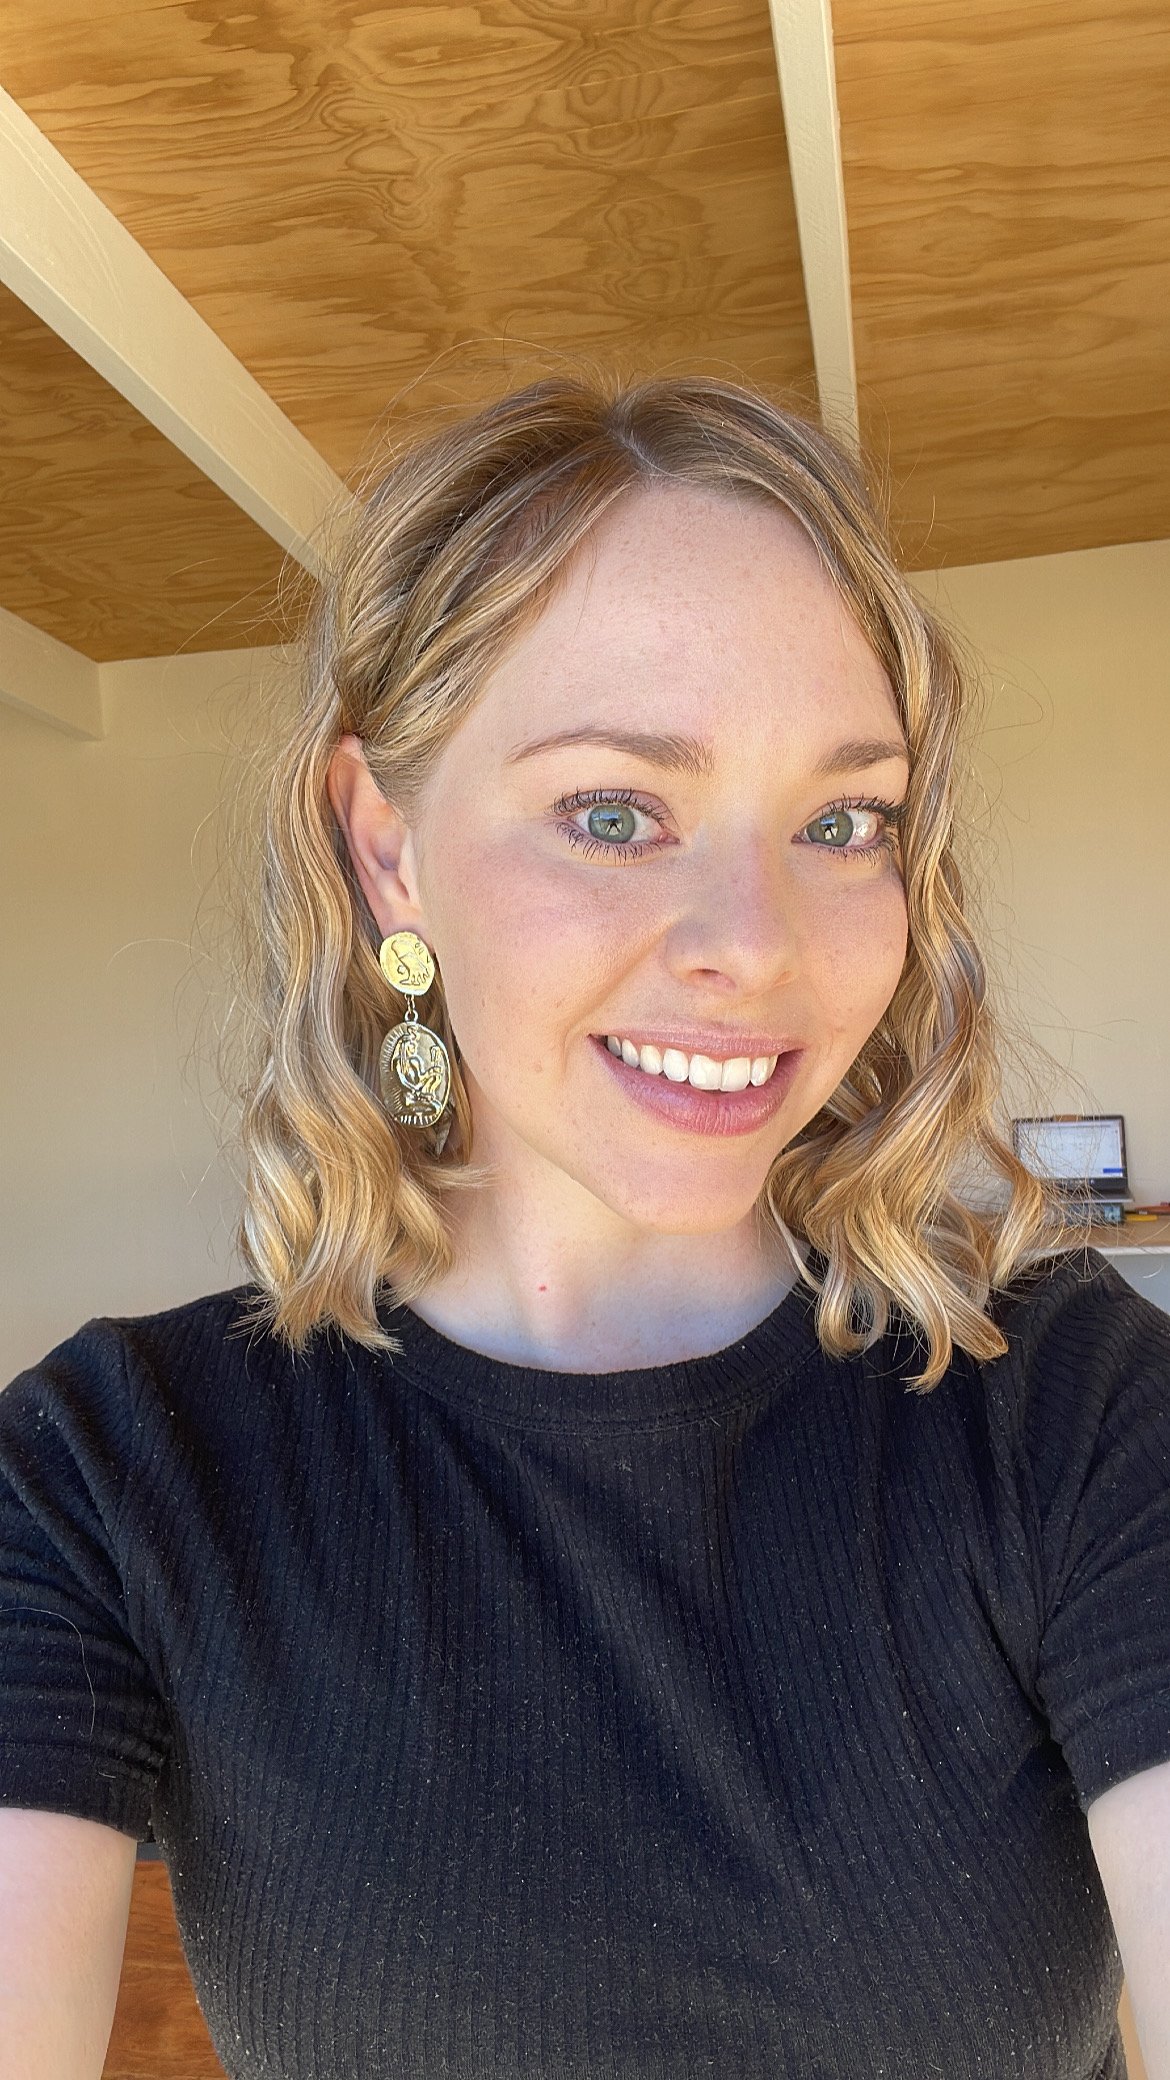
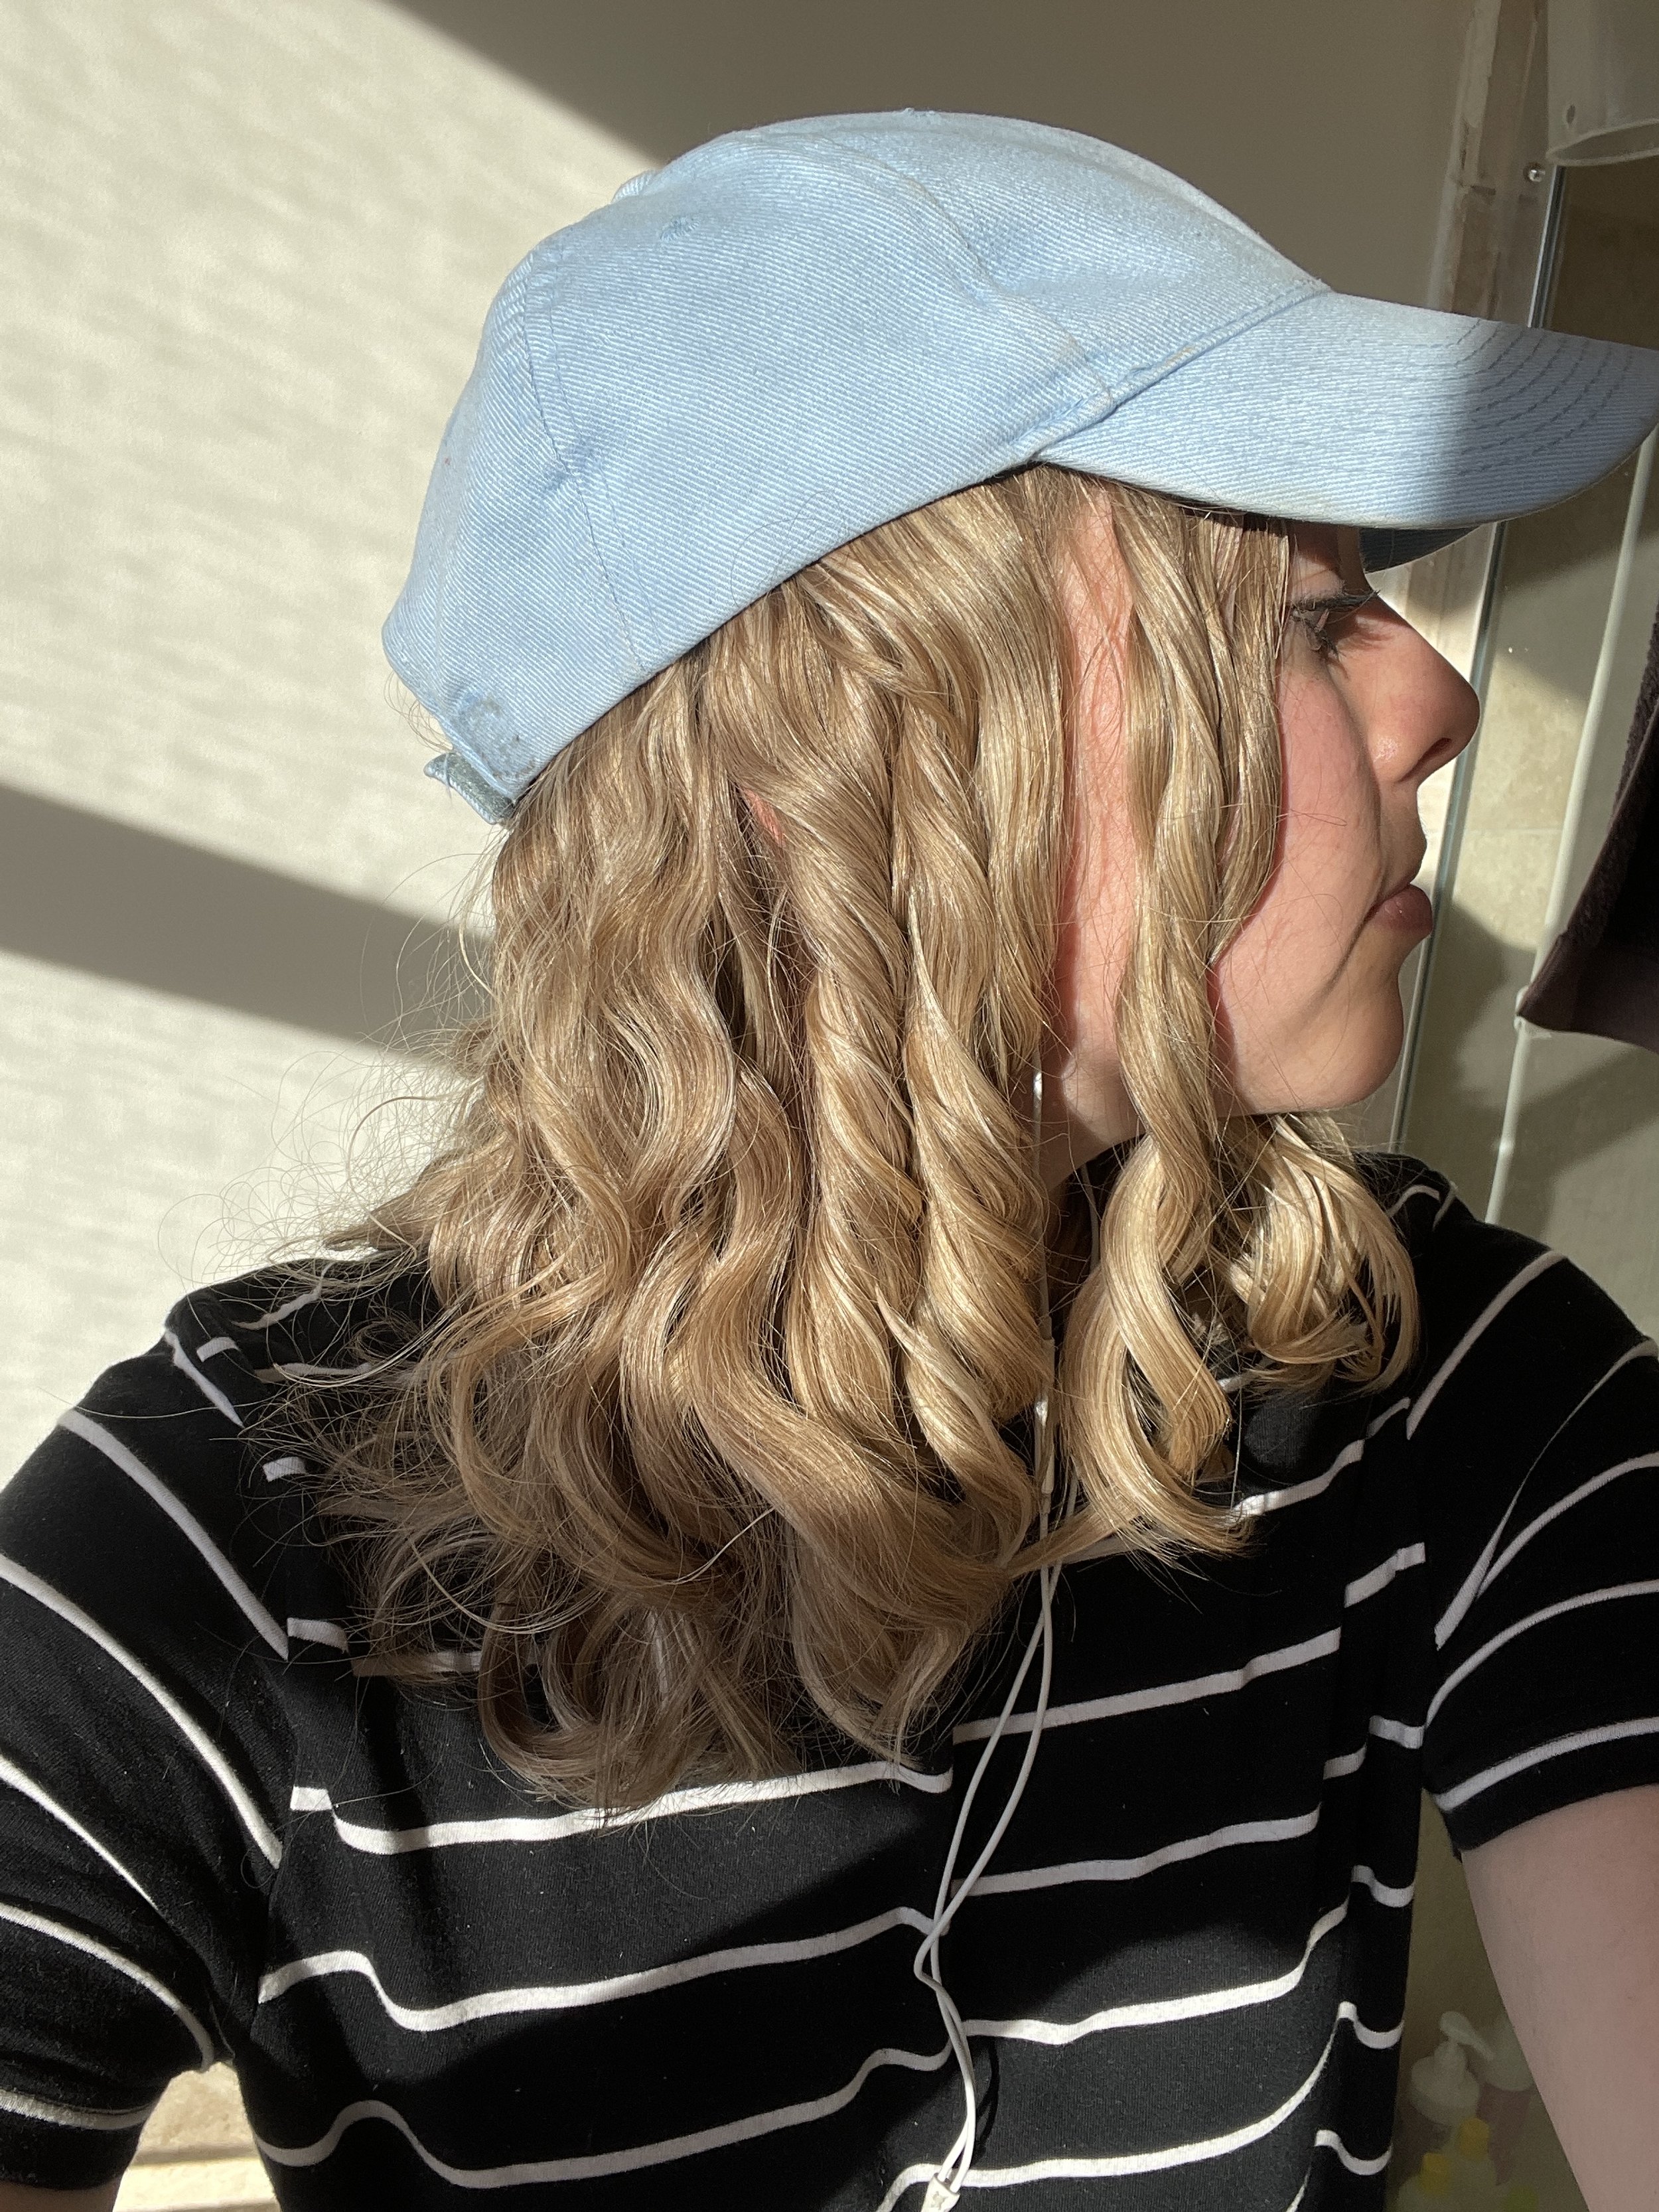
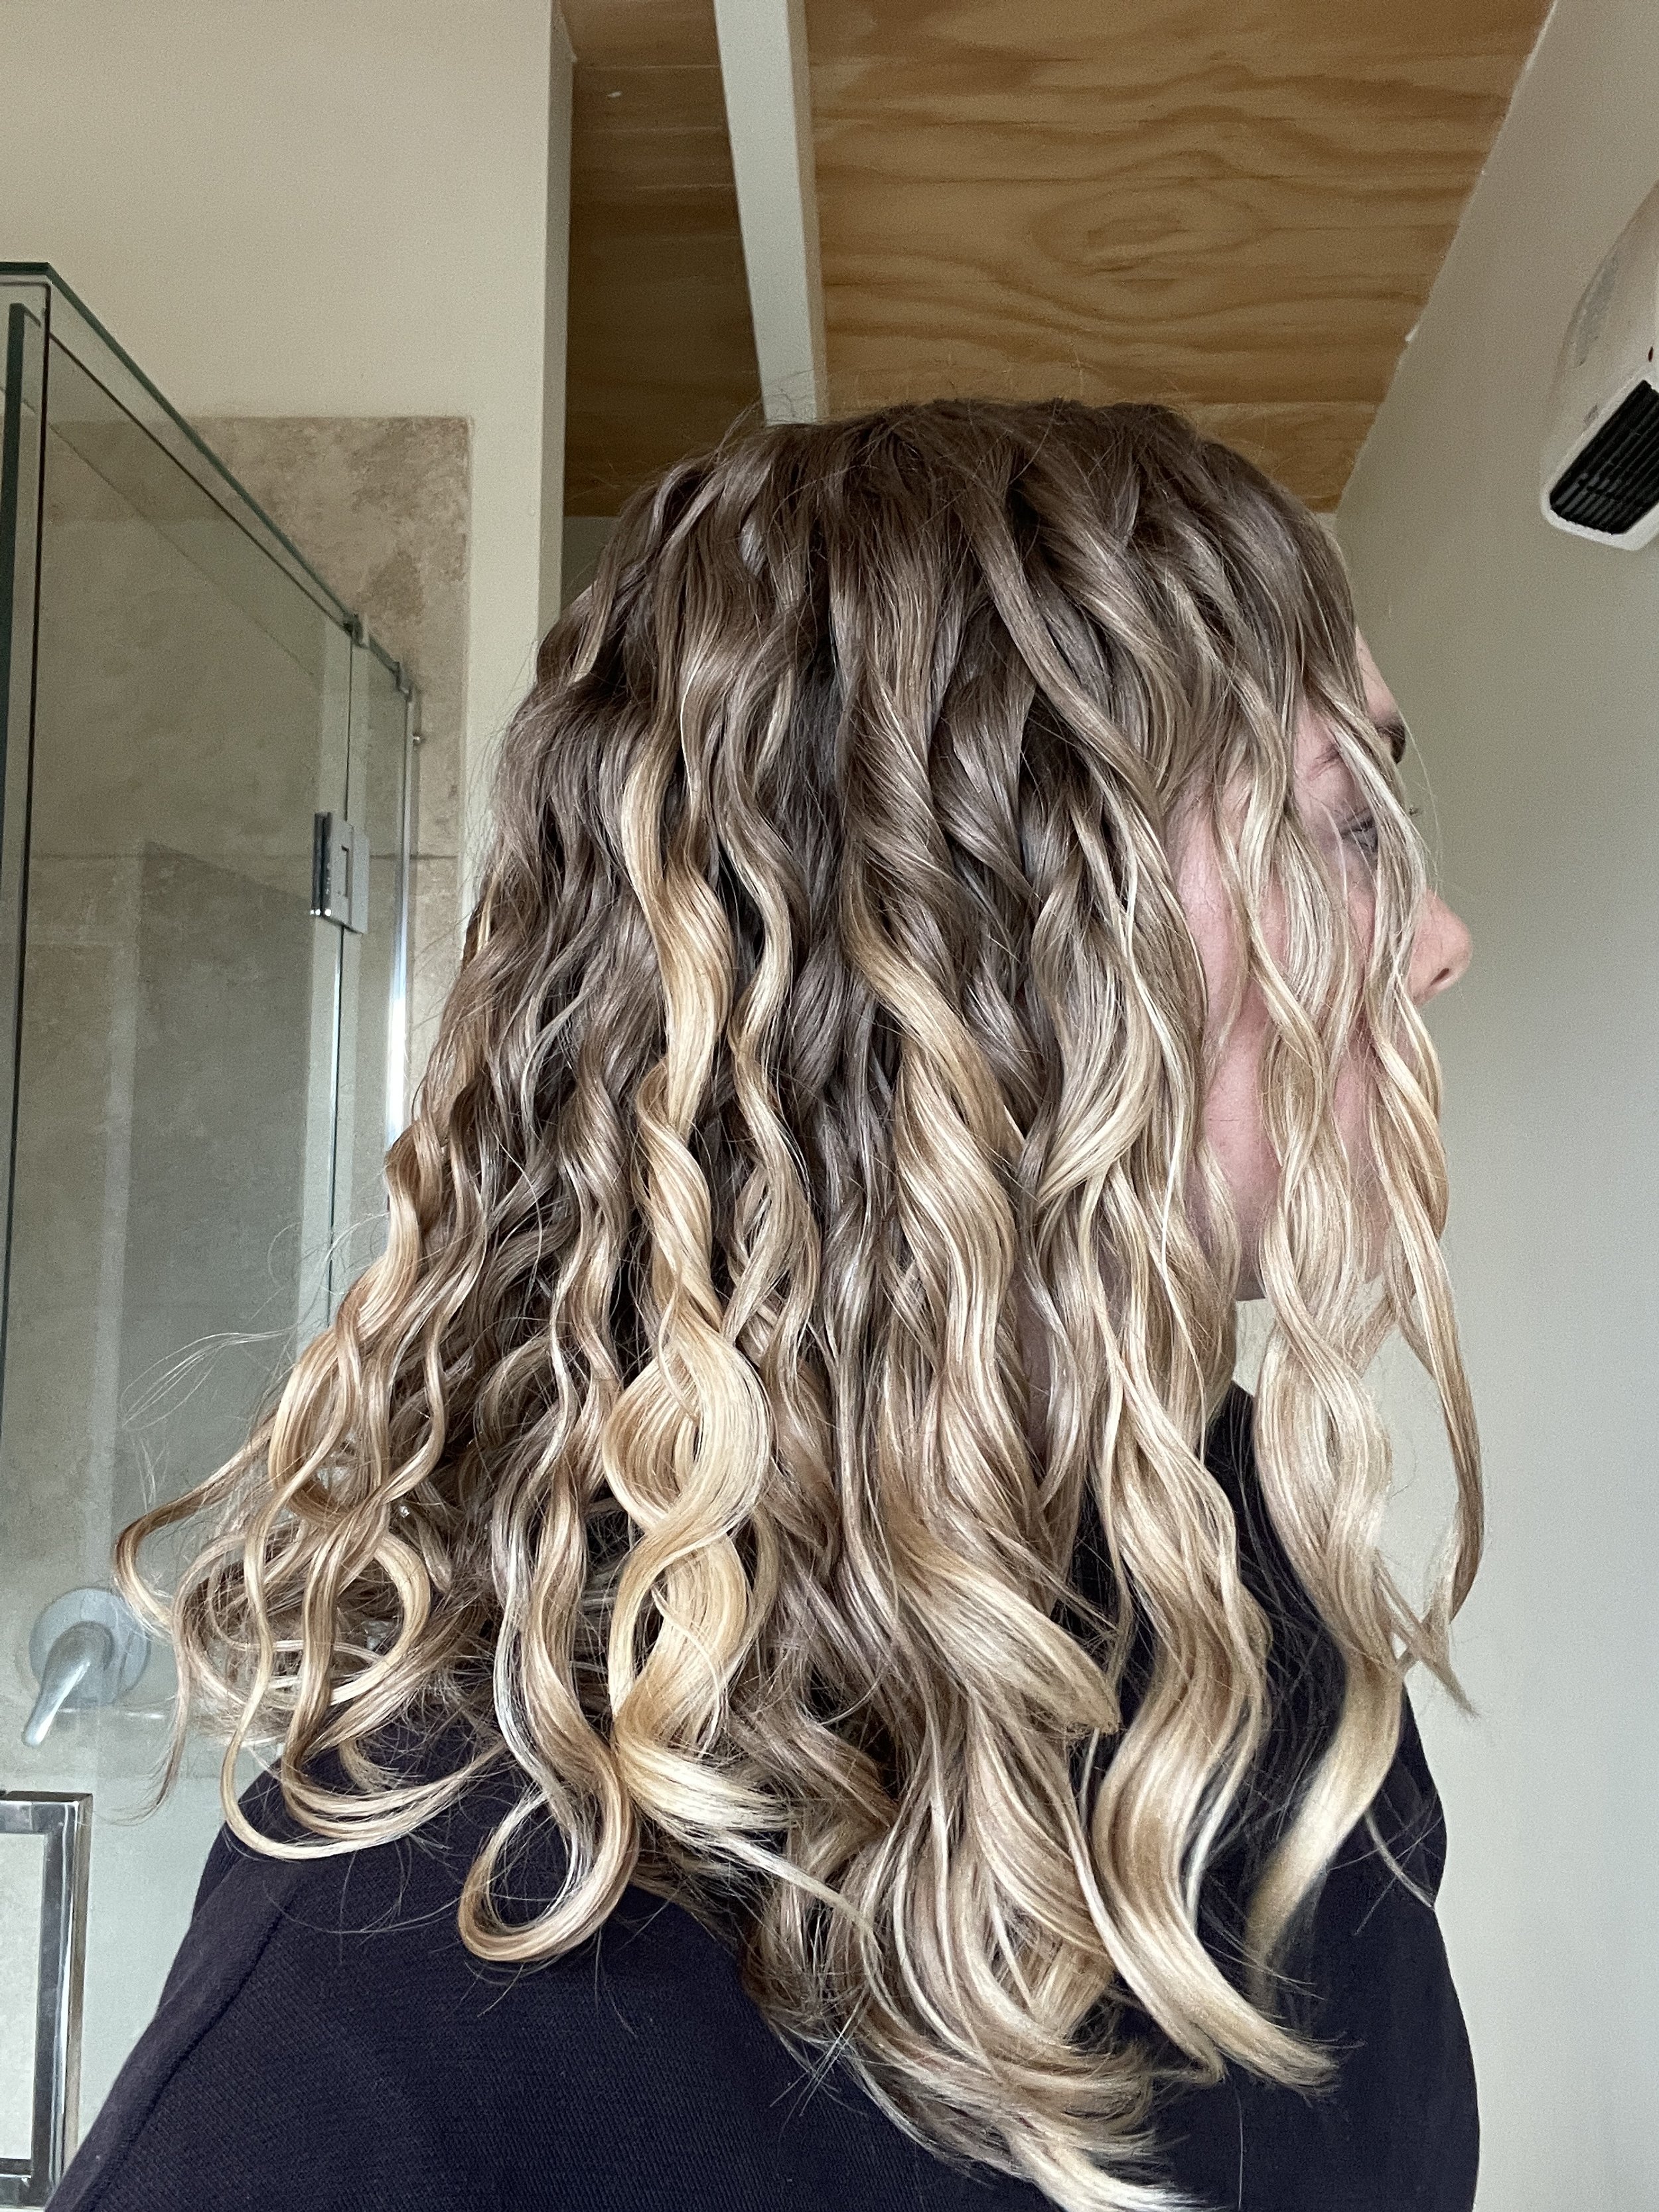
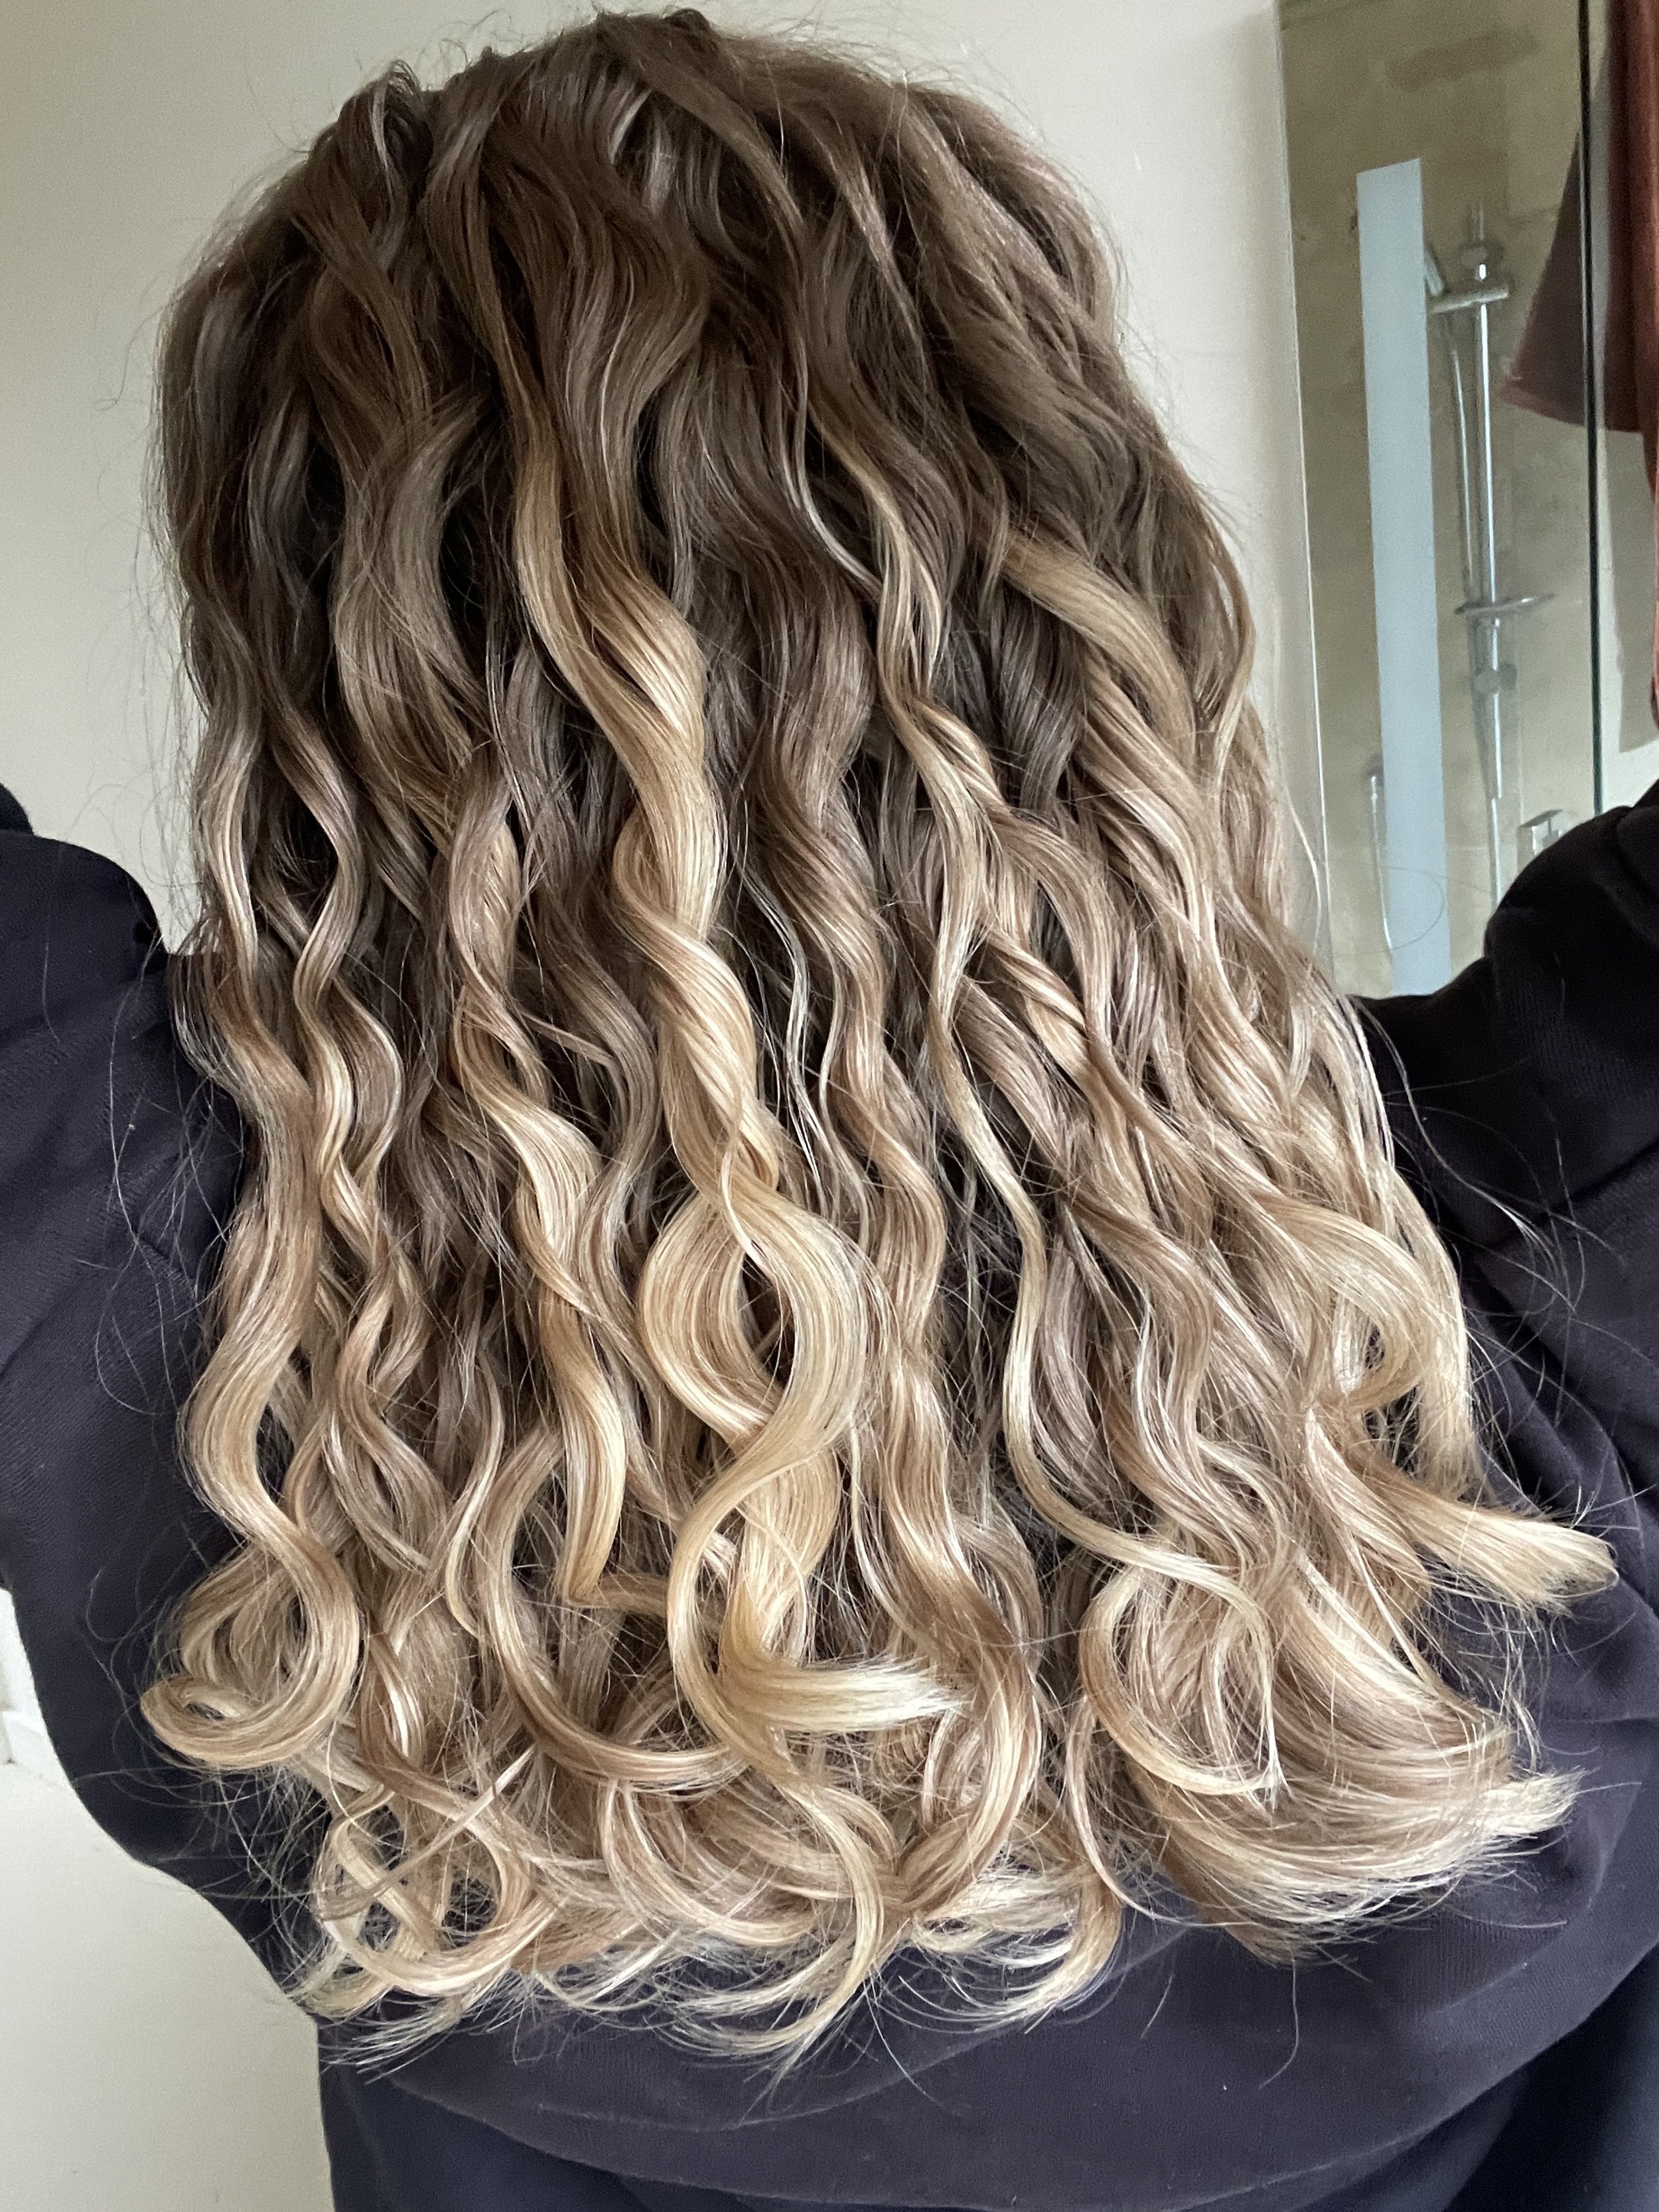
Watch my hair slowly become healthier over time as I fully embrace my natural hair.
Then I decided to do a big chop (with my curly hairdresser) because I’ve never had short hair before and I thought it would help speed up the whole process of rejuvenating my curls / health of my hair.
